
一、瞭解openresty
一個全功能的 Web 應用服務器,它打包了標準的Nginx核心,很多的常用的第三方模塊,以及它們的大多數依賴項。OpenResty 通過匯聚各種設計精良的 Nginx 模塊,從而將 Nginx 有效的變成一個強大的 Web 應用服務器,這樣, Web 開發人員可以使用 Lua 腳本語言調動 Nginx 支持的各種C以及Lua 模塊,快速構造出足以勝任 10K+ 併發連接響應的超高性能Web 應用系統.OpenResty 的目標是讓你的Web服務直接跑在 Nginx 服務內部,充分利用 Nginx 的非阻塞 I/O 模型,不僅僅對 HTTP 客户端請求,甚至於對遠程後端諸如MySQL,PostgreSQL,~Memcaches 以及 ~Redis 等都進行一致的高性能響應.
二、下載,安裝準備openresty
web服務器 IP:192.168.0.167
PHP IP:192.168.0.162
MySQL服務器 IP:192.168.0.163
下載地址:http://openresty.org/download/
下載:wget ‘http://openresty.org/download/ngx_openresty-VERSION.tar.gz’
安裝依賴包:perl 5.6.1+ libreadline libpcre libssl
Fedora 、redhat、centos:readline-devel pcre-devel openssl-devel
三、安裝openresty
1.tar xzvf ngx_openresty-VERSION.tar.gz
2.cd ngx_openresty-VERSION/
3../configure
可以設置一下參數:./configure --prefix=/opt/openresty --with-luajit --without-http_redis2_module --with-http_iconv_module --with-http_postgres_module
4.gmake
5.gmake install
可能出現的問題:
./configure: error: ngx_postgres addon was unable to detect version of the libpq library.
ERROR: failed to run command: sh ./configure --prefix=/opt/openresty/nginx \...

安裝:postgresql-devel
yum install postgresql-devel
四、配置openresty
配置文件位置:vim /opt/openresty/nginx/conf/nginx.conf
修改:server_name localhost --> server_name 192.168.0.167(本機IP地址)
啓動:/opt/openresty/nginx/sbin/nginx (停止在後面加-s stop )
五、測試openresty
在瀏覽器輸入:192.168.0.167 顯示如下表示成功

參考文檔:http://www.openresty.org/cn/index.html
六、PHP(yum 安裝)
yum install php php-fpm
修改php所在主機的配置文件
vim /etc/php-fpm.d/www.conf
listen = 192.168.0.162:9000 監聽端口
listen.allowed_clients = 192.168.0.167 接受192.168.0.167 的請求 若有多個用逗號隔開
ps:重啓php-fpm
七、配置OpenResty支持PHP
編輯配置文件:vim /opt/openresty/nginx/conf/nginx.conf
#location ~ \.php$ {
        #    root           html;
        #    fastcgi_pass   127.0.0.1:9000;    把請求轉給此IP地址處理。我的為192.168.0.162:9000
        #    fastcgi_index  index.php;
        #    fastcgi_param  SCRIPT_FILENAME  /scripts$fastcgi_script_name;  紅色部分表示在php所在主機的那個位置找請求文件改為存放php文件目錄的地方。我的為/var/www/html
        #    include        fastcgi_params;
        #}
去掉配置文件中此段前面的#
ps:重啓nginx 線上服務器最好用 reload
八、測試php
注意防火牆:不行就關了,否則注意在用的端口是否防火牆允許通信
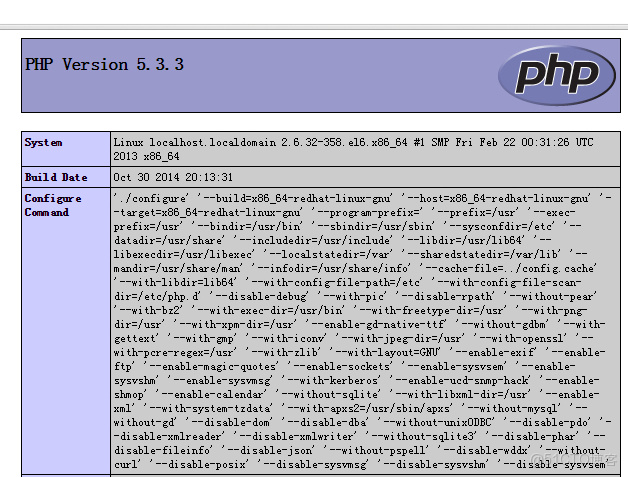
在php主機下編寫測試文件:vim /var/www/html/index.php
內容:<?php phpinfo(); ?> 顯示如下表示成功
九、wordpress應用
1.下載最新wordpress壓縮包 eg:wordpress-4.0.1.zip
2.上傳wordpress在openresty主機的/opt/openresty/nginx/html/文件目錄下和php的主機的php文件所在的目錄eg:/var/www/html
3.分別解壓 unzip wordpress-4.0.1.zip
4.配置openresty支持:
location / {
            root   html/wordpress; index   index.html index.php
        }  location ~ \.php$ {
         root           html;
         fastcgi_pass   192.168.0.162:9000;
         fastcgi_index  index.php;
 /var/www/html/wordpress$fastcgi_script_name;
         include        fastcgi_params;
        }
ps:重啓nginx應用
十、安裝mysql
1.安裝:yum install mysql-server
2.啓動mysql服務設置密碼
啓動:/etc/init.d/mysqld start
設置密碼: mysqladmin -uroot password 輸入密碼(eg: 888admin)
3.進入mysql
方法一:mysql -uroot -p 密碼(eg:888admin)
方法二:mysql -uroot -p 回車 。然後提示Enter password: 再輸入密碼
4.新建數據庫:create database 數據庫名 (eg:wordpress)
5.設置php主機(192.168.0.162)訪問權限
格式:grant all on 要連接的數據庫.* to 數據庫使用用户名@要來連接的主機IP地址 identifed by “數據庫密碼”
eg :grant all on wordpress.* to localhost@192.168.0.162 identifed by “888admin”
十一、設置wordpress
1.在瀏覽器輸入192.168.0.167/index.php
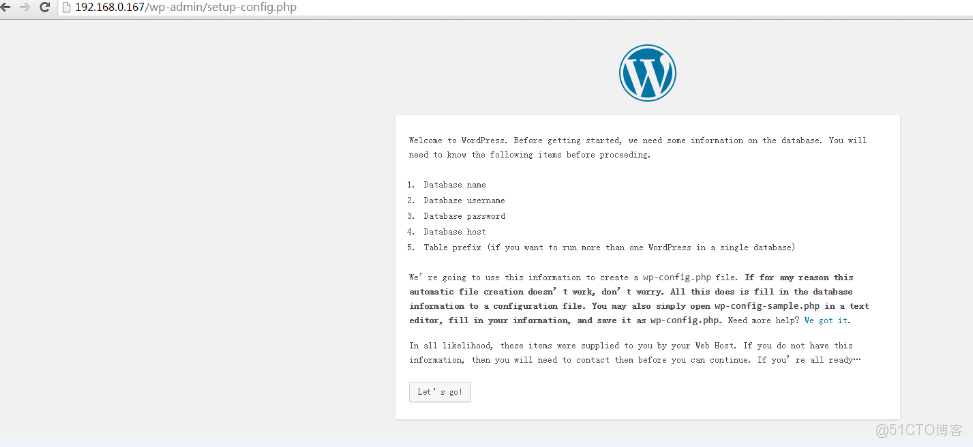
2.閲讀頁面內容,然後點擊let's go
3.填寫內容(填寫自己對應的內容):
database --> wordpress
username --> localhost
password --> 888admin
database host --> 192.168.0.163
4.submit
如果成功就開始填寫標題 用户名 密碼 郵箱等信息
如果失敗
cp wp-config-sample.php wp-config.php
vim wp-config.php

define('DB_NAME', 'database_name_here');

/** MySQL database username */
define('DB_USER', 'username_here');

/** MySQL database password */
define('DB_PASSWORD', 'password_here');

/** MySQL hostname */
define('DB_HOST', 'localhost');

/** Database Charset to use in creating database tables. */
define('DB_CHARSET', 'utf8');

/** The Database Collate type. Don't change this if in doubt. */
define('DB_COLLATE', '');
填入安裝mysql時設置的數據,我設置的如下:

/** The name of the database for WordPress */
define('DB_NAME', 'wordpress');

/** MySQL database username */
define('DB_USER', 'localhost');

/** MySQL database password */
define('DB_PASSWORD', '888admin');

/** MySQL hostname */
define('DB_HOST', '192.168.0.163');

/** Database Charset to use in creating database tables. */
define('DB_CHARSET', 'utf8');

/** The Database Collate type. Don't change this if in doubt. */
define('DB_COLLATE', '');
重新在瀏覽器輸入192.168.0.167/index.php 然後install now 即可
十二、登陸成功
