自從 ChatGPT 火了之後,越來越多人開始對 AI 感興趣,AI 的使用也越來越普遍了。現在你隨便點開個知名網站或者 APP,基本都能看到 AI 的影子,而且這些 AI 大多都是用 “問答” 的形式跟人互動,説白了就是 “聊天”。
當然啦,現在的 AI 也不是完美的,比如有時候會瞎編東西(就是大家説的 “AI 幻覺”),但給 APP 加個 AI 功能,確實能讓它變好玩、互動感更強。那咱們自己的 APP,怎麼快速加上 AI 功能呢?其實不用自己從頭搞,直接用現成平台提供的模型和 API 就行,今天就來聊聊怎麼用阿里雲百鍊。
它是阿里雲出的大模型服務平台,把複雜的技術都打包好了,就算你沒什麼 AI 基礎,也能很快把 AI 功能集成到自己的 APP 裏。
以下內容可配合視頻
視頻一起食用
前端基礎項目搭建
首先我們先搭建一個基礎的前端項目,我這裏用的是vue框架,UI組件使用了ant-design-vue和ant-design-x-vue,其中ant-design-x-vue增加了對ai交互的支持,可以讓開發效率更高。
接下來我們就來嘗試「直接」使用通義千問API來實現ai對話功能。
前置準備
在編寫代碼之前,我們先完成一些準備工作,註冊登錄,以及獲取API key。
構造請求並顯示返回結果
然後我們就可以開始構造請求進行API的調用了。
// ...
const handleSubmit = message => {
  const newMessage: chatItem = {
    key: chatList.value.length,
    role: 'user',
    content: message,
  };
  chatList.value.push(newMessage);
  fetchReply();
}

const fetchReply = async () => {
  return fetch( // +
      'https://dashscope.aliyuncs.com/compatible-mode/v1/chat/completions', // +
      { // +
        method: 'POST', // +
        headers: { // +
          Authorization: `Bearer ${import.meta.env.VITE_ALIYUN_API_APPKEY}`, // +
          'Content-Type': 'application/json', // +
        }, // +
        body: JSON.stringify({ // +
          model: 'qwen-plus', // +
          messages: chatList.value // +
        }) // +
      } // +
  ) // +
};
// ...
參數model是指定了我們使用的模型,我們還給接口傳遞了一個messages的消息數組,這是因為通義千問API是無狀態的,它不會自動記錄歷史對話,所以要實現多輪對話,就需要在每次請求中顯式地傳遞完整的上下文信息,很顯然這樣隨着聊天記錄增加,請求體會變得越來越大,文檔後面呢也提供了一些優化策略,不過這不是我們今天的重點。
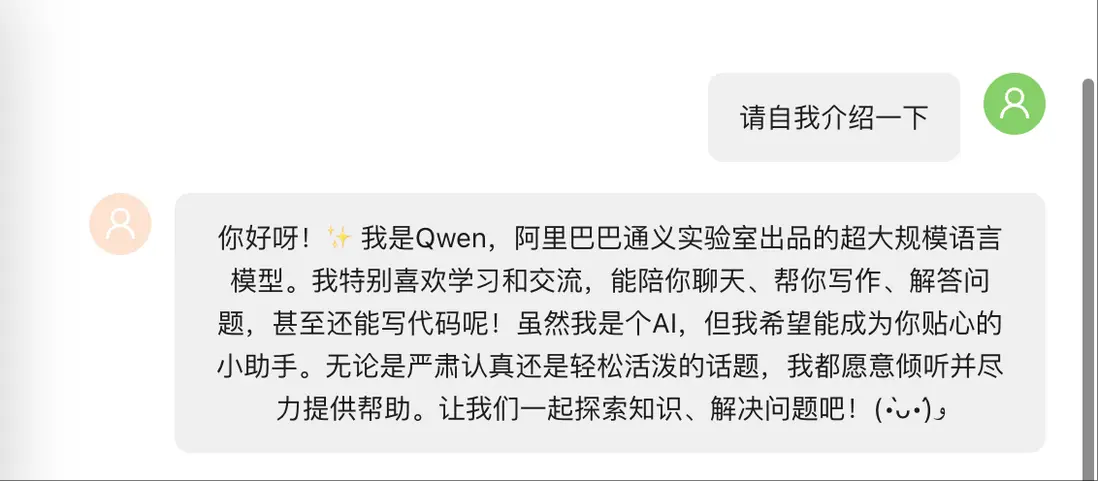
現在我們刷新頁面試着發送消息去請求一下API,就可以看到接口返回的ai消息了,消息的內容就在choices數組裏message的content屬性裏。
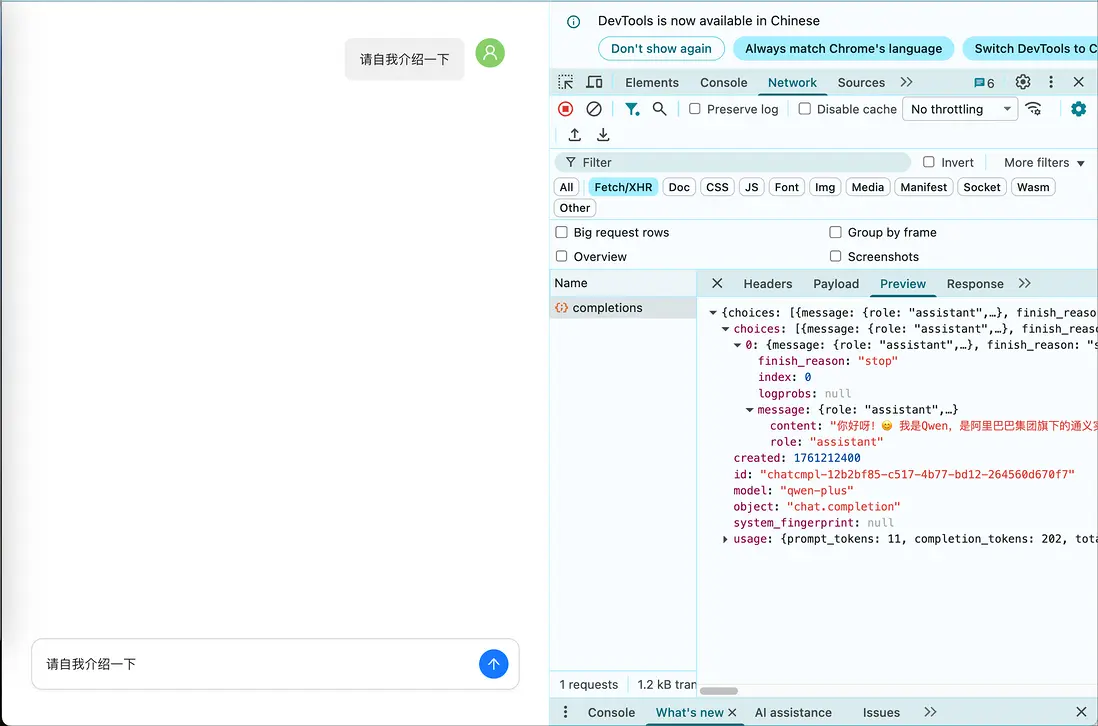
我們把它顯示到頁面上就可以了。
const handleSubmit = message => {
  const newMessage: chatItem = {
    key: chatList.value.length,
    role: 'user',
    content: message,
  };
  chatList.value.push(newMessage);
  fetchReply() // M
      .then (response => response.json()) // +
      .then(result => { // +
        const newReply: chatItem = { // +
          key: chatList.value.length, // +
          role: 'assistant', // +
          content: result.choices[0].message.content, // +
        }; // +
        chatList.value.push(newReply); // +
      }); // +
}
問題1:長時間等待
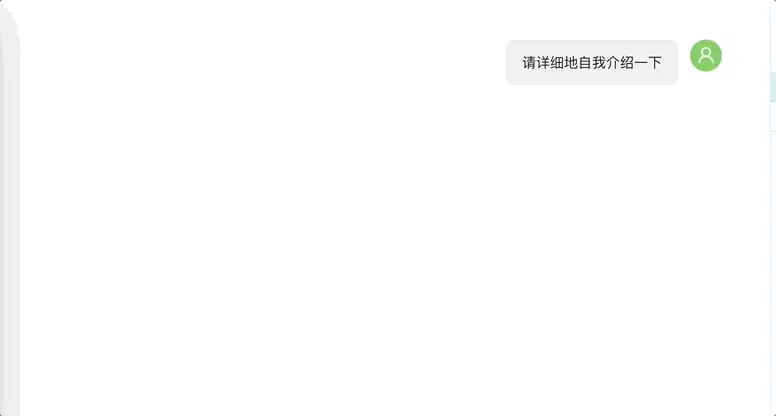
這時我們再發送消息,讓ai輸出更詳細的自我介紹,可以注意到明顯地有一段比較長的等待時間,這是因為這次返回的內容比較多。
解決:改為流式輸出
為了能有更好的用户體驗,我們可以將返回的形式改為流式輸出,在請求參數裏增加stream參數的設置,將它設置為true。
const fetchReply = async () => {
  return fetch(
      'https://dashscope.aliyuncs.com/compatible-mode/v1/chat/completions',
      {
        method: 'POST',
        headers: {
          Authorization: `Bearer ${import.meta.env.VITE_ALIYUN_API_KEY}`,
          'Content-Type': 'application/json',
        },
        body: JSON.stringify({
          model: 'qwen-plus',
          messages: chatList.value,
          stream: true // +
        })
      }
  )
};
當我們再次請求時,會發現這個請求返回的內容和普通的請求不一樣,network顯示的請求裏多了一個tab,標題是EventStream。
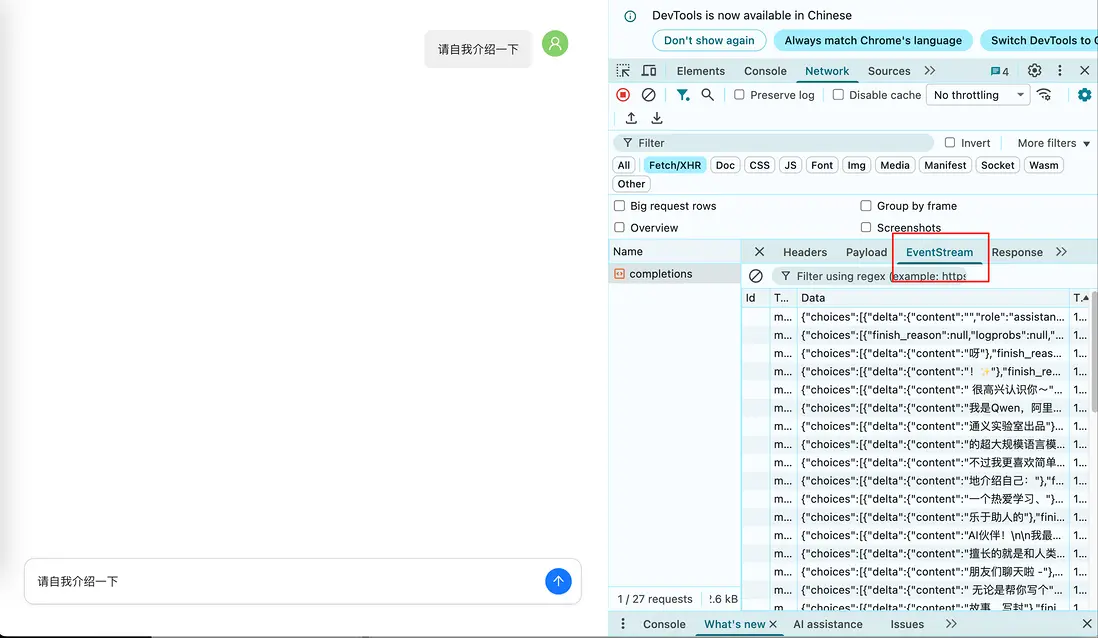
這是因為我們設置了流式輸出。流式輸出通過持續返回模型生成的文本片段,可以提供給用户更好的應用體驗,避免長時間的等待,那我們要怎麼處理這類請求返回的流式內容呢?
這一類請求我以前也沒有處理過,所以我找了MDN的文檔來參考,MDN上有一個關於fetch API response的文檔:ReadableStream,對返回的流式內容進行處理,我們把它複製過來。
const handleSubmit = message => {
  const newMessage: chatItem = {
    key: chatList.value.length,
    role: 'user',
    content: message,
  };
  chatList.value.push(newMessage);
  const index = chatList.value.length; // +
  let reply = ''; // +
  fetchReply()
      // .then (response => response.json())
      // .then(result => {
      //   const newReply: chatItem = {
      //     key: chatList.value.length,
      //     role: 'assistant',
      //     content: result.choices[0].message.content,
      //   };
      //   chatList.value.push(newReply);
      // });
      .then(response => response.body)
      .then(rb => {
        const reader = rb.getReader();

        return new ReadableStream({
          start(controller) {
            // The following function handles each data chunk
            function push() {
              // "done" is a Boolean and value a "Uint8Array"
              reader.read().then(({ done, value }) => {
                // If there is no more data to read
                if (done) {
                  console.log("done", done);
                  controller.close();
                  return;
                }
                // Get the data and send it to the browser via the controller
                controller.enqueue(value);
                // Check chunks by logging to the console
                // console.log(done, value); // M
                const decoder = new TextDecoder(); // +
                const decodedString = decoder.decode(value); // +
                console.log(decodedString); // +
                push();
              });
            }

            push();
          },
        });
      });
}
我們看到這裏的註釋裏寫着,value是Uint8Array,也就是無符號整型數組,所以我們需要對他進行解析,這裏我用了TextDecoder來解析,最後打印的decodedString就是解析出來的文本內容,我們先去請求一下,看一下這個內容是什麼樣子的。
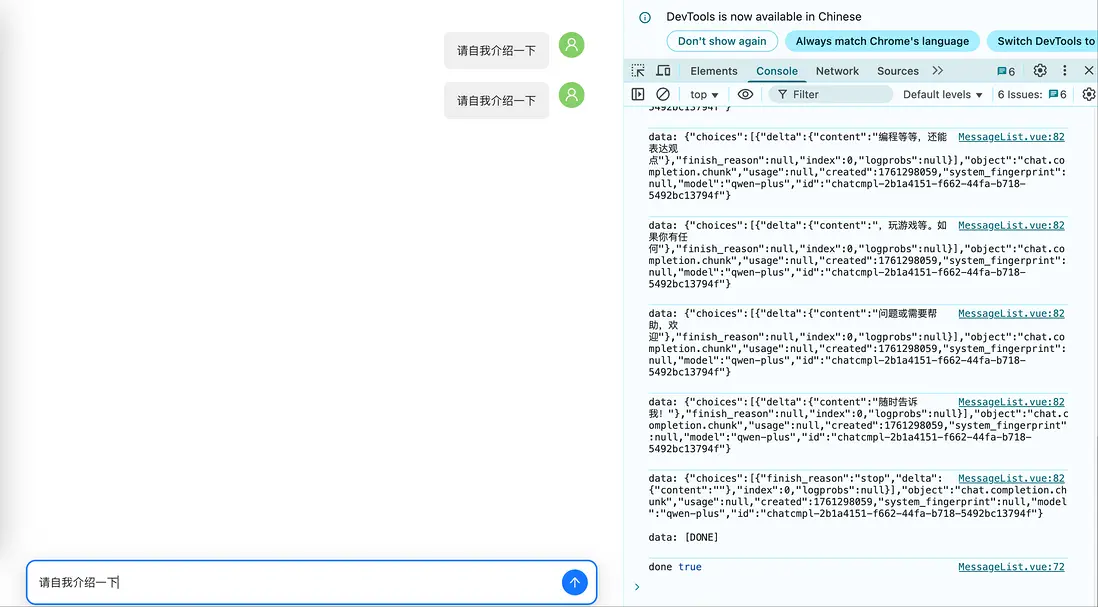
可以看到decodedString打印出來的是一個多行的內容,每一行內容都是以data:開頭,消息的最後一行是一個[done]的標識。
那麼我們接下來就對decodedString進行處理,將它返回的多行的內容取出來,再進行拼接。
我們剛才看到,消息的最後會返回一個data: [DONE]表示回答結束,這條內容是我們需要過濾掉的。
// ...
// console.log(decodedString);
const lines = decodedString.split('\n').filter(line => line.trim() !== ''); // +
for (const line of lines) { // +
  const message = line.replace(/^data: /, ''); // +
  if (message === '[DONE]') { // +
    console.log("Stream finished"); // +
    return; // +
  } else { // +
    const parsed = JSON.parse(message); // +
    const content = parsed.choices[0].delta.content; // +
    if (content) { // +
      reply += content; // +
      if (chatList.value.length < index + 1) { // +
        const newReply: chatItem = { // +
          key: index, // +
          role: 'assistant', // +
          content: reply, // +
        }; // +
        chatList.value.push(newReply); // +
      } else { // +
        chatList.value[index].content = reply; // +
      } // +
    } // +
  } // +
} // +
push();
// ...
這個時候我們再去重新開啓對話,可以看到請求很快就得到了響應,並把內容一點點的顯示到對話框裏,這時候的用户體驗就比一次性獲得消息好很多。
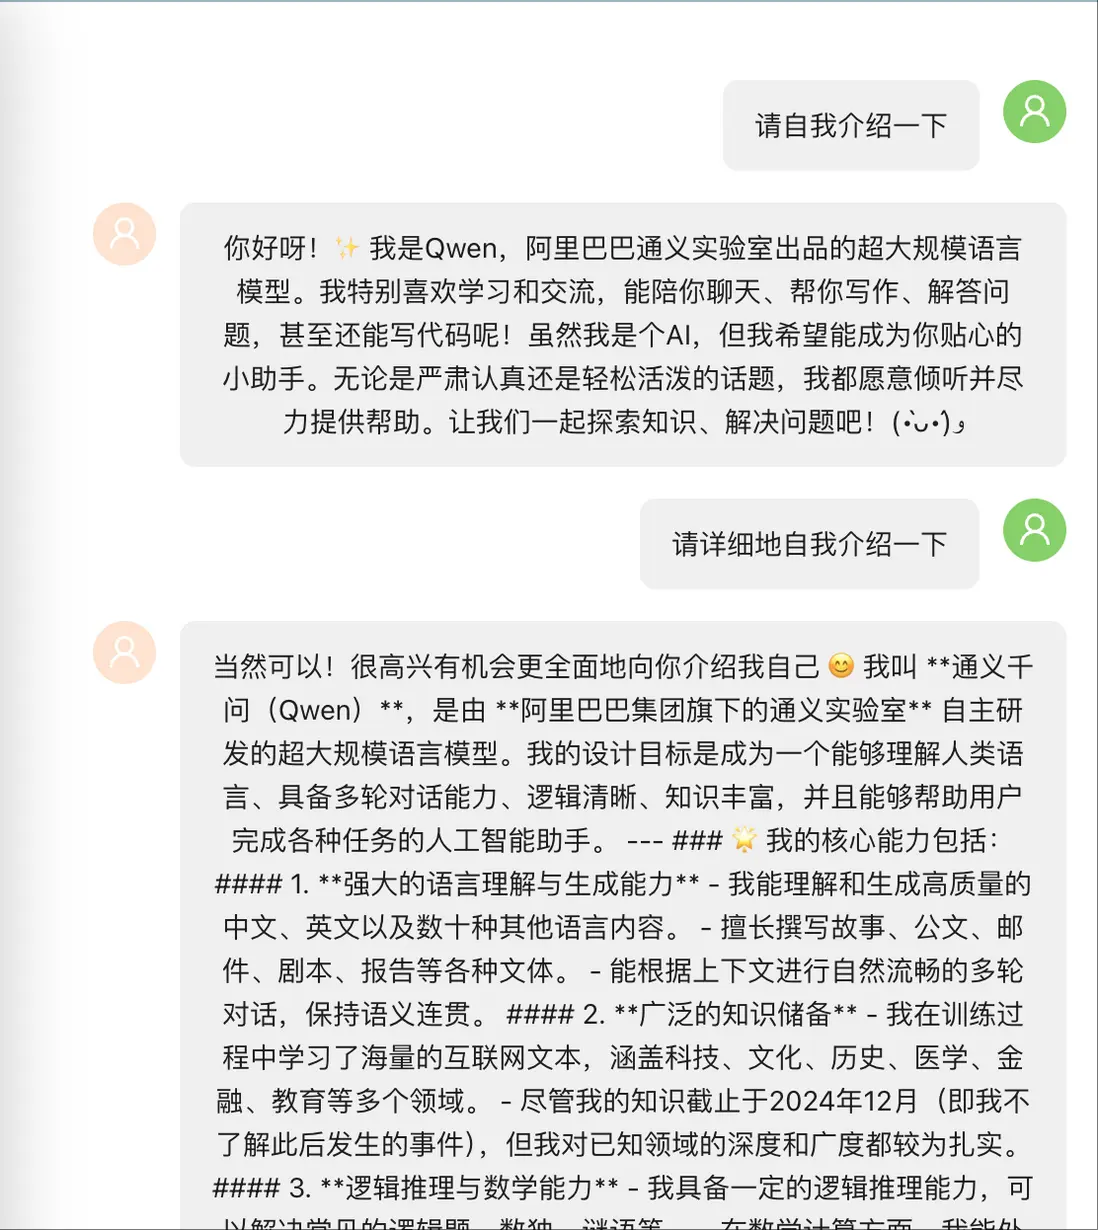
問題2:markdown內容的顯示
到這裏呢,基本功能就完成了,但是頁面上還存在一個很明顯的問題,我們可以看到,ai返回的消息它其實是一段markdown格式的內容,如果就這樣直接顯示出來、顯然並不太好,那麼我們可以加入一個markdown-it的包,增加對markdown內容的顯示處理。
解決:使用markdown-it處理
ant-design-x-vue這個UI庫這裏也提供了支持,可以直接按照文檔來進行配置
// ...
import type { BubbleListProps, BubbleProps } from "ant-design-x-vue"; // M
// ...
import { Typography } from 'ant-design-vue'; // +
import markdownit from 'markdown-it'; // +

const md = markdownit({ html: true, breaks: true }); // +
const renderMarkdown: BubbleProps['messageRender'] = (content) => // +
    h(Typography, null, { // +
      default: () => h('div', { innerHTML: md.render(content) }), // +
    }); // +

const rolesAsObject: BubbleListProps['roles'] = {
  'assistant': {
    placement: 'start',
    avatar: { icon: h(UserOutlined), style: { background: '#fde3cf'} },
    typing: { step: 5, interval: 20 },
    styles: {
      maxWidth: '600px',
    },
    messageRender: renderMarkdown, // +
  },
  'user': {
    placement: 'end',
    avatar: { icon: h(UserOutlined), style: { background: '#87d068' } },
  },
};
這時我們再去發起一次對話看一下效果。
可以看到返回的markdown格式的內容在頁面上的顯示已經是經過轉換後的了。到這裏呢我們就實現了簡單的ai對話功能,這也是我第一次接觸,所以還沒有更深入的研究,感興趣的同學也可以動手嘗試一下呀。