


為你的Android添加第一個單元測試
續上篇《從Kotlin雙鎖單例中學習到...》,我們為這個加解密單例添加一個單元測試,繼續優化我們的代碼。從這篇你可以瞭解到:
- Android單元測試的添加
- 單元測試的生命週期
- 單元測試的Mock對象
- 斷言的使用
Andorid單元測試的添加
testImplementation 'junit:junit:4.13.1'
androidTestImplementation 'androidx.test.ext:junit:1.1.1'
androidTestImplementation 'androidx.test.espresso:espresso-core:3.2.0' 步驟1,這裏是使用junit來進行andorid的單元測試,因此在模塊的build.gradle下dependencies加入junit依賴包
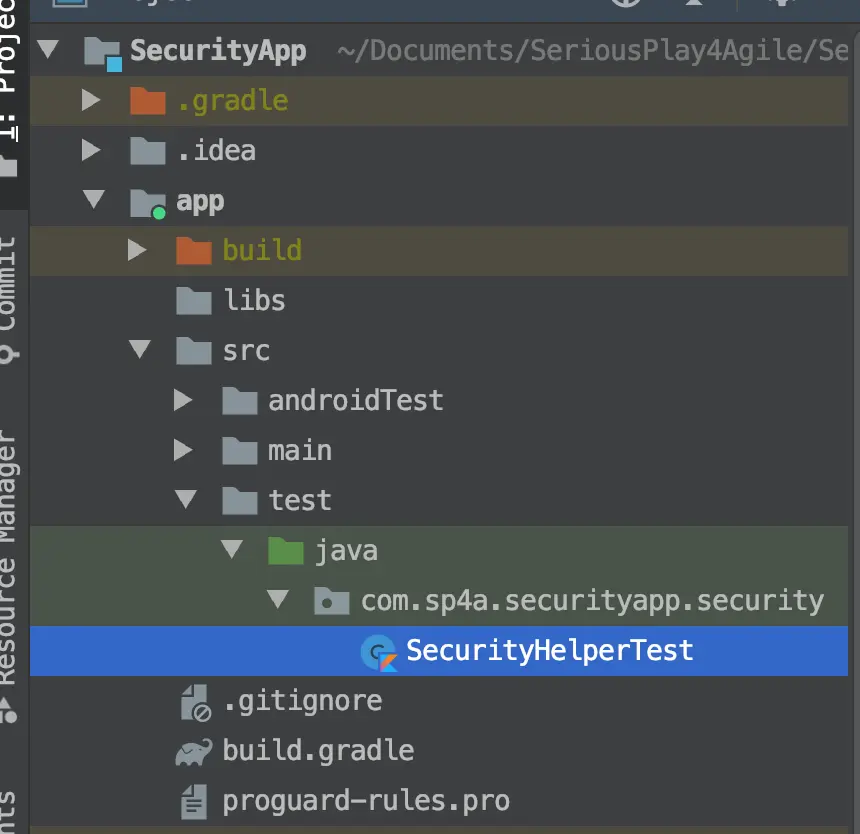
步驟2方式一:在對應模塊-src-test-java下,添加一個kotlin或java的類SecurityHelperTest,我這裏是kotlin的語言
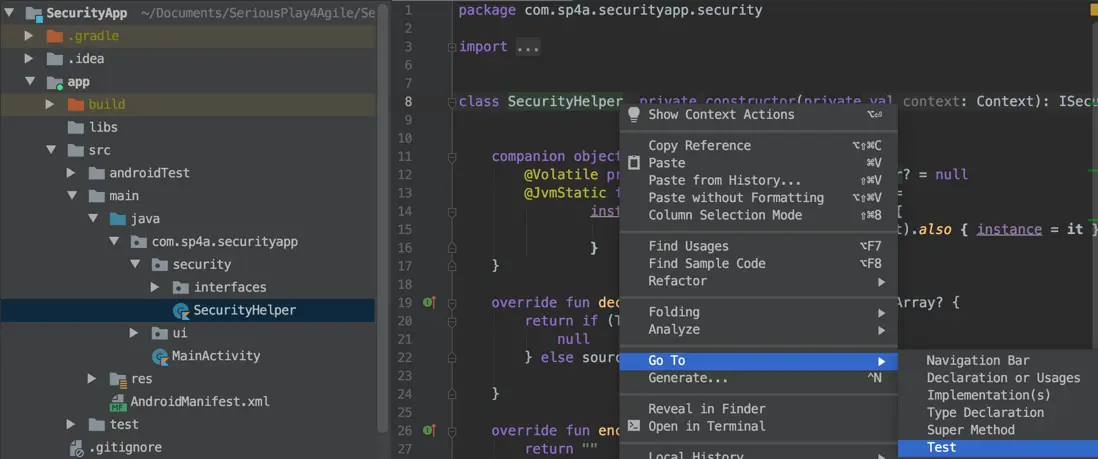
步驟2方式二:在需要被測試的類的代碼中,右鍵-Go To-Test,創建單測類SecurityHelperTest
單元測試的生命週期
class SecurityHelperTest{
  @Before
  fun init(){
    println("===@Beforeinitcalled===")
  }

  @After
  fun clearDataForTest(){
    println("===@AfterclearDataForTestcalled===")
  }

  @Test
  fun testInstanceOnce(){
    println("ooo@TesttestInstance1calledooo")
  }

  @Test
  fun testInstanceTwice(){
    println("ooo@TesttestInstance2calledooo")
  }

  @Test
  fun testInstanceThird(){
    println("ooo@TesttestInstance3calledooo")
  }
} 為這個單元測試類SecurityHelperTest首先添加以上代碼,我們分別使用@Before/@After/@Test三種註解到類的方法上,每個方法都會打印出不同的日誌內容,最後運行這個測試代碼。
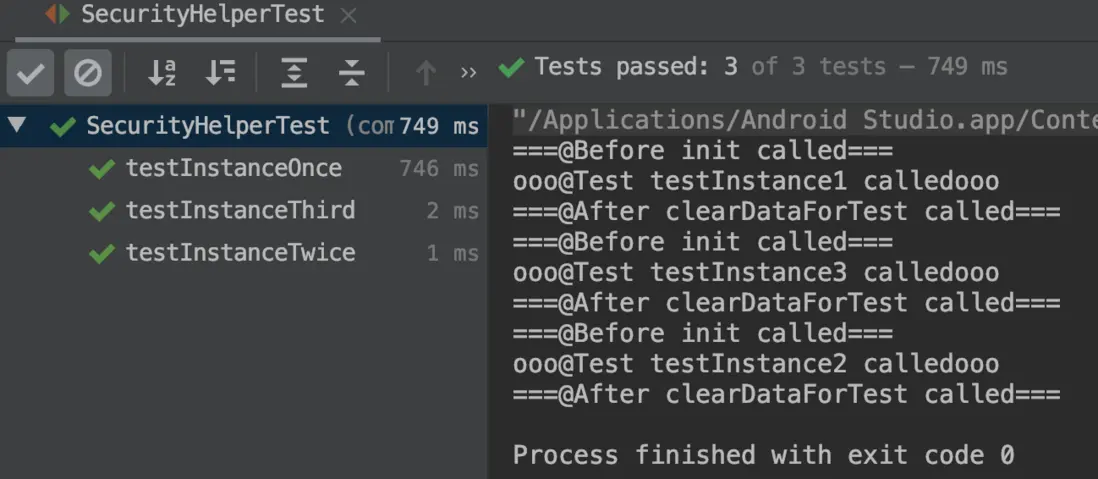
看到測試結果,3個@Test的方式依次調用,每次調用前都會執行@Before,調用後都會執行@After。知道這個生命週期之後,就可以在@Before放入公共初始化的內容,在@After放入公共銷燬的內容。
單元測試的Mock對象
var mSecurityHelper: SecurityHelper = SecurityHelper.getInstance(context) 由於junit是用於進行java的單元測試,而android當中有時候需要操作到android庫當中的類(如我的加解密類當中的Context),這時候junit就無法測試了,因此我們需要mock製造一個假的上下文Context,給到這個方法作為輸入的參數使用。
testImplementation 'org.mockito:mockito-core:2.19.0' 這裏採用了Mockito作為單元測試的Mock使用,在build.gradle下dependencies加入Mockito依賴包。
@RunWith(MockitoJUnitRunner::class)class
SecurityHelperTest {
  ...
  context = mock(Context::class.java)
} 回到我們的單元測試類SecurityHelperTest,在類開頭上方加入註解@RunWith(MockitoJunitRunner::class),這個時候就通過mock(Context::class.java)的方法mock出來一個假的上下文context使用(其他android庫的對象同理)。
斷言的使用
junit中是通過assert類來實現斷言,判斷這個測試結果是否符合預期。以下列出了一些常用方法(更多詳細可查詢assert類):
| assertEquals | 檢查兩個變量值是否相等 |
|---|---|
| assertNotNull | 檢查對象是否不為空 |
| assertSame | 檢查兩個對象是否相同 |
| assertTrue | 檢查條件為真 |
@RunWith(MockitoJUnitRunner::class)
class SecurityHelperTest {
    companion object {
      lateinit var context: Context
      lateinit var mSecurityHelper1: SecurityHelper
      lateinit var mSecurityHelper2: SecurityHelper
      lateinit var mSecurityHelper3: SecurityHelper
    }

    @Before
    fun init() {
      println("===@Before init called===")
      context = mock (Context::class.java)
      mSecurityHelper1 = SecurityHelper.getInstance(context)
      mSecurityHelper2 = SecurityHelper.getInstance (context)
      mSecurityHelper3 = SecurityHelper.getInstance (context)
    }

    @Test
    fun testInstanceOnce() {
       println("ooo@Test testInstance1 calledooo")
      assertNotNull (mSecurityHelper1)
    }

    @Test
    fun testInstanceTwice() {
      println("ooo@Test testInstance2 calledooo")
      assertSame (mSecurityHelper1, mSecurityHelper2)
    }

    @Test
    fun testInstanceThird() {
      println("ooo@Test testInstance3 calledooo")
      assertEquals (mSecurityHelper3.javaClass.name, mSecurityHelper2.javaClass.name)
    }

    @After
    fun clearDataForTest() {
        println("===@After clearDataForTest called===")
    }
} 這裏是SecurityHelperTest的完整代碼,我們分別使用一遍assertNotNull/assertSame/assertEquals三個斷言方法,用於測試這個加解密單例代碼,第一次調用是否不為空,第二次調用是否同一個實例對象,第三次調用是否實例的類名字相等。
最後運行這個單元測試
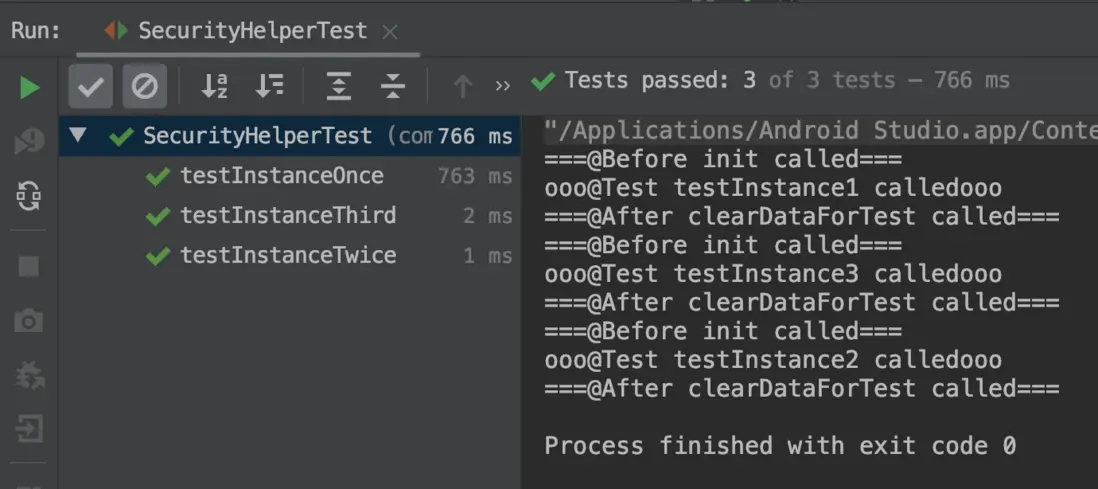
以上全部就為我們這個加解密類加入了一個單元測試的過程了,最後我們運行一遍這個單元測試,通過,沒有問題哦~
作者聯繫方式:
