
場景描述
在特殊的H5場景下需要應用拉起自定義鍵盤進行輸入。
場景一:使用jsBridge拉起自定義彈窗寫自定義鍵盤,再通過jsBridge傳參實現輸入。
場景二:使用web的同層渲染將原生textInput組件渲染到頁面上。
方案描述
通過註冊一個js代理對象被web的registerJavaScriptProxy方法調用拉起CustomDialog,在CustomDialog上放置一個customkeyboard
場景一:通過jsBridge拉起自定義彈窗,在自定義彈窗上放置自定義鍵盤,例如需要輸入密碼時的安全鍵盤。
效果圖
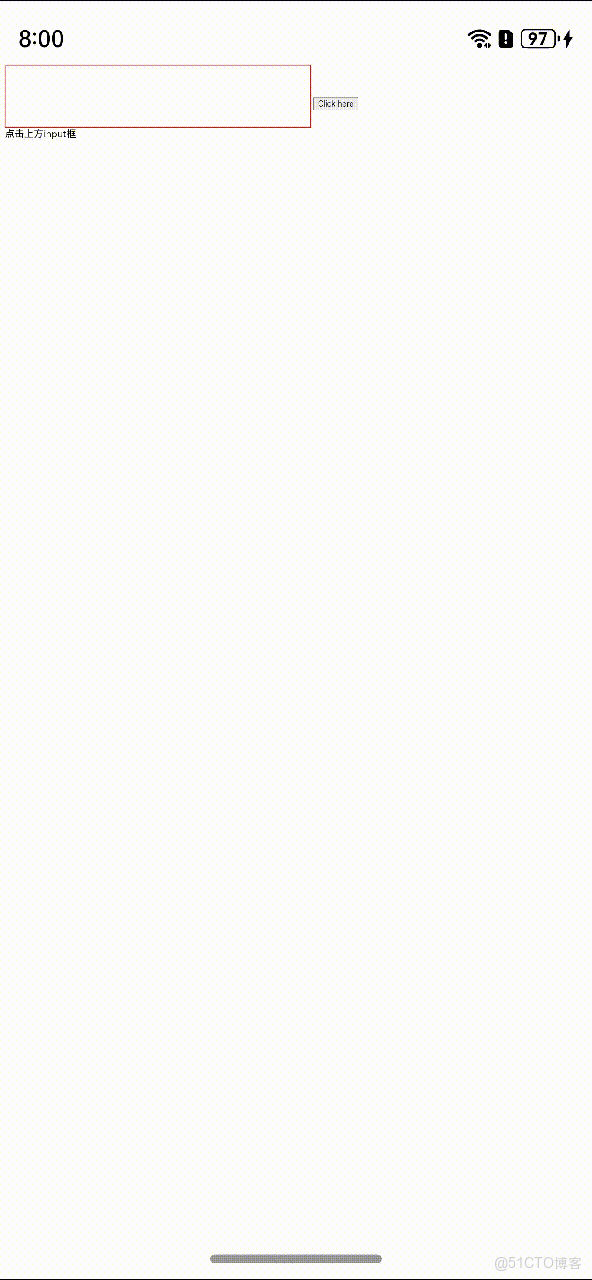
方案
通過註冊一個js代理對象被web的registJavaScriptProxy方法調用拉起CustomDialog,在CustomDialog上放置一個自定義鍵盤組件,通過在H5上input標籤的readonly屬性和註冊的js方法changeNumbers實現在原生端輸入數字傳到H5上,他們之間通過@Link裝飾器綁定的變量進行傳值,所以點擊刪除輸入的內容也是可以在H5上實現的。
核心代碼
通過javaScriptProxy方法拉起自定義彈窗,在H5上的input標籤綁定一個onclick事件,當點擊輸入框後會調用從原生註冊過來的js代理方法openWindow。
<input type="text" name="number_info" readonly onclick="openWindow()" value="" style="width: 500px;height: 100px;font-size:50px;border:1px solid # f00;">

<script>

function openWindow() {

let value = document.getElementsByName("number_info")[0].value;

window.myJsb.openDialog(value)

}

</script>
當H5上openWindow方法被調用後會通過jsBridge調用以下兩個js代理方法打開自定義彈窗。
jsbObject: JsbObject = {

openDialog: (value: string) => {

this.showDialog(this, value);

}

}

showDialog(context: object, value: string) {

// 把自定義彈窗調出來

this.currentData = value;

this.dialogController.open()

}


Web({ src: "resource://rawfile/web_test.html", controller: this.webviewController })

.javaScriptAccess(true)

.javaScriptProxy({

name: "myJsb",

object: this.jsbObject,

methodList: ["openDialog"],

controller: this.webviewController

}
將自定義鍵盤放置在自定義彈窗上。
@CustomDialog

struct CustomDialogExample {

@Link currentData: string

dialogControllerTwo: CustomDialogController | null = new CustomDialogController({

builder: CustomDialogExample({ currentData: $currentData }),

alignment: DialogAlignment.Bottom,

offset: { dx: 0, dy: -25 }

})

controller?: CustomDialogController


build() {

Column() {

Button('x').onClick(() => {

// 關閉自定義鍵盤

if (this.controller != undefined) {

this.controller.close()

}

})

Grid() {

ForEach([1, 2, 3, 4, 5, 6, 7, 8, 9, '*', 0, '刪除'], (item: number | string) => {

GridItem() {

Button(item + "")

.width(110).onClick(() => {

if (item == '刪除') {

if (this.currentData.length > 0) {

this.currentData = this.currentData.substring(0, this.currentData.length - 1);

}

} else {

this.currentData += item

}

})

}

})

}.maxCount(3).columnsGap(10).rowsGap(10).padding(5)

}.backgroundColor(Color.Gray)

}

}
在自定義鍵盤上輸入內容的時候會調用onChangeInputValue方法,通過裏面的runJavaScript調用H5上的js方法changeNumber傳值到H5的輸入框中。
onChangeInputValue(stateName: string){

console.log('this.currentData:' + this.currentData)

this.webviewController.runJavaScript('changeNumber("'+ this.currentData +'")')

.then((result) => {

console.log('result: ' + result);

})

}


<<input type="text" name="number_info" readonly onclick="openWindow()" value="" style="width: 500px;height: 100px;font-size:50px;border:1px solid # f00;" />

<script>

function changeNumber(value){

document.getElementsByName("number_info")[0].value = value;

}

</script>
場景二:通過同層渲染渲染一個原生的自定義鍵盤
效果圖
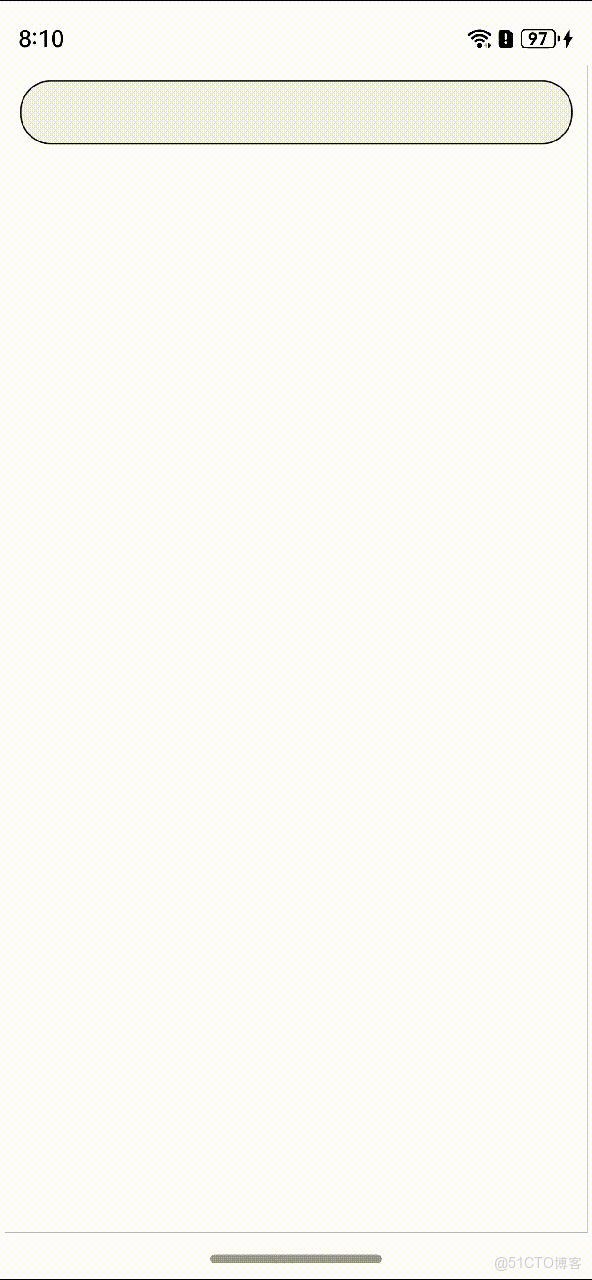
方案
整體實現效果為:通過web的同層渲染功能實現將原生TextInput組件渲染到H5需要使用自定義鍵盤的頁面中,這樣就可以實現在H5拉起自定義鍵盤,並且使用它的全部功能。
核心代碼
創建一個自定義鍵盤並綁定到原生textInput組件上。
@Component

struct ButtonComponent {

controller1: TextInputController = new TextInputController()

@State inputValue: string = ""


// 自定義鍵盤組件

@Builder

CustomKeyboardBuilder() {

Column() {

Button('x').onClick(() => {

// 關閉自定義鍵盤

this.controller1.stopEditing()

})

Grid() {

ForEach([1, 2, 3, 4, 5, 6, 7, 8, 9, '*', 0, '# '], (item: number | string) => {

GridItem() {

Button(item + "")

.width(110).onClick(() => {

this.inputValue += item

})

}

})

}.maxCount(3).columnsGap(10).rowsGap(10).padding(5)

}.backgroundColor(Color.Pink)

}


@ObjectLink params: Params

@State bkColor: Color = Color.Red

@State outSetValueTwo: number = 40

@State outSetValueOne: number = 40

@State tipsValue: number = 40

controller: web_webview.WebviewController = new web_webview.WebviewController();


build() {

Column() {

TextInput({ controller: this.controller1, text: this.inputValue })// 綁定自定義鍵盤

.customKeyboard(this.CustomKeyboardBuilder()).margin(10).border({ width: 1 })

}

.width(this.params.width)

.height(this.params.height)

}

}
將原生textInput組件通過web同層渲染功能渲染到H5上的embed標籤上。
@Entry

@Component

struct WebIndex {

browserTabController: WebviewController = new webview.WebviewController()


build() {

Column() {

Web({ src: $rawfile("test.html"), controller: this.browserTabController })// 配置同層渲染開關開啓。

.enableNativeEmbedMode(true)// 獲取embed標籤的生命週期變化數據。

.onNativeEmbedLifecycleChange((embed) => {

console.log("NativeEmbed surfaceId" + embed.surfaceId);

// 獲取web側embed元素的id。

const componentId = embed.info?.id?.toString() as string

if (embed.status == NativeEmbedStatus.CREATE) {

console.log("NativeEmbed create" + JSON.stringify(embed.info))

// 創建節點控制器,設置參數並rebuild。

let nodeController = new MyNodeController()

nodeController.setRenderOption({

surfaceId: embed.surfaceId as string,

type: embed.info?.type as string,

renderType: NodeRenderType.RENDER_TYPE_TEXTURE,

embedId: embed.embedId as string,

width: px2vp(embed.info?.width),

height: px2vp(embed.info?.height)

})

nodeController.setDestroy(false);

// 根據web傳入的embed的id屬性作為key,將nodeController存入map。

this.nodeControllerMap.set(componentId, nodeController)

// 將web傳入的embed的id屬性存入@State狀態數組變量中,用於動態創建nodeContainer節點容器,需要將push動作放在set之後。

this.componentIdArr.push(componentId)

} else if (embed.status == NativeEmbedStatus.UPDATE) {

let nodeController = this.nodeControllerMap.get(componentId)

nodeController?.updateNode({

textOne: 'update',

width: px2vp(embed.info?.width),

height: px2vp(embed.info?.height)

} as ESObject)

} else {

let nodeController = this.nodeControllerMap.get(componentId);

nodeController?.setDestroy(true)

this.nodeControllerMap.clear();

this.componentIdArr.length = 0;

}

})// 獲取同層渲染組件觸摸事件信息。

.onNativeEmbedGestureEvent((touch) => {

console.log("NativeEmbed onNativeEmbedGestureEvent" + JSON.stringify(touch.touchEvent));

this.componentIdArr.forEach((componentId: string) => {

let nodeController = this.nodeControllerMap.get(componentId)

if (nodeController?.getEmbedId() === touch.embedId) {

let ret = nodeController?.postEvent(touch.touchEvent)

if (ret) {

console.log("onNativeEmbedGestureEvent success " + componentId)

} else {

console.log("onNativeEmbedGestureEvent fail " + componentId)

}

}

})

})

}

}

}


<html>

<head>

<title>同層渲染測試html</title>

<meta name="viewport">

</head>

<body>

<div>

<div id="bodyId">

<embed id="nativeTextInput" type="native/TextInput" width="100%" height="100%" src="test?params1=xxx?"

style="background-color:pink"/>

</div>

</div>

</body>

</html