不少介紹Blazor網站包括微軟自己的文檔網站,對Blazor採用的認證/授權機制有詳細的介紹,但是往往給出的是Identity Server的例子。搜索引擎可以找到的如:
https://chrissainty.com/securing-your-blazor-apps-introduction-to-authentication-with-blazor/
https://docs.microsoft.com/zh-cn/aspnet/core/blazor/security/?view=aspnetcore-5.0
但是如筆者的場景,沒有SQL Server,沒有OCID機制的企業內部網絡,想實現自己登錄機制,在網絡上並沒有多少資料。下文介紹的是基於Token的內網用户名/密碼認證,出於登錄演示機制的考慮,並不保證代碼在安全邏輯層面是可靠的。不要使用未加改造的本文代碼,使用在生產網絡中!
本文將以Server Side的方式介紹,WASM方式僅需修改少數代碼即可完成移植,不再贅述。
0. 準備
- Nuget安裝Blazored.LocalStorage包。此包使用JS與客户端環境交互,保存/讀取本地數據。
- 註冊認證和授權服務。
1. 機制
不同於Asp.net(以及core,MVC等)模型,Blazor使用的服務器/瀏覽器通訊是SignalR技術,基於WebSockets。SignalR技術是一種長連接通訊,這就和普通的BS登錄模型產生了理解上的衝突——長連接通訊斷開以後,會試圖重連,網絡層會自動透過IP地址端口等要素驗證,似乎不需要解決已經登錄而有別的用户通過此連接接管的問題。更要命的是,SignalR技術並沒有普通的HTTP Cookie概念。所以我們現在所説的基於Token的登錄,僅僅是使用MVC模型的HTTP登錄;然而如何讓SignalR知道此用户是被授權訪問的?答案是Blazor提供的AuthenticationStateProvider。如果razor視圖使用CascadingAuthenticationState,Blazor在渲染前會檢查AuthorizeRouteView中的/AuthorizeView/Authorized, NotAuthorized, Authorizing標籤,並根據客户端得到的授權狀態渲染。
2. 擴展認證狀態提供程序AuthenticationStateProvider
認證狀態提供程序的最核心是 Task<AuthenticationState> GetAuthenticationStateAsync()方法。基於最簡單的登錄機制,我們的擴展提供程序如下。
public class CustomStateProvider : AuthenticationStateProvider {
    private readonly IAuthService api;
    public CustomStateProvider(IAuthService _api) => api = _api; //DI

    public override async Task<AuthenticationState>
        GetAuthenticationStateAsync() {
        var identity = new ClaimsIdentity();
        var currentUser = await GetCurrentUser();
        if (currentUser.IsAuthenticated) {
            List<Claim> claims = new List<Claim>();
            claims.Add(new Claim(ClaimTypes.Name, currentUser.Claims[ClaimTypes.Name]));
            for (int i = 0; i < currentUser.Roles.Count; i++) {
                claims.Add(new Claim(ClaimTypes.Role, currentUser.Roles[i]));
            }
            identity = new ClaimsIdentity(claims, "Basic Password");
        }
        return new AuthenticationState(new ClaimsPrincipal(identity));
    }

    private async Task<CurrentUser> GetCurrentUser() => await api.CurrentUserInfo();

    public async Task<LogoutResponse> Logout(LogoutRequest request) {
        var response = await api.Logout(request);
        NotifyAuthenticationStateChanged(GetAuthenticationStateAsync());
        return response;
    }

    public async Task<LoginResponse> Login(LoginRequest request) {
        var response = await api.Login(request);
        NotifyAuthenticationStateChanged(GetAuthenticationStateAsync());
        return response;
    }
}
3. 擴展認證服務IAuthService
我們使用AuthService來與服務端進行交互,實現認證機制。
public interface IAuthService {
    Task<LoginResponse> Login(LoginRequest request);
    Task<LogoutResponse> Logout(LogoutRequest request);
    Task<CurrentUser> CurrentUserInfo();
}

public class AuthService : IAuthService {
    private readonly HttpClient httpClient;
    private readonly NavigationManager navigationManager;
    private readonly Blazored.LocalStorage.ILocalStorageService storage;

    public AuthService(HttpClient _httpClient,
                      NavigationManager _navigationManager,
                      Blazored.LocalStorage.ILocalStorageService _storage){
        httpClient = _httpClient;
        navigationManager = _navigationManager;
        storage = _storage;
        httpClient.BaseAddress = new Uri(navigationManager.BaseUri);
    }

    public async Task<CurrentUser> CurrentUserInfo() {
        CurrentUser user = new CurrentUser() { IsAuthenticated = false };
        string token = string.Empty;
        try { // 瀏覽器還未加載完js時,不能使用LocalStorage
            token = await storage.GetItemAsStringAsync("Token");
        } catch (Exception ex) {
            Debug.WriteLine(ex.Message);
            return user;
        }

        if(!string.IsNullOrEmpty(token)) {
            try {
                user = await httpClient.GetFromJsonAsync<CurrentUser>($"Auth/Current/{token}");
                if (user.IsExpired) {
                    await storage.RemoveItemAsync("Token");
                }
            } catch( Exception ex) {
                Debug.WriteLine(ex.Message);
            }
        }
        return user;
    }

    public async Task<LoginResponse> Login(LoginRequest request) {
        var from = new FormUrlEncodedContent(new Dictionary<string, string>() {
            ["UserId"] = request.UserId, ["Password"] = request.PasswordHashed
        });
        var result = await httpClient.PostAsync("Auth/Login", form);
        if (result.IsSuccessStatusCode) {
            var response = await result.Content.ReadFromJsonAsync<LoginResponse>();
            if (response.IsSuccess) {
                await storage.SetItemAsync("Token", response.Token);
                return response;
            }
        }
        return new LoginResponse() { IsSuccess = false };
    }

    //Logout代碼從略
}從安全上來説,以上機制情況下,客户端拿到Token以後,可以在別的機器透過僅上傳Token來使服務端驗證,所以應該在服務端保存客户端的一些信息來驗證並實現複雜的安全機制。不要使用上述代碼在生產環境中!
上述代碼完成編寫以後,需要透過註冊服務的機制來讓Blazor使用。
services.AddScoped<CustomStateProvider>();
services.AddScoped<AuthenticationStateProvider>(implementationFactory =>
implementationFactory.GetRequiredService<CustomStateProvider>());
services.AddScoped<IAuthService, AuthService>();
4. 使用客户端
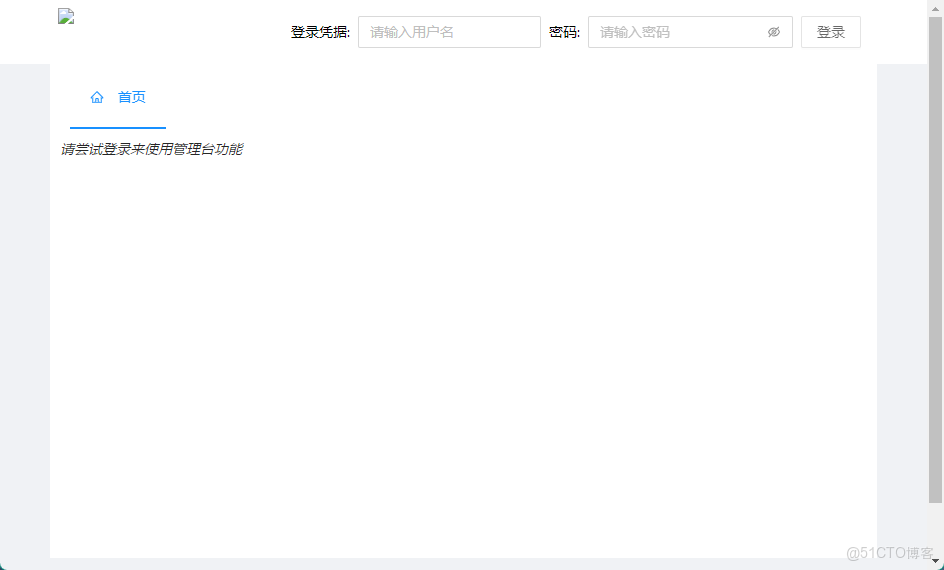
在MainLayout.razor中編寫登錄頁面。UI組件使用了
<AuthorizeView>
  <Authorized>
    <Space Class="auth-bar">
      <SpaceItem>
        <label>你好, @context.User.Identity.Name!</label>
      </SpaceItem>
      <SpaceItem>
        <Button Type=@ButtonType.Dashed OnClick="OnLogout" Class="trans">登出</Button>
      </SpaceItem>
    </Space>
  </Authorized>
  <NotAuthorized>
    <!--在此插入代碼以實現登錄UI-->
  </NotAuthorized>
  <Authorizing>
    <em>正在刷新授權信息...</em>
  </Authorizing>
</AuthorizeView>
頁面需要注入以下服務:
@inject CustomStateProvider AuthStateProvider;
@inject Blazored.LocalStorage.ILocalStorageService Storage;
編寫登錄按鈕的處理事件:
async Task OnLogin() {
isAuthLoading = true;
try {
var response = await AuthStateProvider.Login(new LoginRequest() {
UserId = username, PasswordHashed = SecurityHelper.Encode(password)
});
password = string.Empty;
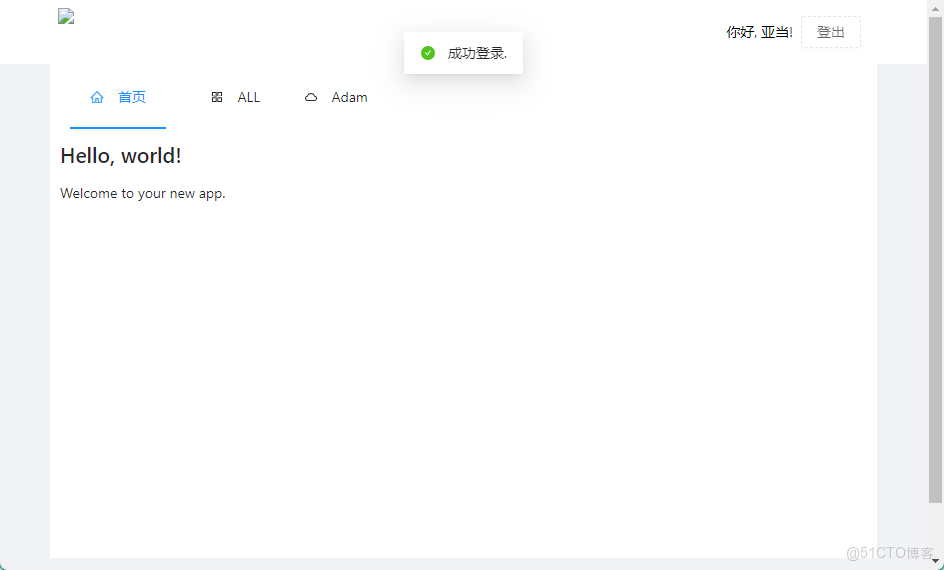
if (response.IsSuccess) {
await Message.Success("成功登錄", .15D);
} else {
await Message.Warning(response.Message);
}
} catch (Exception ex) {
await Message.Error(ex.Message);
} finally {
isAuthLoading = false;
}
}5. 填坑之旅
- 可以在Razor頁中使用LocalStorage存儲Token嗎?——不可以,會造成成功登錄以後頁面需要再刷新一次才能渲染登錄成功的UI,似乎是認證狀態提供程序沒有及時得到Claim造成的。
- 在AuthService中使用中間變量似乎也可以實現此機制。——AuthService運行在服務端,Token保存在服務端沒有意義。
6. 更新
現在NET6出來了, 我使用Minimal API稍微重構了一下代碼. 代碼傳送門在此:
GitHub
代碼的變動不大,就是將Controller更換了app.MapGet和app.MapPost方法。
public static WebApplication MapMinimalAuth(this WebApplication webApplication) {
  webApplication.MapGet("/Auth/Current/{token}", async (string token, [FromServices]UserService service, HttpContext context) => {
    //實現CurrentUser的代碼
  }
  webApplication.MapPost("/auth/login", (LoginRequest request, UserService service) => service.Login(request));
  webApplication.MapPost("/Auth/Logout", (LogoutRequest request, [FromServices] UserService service) =>service.Logout(request));
  return webApplication;
}另外由於NET6的一些特性,有幾點需要説明的:
6.1 Minimal API目前還不支持[FromForm]標註
參見:Minimal API does not support FormFormAttribute
如果在Map方法中參數使用[FromForm]標註,則在框架層直接返回HTTP 400 Bad Request,所以代碼暫且使用了Json格式傳遞登錄/登出的數據。如果在生產情況下最好能對密碼字段進行加密傳輸(雖然前端加密聊勝於無)。如果NET6能支持[FromForm]的話,將會更新代碼,畢竟需要支持多方客户端上傳方式。
6.2 Minimal API的參數注入很好很強大
6.3 夾帶私貨
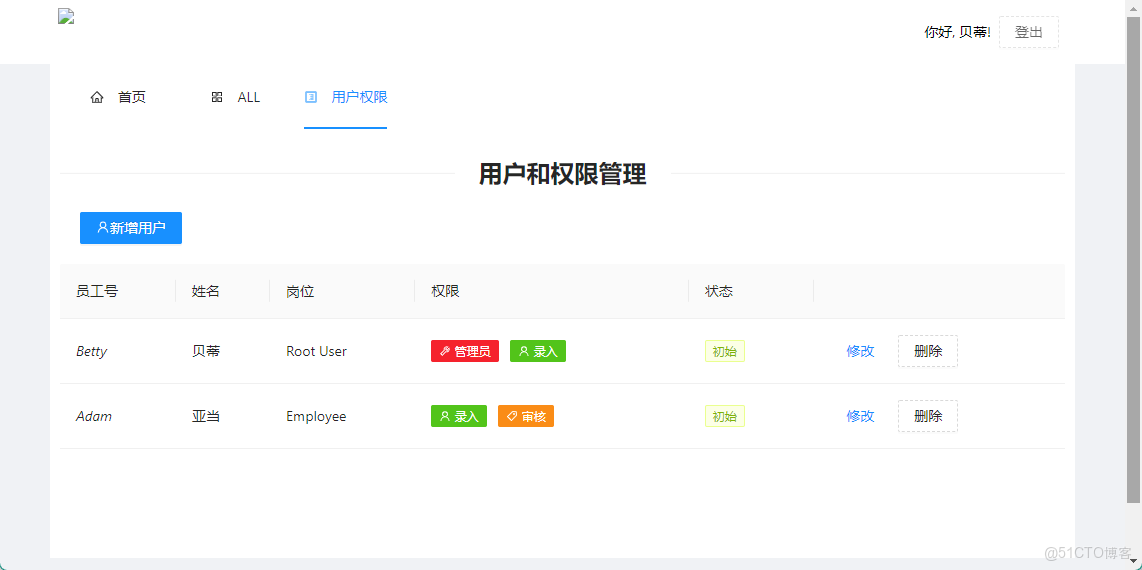
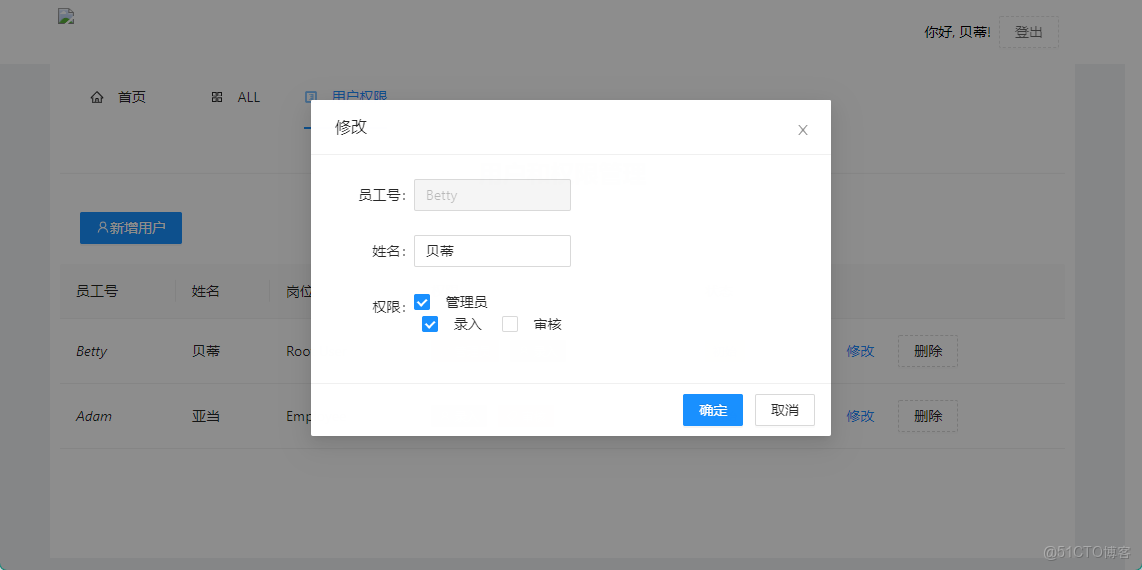
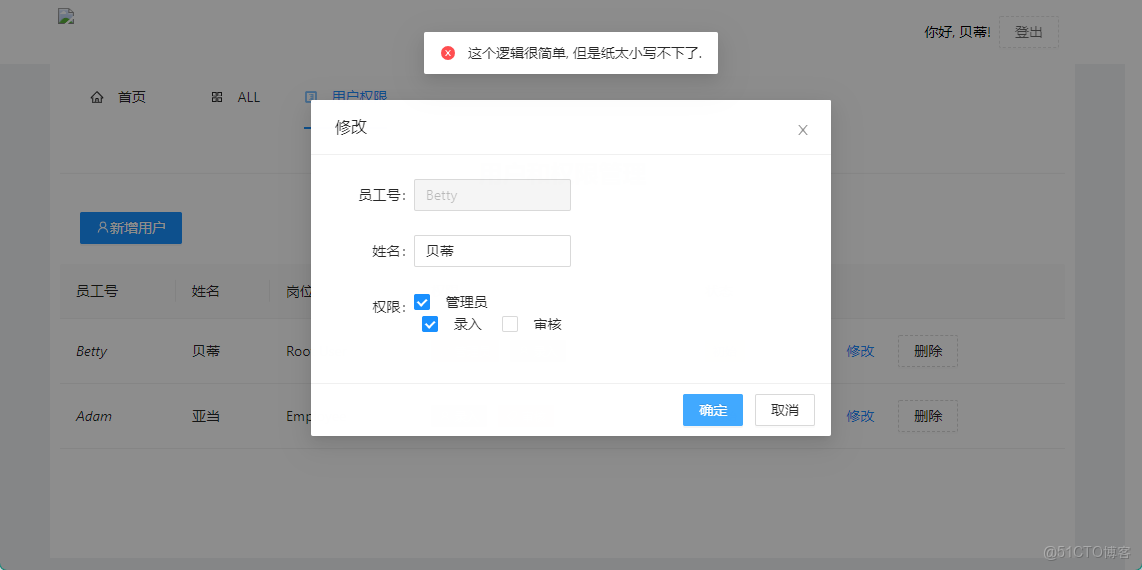
/UserRole這個頁面放了一個簡單的,使用AntDesign Blazor控件寫的權限配置頁面。也算一個簡單的示例代碼吧,畢竟沒有人寫需求。
6.4 示例解説
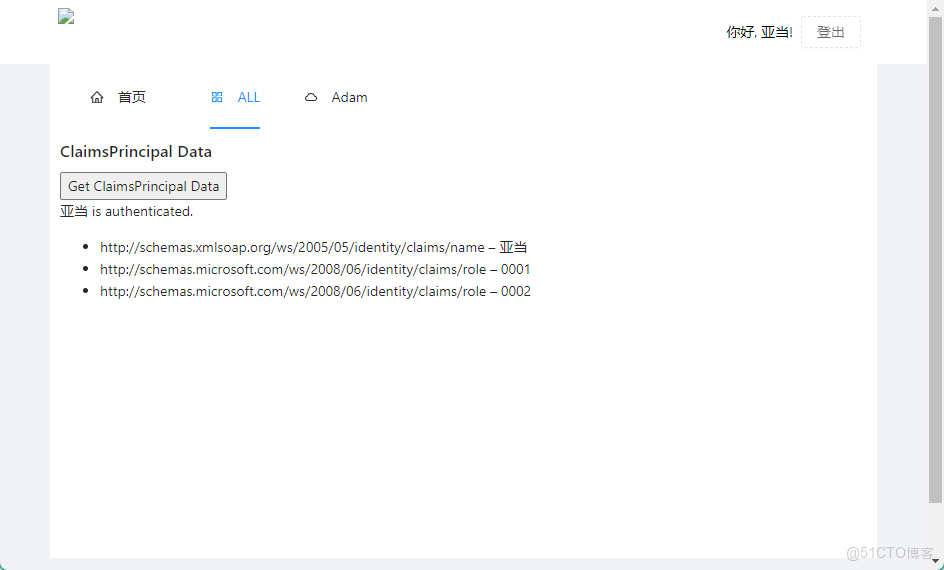
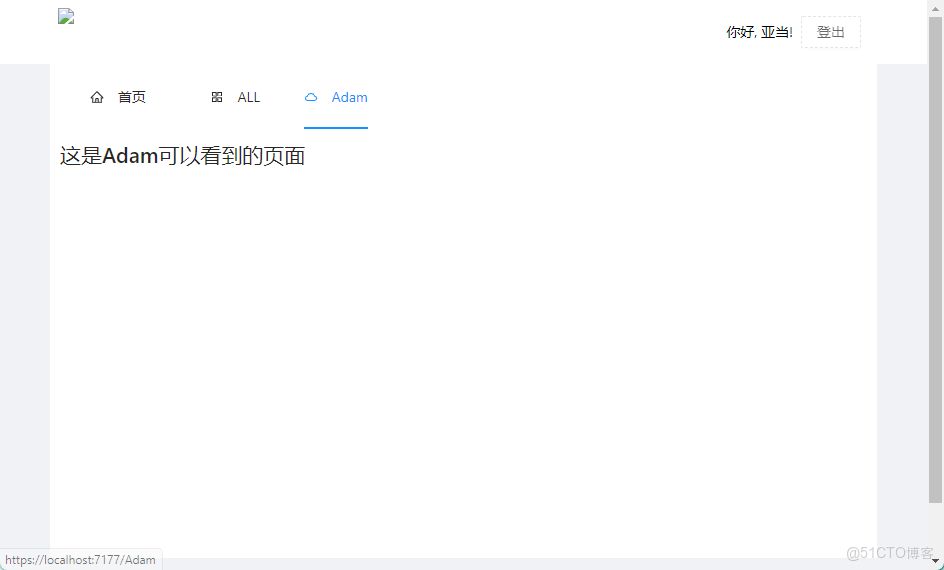
在MockData中, 我們建立兩個用户Adam和Betty. 其中Adam有兩個權限配置0001:錄入和0002:審核, Betty有兩個權限配置0000:超級用户和0001:錄入.
以下代碼僅供演示使用, 不要將類似代碼上線生產環境!
userStore = new ConcurrentDictionary<string, UserStore>() {
["Adam"] = new UserStore() {
Password = "123456",
UserId = "Adam",
Roles = new List<string> { "0001", "0002" },
IsOnline = false
},
["Betty"] = new UserStore() {
Password = "000000",
UserId = "Betty",
Roles = new List<string> { "0000", "0001" },
IsOnline = false
}
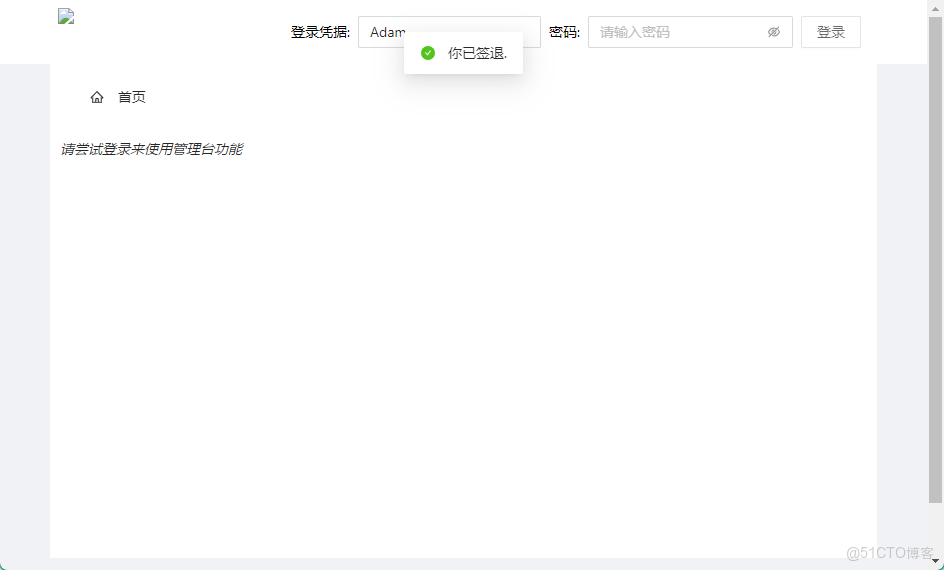
};6.4.1 Adam登錄
6.4.2 Betty登錄以及簡單權限管理
6.4.2 Betty登錄以及簡單權限管理