首先你需要在colab上掛載谷歌硬盤為了保存你上傳好的代碼,如果不掛載谷歌硬盤的話就會導致下次你需要重新上傳你的文件夾
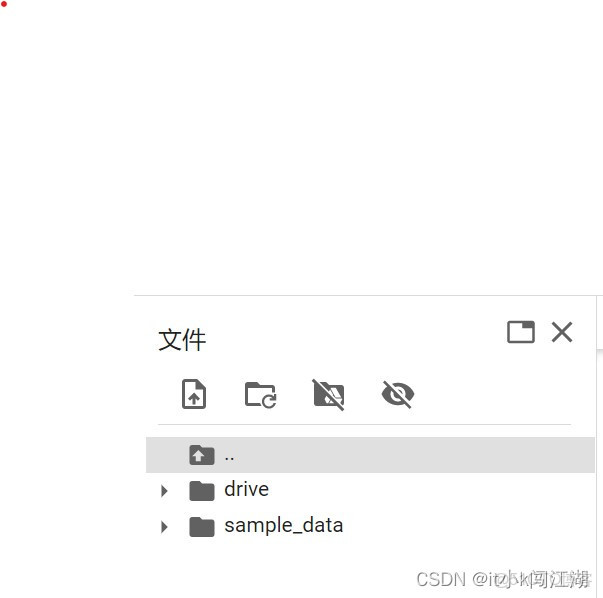
點擊第三個圖標就是掛載你的谷歌硬盤。
然後需要用到以下命令進入到你的谷歌硬盤下(因為我們要把代碼放到谷歌硬盤裏,以後任何通過命令上傳到谷歌硬盤的文件也是同樣的操作)
%cd /content/drive/MyDrive補充一點在此之前要查看colab的gpu顯存是否足夠,chatglm需要6-7g的顯存,查看gpu顯存命令
!nvidia-smi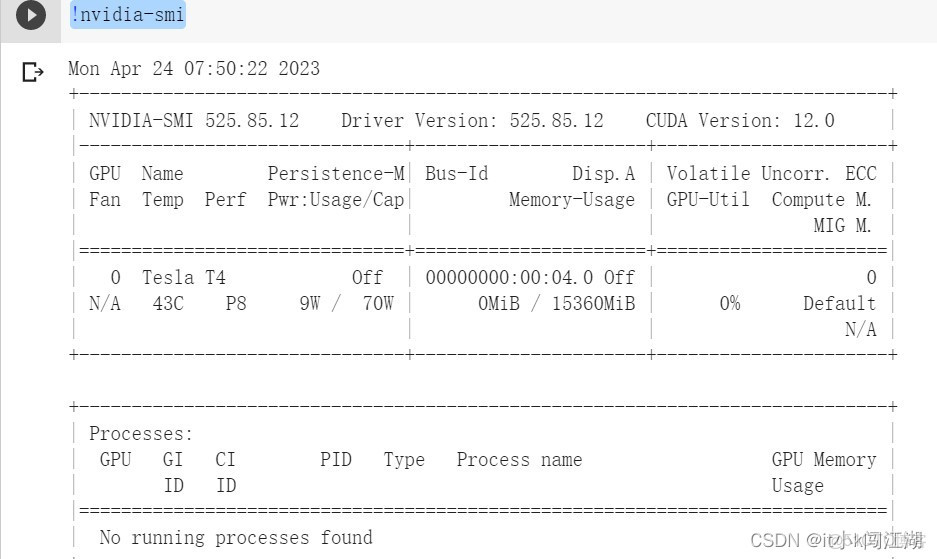
memory-usage為它的顯存大小
第二我們需要在github上下載chatglm的項目,需要用到以下命令
!git clone https://github.com/THUDM/ChatGLM-6B.git下載完項目之後我們需要在項目的主文件夾下新建一個model文件來存放chatglm的模型文件,只需要右擊主項目文件夾新建即可,如圖

然後新建完model文件夾之後,我們需要進入model文件夾下去下載我們的模型文件,進入model文件夾的命令如下
%cd /content/drive/MyDrive/ChatGLM-6B/model進入文件夾下之後按照如下命令將文件下載到model文件夾下
!wget https://huggingface.co/THUDM/chatglm-6b-int4/resolve/main/LICENSE!wget https://huggingface.co/THUDM/chatglm-6b-int4/resolve/main/MODEL_LICENSE!wget https://huggingface.co/THUDM/chatglm-6b-int4/resolve/main/README.md!wget https://huggingface.co/THUDM/chatglm-6b-int4/resolve/main/config.json!wget https://huggingface.co/THUDM/chatglm-6b-int4/resolve/main/configuration_chatglm.py!wget https://huggingface.co/THUDM/chatglm-6b-int4/resolve/main/modeling_chatglm.py!wget https://huggingface.co/THUDM/chatglm-6b-int4/resolve/main/quantization.py!wget https://huggingface.co/THUDM/chatglm-6b-int4/resolve/main/ice_text.model!wget https://huggingface.co/THUDM/chatglm-6b-int4/resolve/main/quantization_kernels.c!wget https://huggingface.co/THUDM/chatglm-6b-int4/resolve/main/quantization_kernels_parallel.c!wget https://huggingface.co/THUDM/chatglm-6b-int4/resolve/main/tokenization_chatglm.py!wget https://huggingface.co/THUDM/chatglm-6b-int4/resolve/main/tokenizer_config.json!wget https://huggingface.co/THUDM/chatglm-6b-int4/resolve/main/pytorch_model.bin!wget https://huggingface.co/THUDM/chatglm-6b-int4/resolve/main/.gitattributes然後我們需要進入到chatGLM-6B文件夾下去配置我們的運行環境
%cd /content/drive/MyDrive/ChatGLM-6B!pip install protobuf==3.20.0 transformers==4.27.1 icetk cpm_kernels!pip install -r requirements.txt以上操作成功之後就可以測試一下我們的部署是否成功了(運行過程會有點慢,請慢慢等待,大概20多分鐘)
from transformers import AutoTokenizer, AutoModel
tokenizer = AutoTokenizer.from_pretrained("model", trust_remote_code=True)
model = AutoModel.from_pretrained("model", trust_remote_code=True).float()
response, history = model.chat(tokenizer, "你好", history=[])
print(response)
response, history = model.chat(tokenizer, "晚上睡不着應該怎麼辦", history=history)
print(response)
如果有問題的話請評論區留言,如果對你有幫助的話就請點贊關注加收藏哦!
參考文章
清華 ChatGLM-6B 中文對話模型部署簡易教程
本文章為轉載內容,我們尊重原作者對文章享有的著作權。如有內容錯誤或侵權問題,歡迎原作者聯繫我們進行內容更正或刪除文章。