
在 WPF 中,如果想做一個背景透明的異形窗口,基本上都要設置 WindowStyle="None"、AllowsTransparency="True" 這兩個屬性。如果不想自定義窗口樣式,還需要設置 Background="Transparent"。這樣的設置會讓窗口變成 Layered Window,WPF 在這種類型窗口上的渲染性能是非常糟糕的。本文介紹如何使用 WindowChrome 而不設置 AllowsTransparency="True"
背景透明的異形窗口
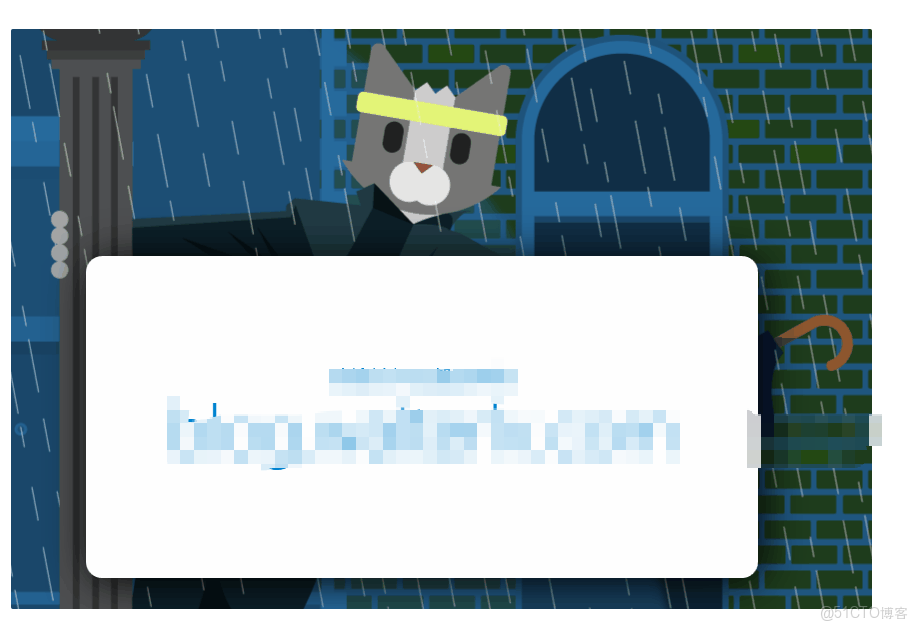
如下是一個背景透明異形窗口的示例:

此窗口包含很大的圓角,還包含 DropShadowEffect
如何實現
要實現這種背景透明的異形窗口,需要為窗口設置以下三個屬性:
WindowStyle="None"ResizeMode="CanMinimize"
- 或
ResizeMode="NoResize"WindowChrome.GlassFrameThickness="-1"
如下就是一個最簡單的例子,最關鍵的三個屬性我已經高亮標記出來了。
|
網上流傳的主流方法
在網上流傳的主流方法中,AllowsTransparency="True" 都是一個必不可少的步驟,另外也需要 WindowStyle="None"。但是我一般都會極力反對大家這麼做,因為 AllowsTransparency="True"
如果你有留意到我的其他博客,你會發現我定製窗口樣式的時候都在極力避開設置此性能極差的屬性:
性能對比
既然特別説到性能,那也是口説無憑,我們要拿出數據來説話。
以下是我用來測試渲染性能所使用的例子:
相比於上面的例子來説,主要就是加了背景動畫效果,這可以用來測試幀率。
|
那麼性能數據表現如何呢?我們讓這個窗口在 2560×1080 的屏幕上全屏渲染,得出以下數據:
|
方案
|
WindowChrome
|
AllowsTransparency
|
|
幀率(fps)數值越大越好,60 為最好 |
59
|
19
|
|
髒區刷新率(rects/s)數值越大越好 |
117
|
38
|
|
顯存佔用(MB)數值越小越好 |
83.31
|
193.29
|
|
幀間目標渲染數(個)數值越大越好 |
2
|
1
|
另外,對於顯存的使用,如果我在 7680×2160 的屏幕上全屏渲染,WindowChrome 方案依然保持在 80+MB,而 AllowsTransparency可見,對於渲染性能,使用 WindowChrome 製作的背景透明異形窗口性能完虐使用 AllowsTransparency


此性能差異的原理解讀,請參閲:
WPF 從最底層源代碼瞭解 AllowsTransparency 性能差的原因
功能對比
既然 WindowChrome 方法在性能上完虐網上流傳的設置 AllowsTransparency值得注意的是,由於在使用 WindowChrome 製作透明窗口的時候設置了 ResizeMode="None",所以你拖動窗口在屏幕頂部和左右兩邊的時候,Windows 不會再幫助你最大化窗口或者靠邊停靠窗口,於是你需要自行處理。不過窗口的標題欄拖動功能依然保留了下來,標題欄上的右鍵菜單也是可以繼續使用的。
|
方案
|
WindowChrome
|
AllowsTransparency
|
|
拖拽標題欄移動窗口
|
保留
|
自行實現
|
|
最小化最大化關閉按鈕
|
丟失
|
丟失
|
|
拖拽邊緣調整窗口大小
|
丟失
|
丟失
|
|
移動窗口到頂部可最大化
|
丟失
|
自行實現
|
|
拖拽最大化窗口標題欄還原窗口
|
保留
|
自行實現
|
|
移動窗口到屏幕兩邊可側邊停靠
|
丟失
|
自行實現
|
|
拖拽搖動窗口以最小化其他窗口
|
保留
|
自行實現
|
|
窗口打開/關閉/最小化/最大化/還原動畫
|
丟失
|
丟失
|
表格中:
保留
- 表示此功能無需任何處理即可繼續支持
自行實現
- 表示此功能已消失,但僅需要一兩行代碼即可補回功能
丟失
- 表示此功能已消失,如需實現需要編寫大量代碼
另外,以上表格僅針對鼠標操作窗口。如果算上使用觸摸來操作窗口,那麼所有標記為 自行實現 的都將變為 丟失。因為雖然你可以一句話補回功能,但在觸摸操作下各種 Bug,你解不完……
- WPF 程序無法觸摸操作?我們一起來找原因和解決方法!
這兩種實現的窗口之間還有一些功能上的區別:
|
方案
|
WindowChrome
|
AllowsTransparency
|
|
點擊穿透
|
在完全透明的部分點擊依然點在自己的窗口上
|
在完全透明的部分點擊會穿透到下面的其他窗口
|
然而,如果你希望在使用高性能的 WindowChrome 時也依然能點擊穿透,那麼你需要使用到一點點的小技巧來繞過 WPF 對 WS_EX_LAYERED 窗口樣式的鎖定