


uniapp在微信小程序中使用Record.js
先安裝核心依賴
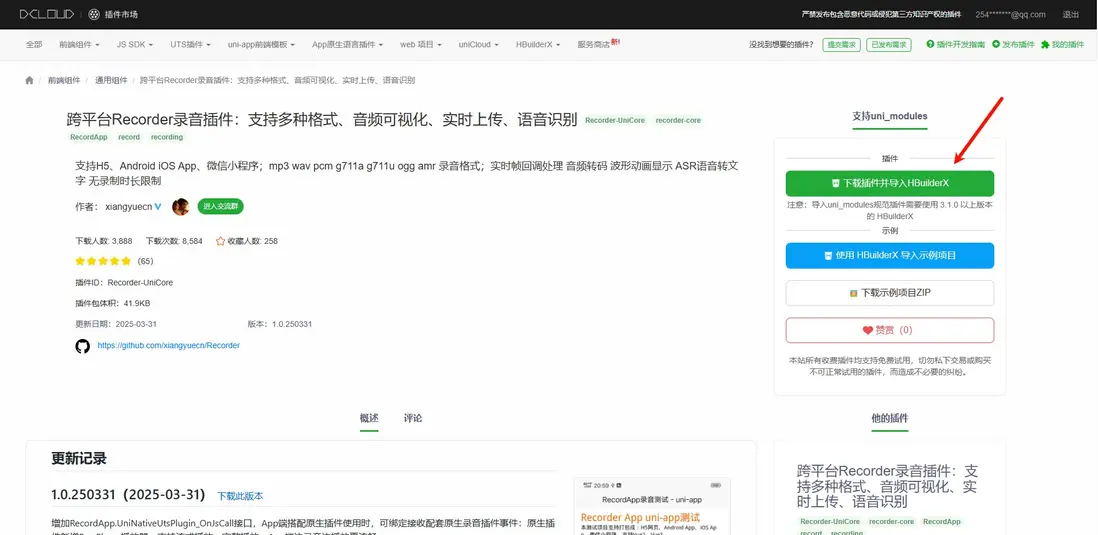
npm install recorder-core然後插件市場下載插件
頁面結構,我們需要一個canvas元素來承載波形的繪製,canvas需要設置大小,下面的代碼可以直接複製使用
<template>
    <view class="recorder-box">
        <canvas
      type="2d"
      class="recwave-WaveView"
      style="width: 200px; height: 40px">
    </canvas>
    </view>
</template>

<style lang="scss" scoped>
.recorder-box {
    width: 100%;
    height: 100%;
    color: #ffffff;
}
</style>js部分,可直接複製,建議在uniapp中用選項式API,因為官方文檔也用的選項式,保持一致避免踩坑
<script>
import Recorder from 'recorder-core'; //使用import、require都行
import RecordApp from 'recorder-core/src/app-support/app';
import '@/uni_modules/Recorder-UniCore/app-uni-support.js';

// #ifdef MP-WEIXIN
import 'recorder-core/src/app-support/app-miniProgram-wx-support.js'; // 微信小程序支持
// #endif

/** H5、小程序環境中:引入需要的格式編碼器、可視化插件,App環境中在renderjs中引入 **/
// #ifdef H5 || MP-WEIXIN
import 'recorder-core/src/engine/pcm';  // pcm解析器
import 'recorder-core/src/extensions/frequency.histogram.view'; // histogram波形配置
import 'recorder-core/src/extensions/lib.fft'; // histogram波形配置2
// #endif


export default {
    data() {
        return {
            rec: null, // RecordApp實例
            waveView: null, // 用於繪製波形
            send_chunk: null, // 上次分割點數據
            testSampleRate: 16000 // 採樣率
        };
    },
    mounted() {},
    methods: {
        //重置環境,每次開始錄音時必須先調用此方法,清理環境
        startConnection() {
          this.send_chunk = null;
        },

        //請求錄音權限
        recReq() {
            return new Promise((resolve, reject) => {
                // 核心,this一定要在初始化前傳入,否則會失敗導致拿不到實時幀,並無法進行下一步
                RecordApp.UniPageOnShow(this);
                RecordApp.RequestPermission(
                    () => {
                        resolve(true);
                    },
                    (msg, isUserNotAllow) => {
                        resolve(false);
                    }
                );
            });
        },

        // 開始錄音
        recStart() {
      // 開始錄音前先重置一下數據
            this.startConnection();
            //錄音配置信息
            let set = {
                type: 'pcm', // 設置錄音的類型,這裏用pcm,你也可以配置mp3
                onProcess: (buffers, powerLevel, duration, sampleRate, newBufferIdx, asyncEnd) => {
                    // 這個位置可以拿到實時幀回調,用於流式傳輸語音數據
          // buffers錄音數據、sampleRate採樣率、false是否最後一幀
          this.RealTimeSendTry(buffers, sampleRate, false);

                    // #ifdef H5 || MP-WEIXIN
                    if (this.waveView) {
                        this.waveView.input(buffers[buffers.length - 1], powerLevel, sampleRate);
                    }
                    // #endif
                }
            };
      // 開始錄音
            RecordApp.Start(
                set,
                () => {
          // RecordApp.UniFindCanvas用於波形繪製
          // 是必須的,而且不能動態傳入波形配置參數,所以這裏寫了兩遍
          // 我們用的FrequencyHistogramView作為波形顯示,你也可以用官方文檔上的配置,一樣
                    RecordApp.UniFindCanvas(
                        this,
                        ['.recwave-WaveView'],
                        `
                    this.waveView = Recorder.FrequencyHistogramView({
                        compatibleCanvas:canvas1,
                        width:200,
                        height:40,
                        scale: 2,
                        fps: 20,
                        lineCount: 12,
                        widthRatio: 0.5,
                        spaceWidth: 0,
                        minHeight: 0.5,
                        position: 0,
                        mirrorEnable: true,
                        stripeEnable: false,
                        stripeHeight: 3,
                        stripeMargin: 6,
                        fallDuration: 1000,
                        stripeFallDuration: 3500,
                        linear: [0, 'rgba(255,255,255,1)', 0.5, 'rgba(255,255,255,1)', 1, 'rgba(255,255,255,1)'],
                        stripeLinear: null,
                        shadowColor: '#bbb',
                        stripeShadowBlur: 0,
                        stripeShadowColor: '',
                        fullFreq: false
                        });
                    `,
                        (canvas1) => {
                            this.waveView = Recorder.FrequencyHistogramView({
                                compatibleCanvas: canvas1,
                                width: 200,
                                height: 40,
                                scale: 2,
                                fps: 20,
                                lineCount: 12,
                                widthRatio: 0.5,
                                spaceWidth: 0,
                                minHeight: 0.5,
                                position: 0,
                                mirrorEnable: true,
                                stripeEnable: false,
                                stripeHeight: 3,
                                stripeMargin: 6,
                                fallDuration: 1000,
                                stripeFallDuration: 3500,
                                linear: [0, 'rgba(255,255,255,1)', 0.5, 'rgba(255,255,255,1)', 1, 'rgba(255,255,255,1)'],
                                stripeLinear: null,
                                shadowColor: '#bbb',
                                stripeShadowBlur: 0,
                                stripeShadowColor: '',
                                fullFreq: false
                            });
                        }
                    );
                },
                (msg) => {
                    console.error('開始錄音失敗:' + msg);
                }
            );
        },

    // 用於處理實時音頻幀的函數
        RealTimeSendTry(buffers, bufferSampleRate, isClose) {
            //提取出新的pcm數據
            let pcm = new Int16Array(0);
            if (buffers.length > 0) {
                //【關鍵代碼】借用SampleData函數進行數據的連續處理,採樣率轉換是順帶的,得到新的pcm數據
                // 重要,send_chunk為上次分割點,沒有的話你就拿不到當前的實時音頻幀
                let chunk = Recorder.SampleData(buffers, bufferSampleRate, this.testSampleRate, this.send_chunk);
                this.send_chunk = chunk; // 保存本次分割點,用於下次使用
                pcm = chunk.data; //此時的pcm就是原始的音頻16位pcm數據(小端LE),直接保存即為16位pcm文件、加個wav頭即為wav文件、丟給mp3編碼器轉一下碼即為mp3文件
            }

            // 直接把pcm發送出去即可
            console.log('實時幀數據', pcm, isClose);

      // 如果你要pcm轉base64上傳有兩種方法
      // 使用uniapp提供的方法
      // const bytes = new Uint8Array(pcm.buffer)
            // const base64 = uni.arrayBufferToBase64(bytes.buffer)

      // 直接使用微信小程序提供的轉換方法
            // let bytes = new Uint8Array(pcm.buffer);
            // let base64 = wx.arrayBufferToBase64(bytes.buffer);


      // 比如你要把當前數據上傳到websocket接口......

            return;
        },

        //停止錄音
        recStop() {
            return new Promise((resolve, reject) => {
                console.log('停止錄音前');
                RecordApp.Stop(
                    () => {
                        console.log('停止錄音成功');
                        this.RealTimeSendTry([], 0, true); //最後一次發送
                        resolve(true);
                    },
                    () => {
                        console.log('停止錄音失敗');
                        resolve(false);
                    }
                );
            });
        }
    }
};
</script>
調用的順序如下:
1、顯示錄音界面的時候調用recReq,請求一下錄音權限
2、點擊開始錄音,調用recStart函數
3、停止錄音,調用recStop函數
4、RealTimeSendTry函數內可以實時上傳音頻錄音
參考資料:
RecordApp:基於Recorder的跨平台錄音解決方案
uni-app內使用RecordApp錄音
插件市場跨平台Recorder錄音插件


