

本文介紹如何引用第三方API AoKSend來進行發送郵箱驗證碼
參考:
https://www.aoksend.com/doc/?id=84
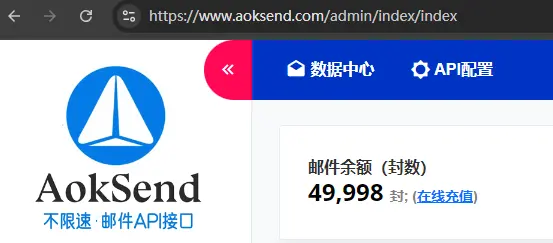
首先第一步。在aokSend註冊賬號。
第二步,充錢(可以zfb)購買郵件數,我買的是5W封。
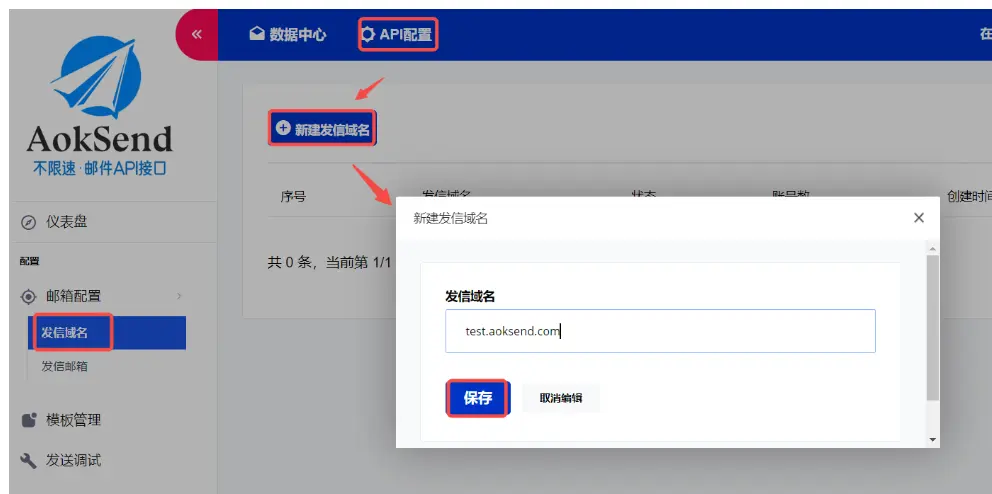
第三步:
添加並配置發信域名:通常以mail + 域名開始
填寫有關的發件人信息
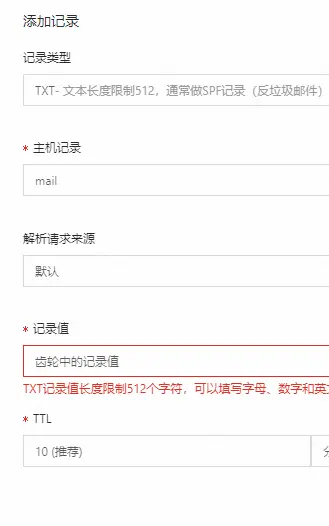
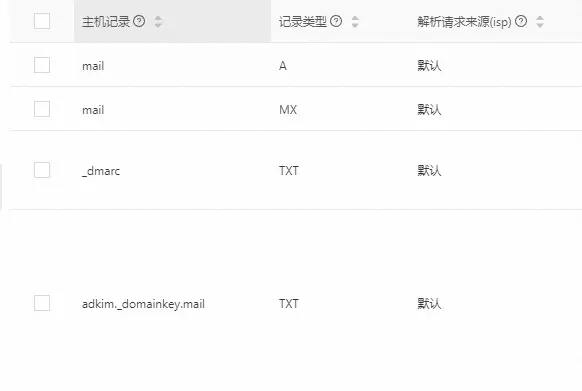
進行DNS解析:(作者採用的是阿里雲DNS解析)
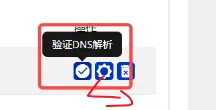
點擊齒輪圖標會彈出需要進行配置的,有txt記錄,mx記錄,a記錄等,我們在阿里雲進行解析
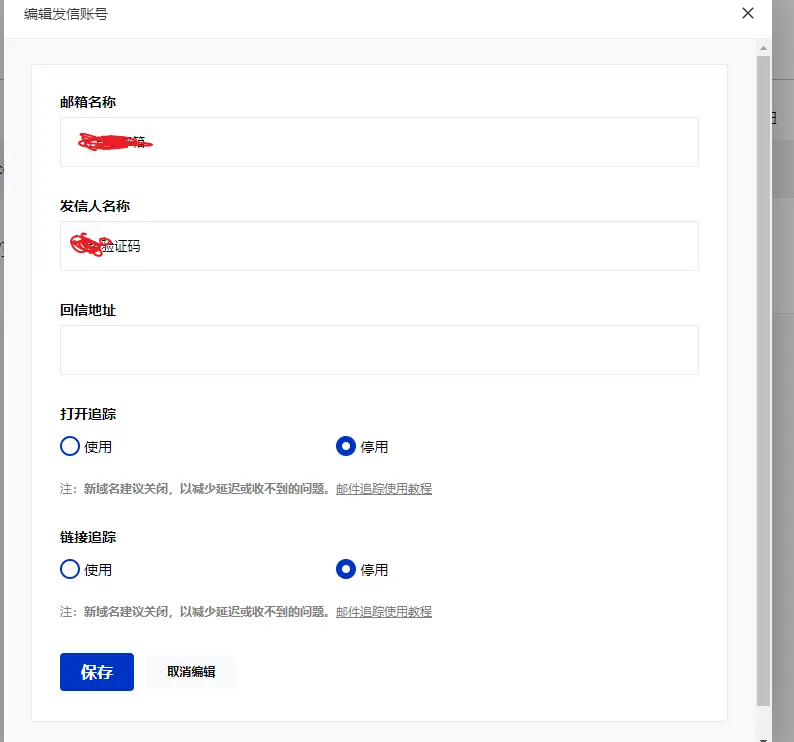
第四步:
建立發信郵箱
在發信域名成功建立並通過審核後新建填寫相關信息即可

第五步:
建立郵件內容模板
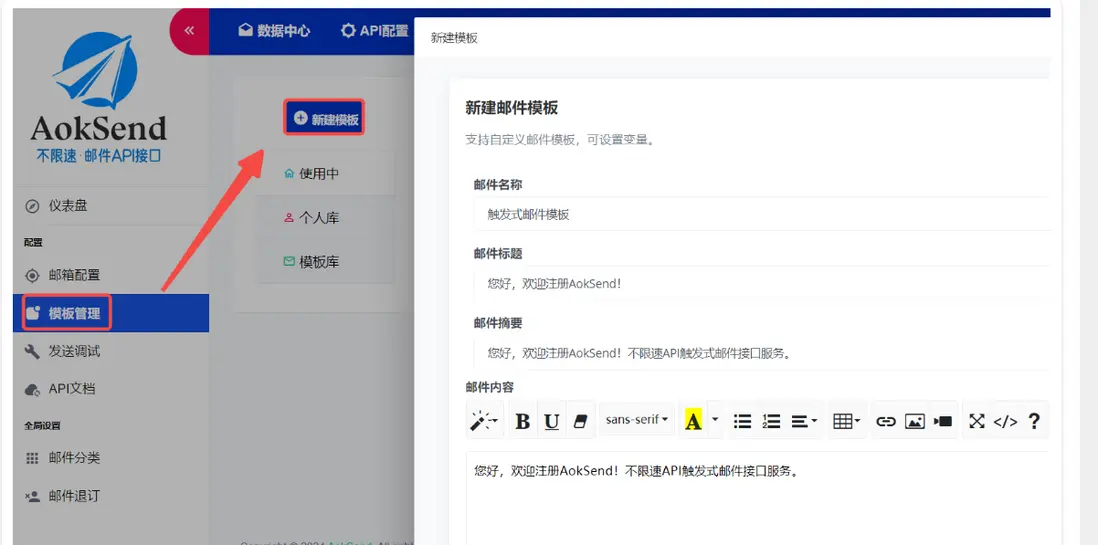
這裏的{{}}變量是我們程序生成填充的內容。下面會有講述。

第六步
在發信域名、郵箱成功建立,成功建立郵件內容模板後。
先記得保存一下自己的app_id (key) 和 內容模板id(key)


最後一步:程序接入
引入依賴:
<dependency>
    <groupId>org.apache.httpcomponents</groupId>
    <artifactId>httpclient</artifactId>
    <version>4.5.13</version> <!-- 確保使用最新版本 -->
</dependency>
<dependency>
    <groupId>org.apache.httpcomponents</groupId>
    <artifactId>httpcore</artifactId>
    <version>4.4.14</version> <!-- 確保使用最新版本 -->
</dependency>
<dependency>
    <groupId>commons-codec</groupId>
    <artifactId>commons-codec</artifactId>
    <version>1.15</version>
</dependency>
實際java代碼
import org.apache.http.HttpEntity;
import org.apache.http.HttpResponse;
import org.apache.http.NameValuePair;
import org.apache.http.client.entity.UrlEncodedFormEntity;
import org.apache.http.client.methods.HttpPost;
import org.apache.http.impl.client.CloseableHttpClient;
import org.apache.http.impl.client.HttpClients;
import org.apache.http.message.BasicNameValuePair;
import org.apache.http.util.EntityUtils;
private static final String API_URL ="https://www.aoksend.com/index/api/send_email";
@RequestMapping("/getEmail")
public Result getEmail(String email){
    try{
        //TODO 郵箱校驗
        if(StringUtils.isEmpty(email)){
            return Result.fail("請填寫郵箱");
        }
        CloseableHttpClient httpClient = HttpClients.createDefault();
        // 創建一個HttpPost實例
        HttpPost httpPost = new HttpPost(API_URL);
        // 創建一個參數列表
        List<NameValuePair> params = new ArrayList<>();

        //發信郵箱的key
        params.add(new BasicNameValuePair("app_key", ""));


        //郵件模板id
        params.add(new BasicNameValuePair("template_id", ""));

        params.add(new BasicNameValuePair("to", email));
        //params.add(new BasicNameValuePair("reply_to", ""));
        //params.add(new BasicNameValuePair("alias", ""));
        EmailSendDto emailSendDto = new EmailSendDto();
        //生成6位隨機數
        String checkCode =  ((int)((Math.random()*9+1)*10000)) + "";
        emailSendDto.setCheckCode(checkCode);
        // 獲取當前日期
        LocalDate currentDate = LocalDate.now();
        // 定義日期格式
        DateTimeFormatter formatter = DateTimeFormatter.ofPattern("yyyy-MM-dd");
        // 將日期格式化為字符串
        String formattedDate = currentDate.format(formatter);
        emailSendDto.setNowDate(formattedDate);
        params.add(new BasicNameValuePair("data", JSON.toJSONString(emailSendDto)));
        UrlEncodedFormEntity formEntity = new UrlEncodedFormEntity(params, "UTF-8");
        httpPost.setEntity(formEntity);
        // 發送請求並獲取響應
        HttpResponse response = httpClient.execute(httpPost);
        // 讀取響應內容
        HttpEntity responseEntity = response.getEntity();
        if (responseEntity != null) {
            String responseBody = EntityUtils.toString(responseEntity, "UTF-8");

            //存入redis
            //redisHandler.set(email,checkCode,180);
            return Result.ok(responseBody);
        }
        return Result.fail("驗證碼獲取失敗");
    }catch (Exception e){
        return Result.fail(e.getMessage());
    }
}