

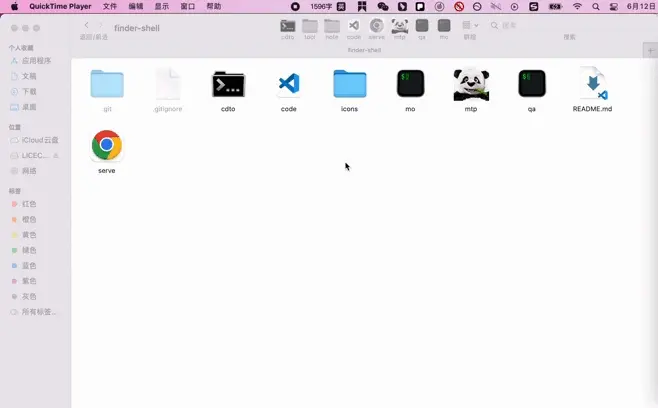
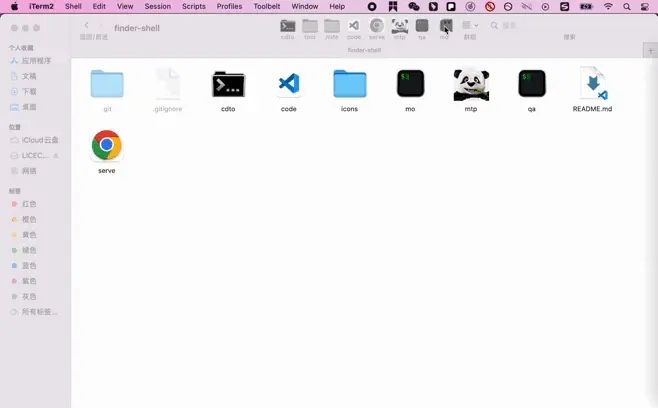
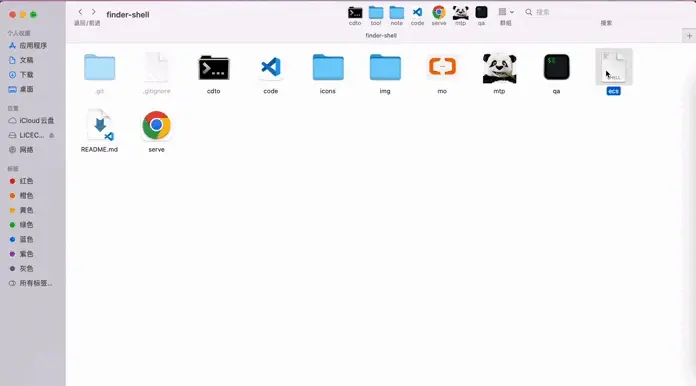
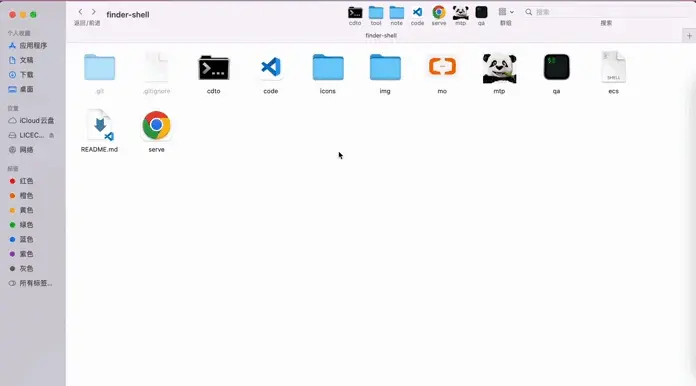
先看效果
【cdto】一鍵打開終端,並切換到當前目錄
【code】一鍵打開 vscode,並加載當前目錄
【serve】一鍵啓動靜態服務器,並加載當前目錄
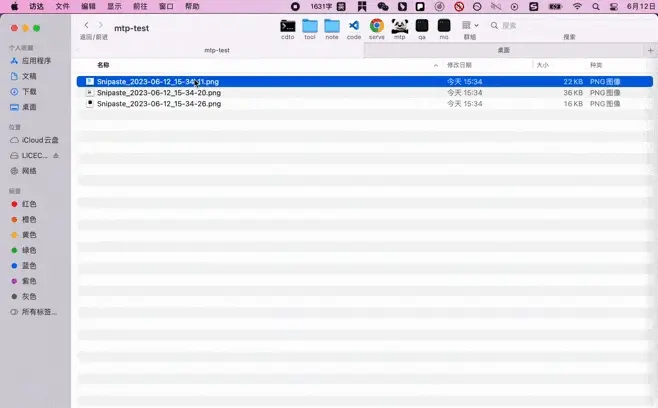
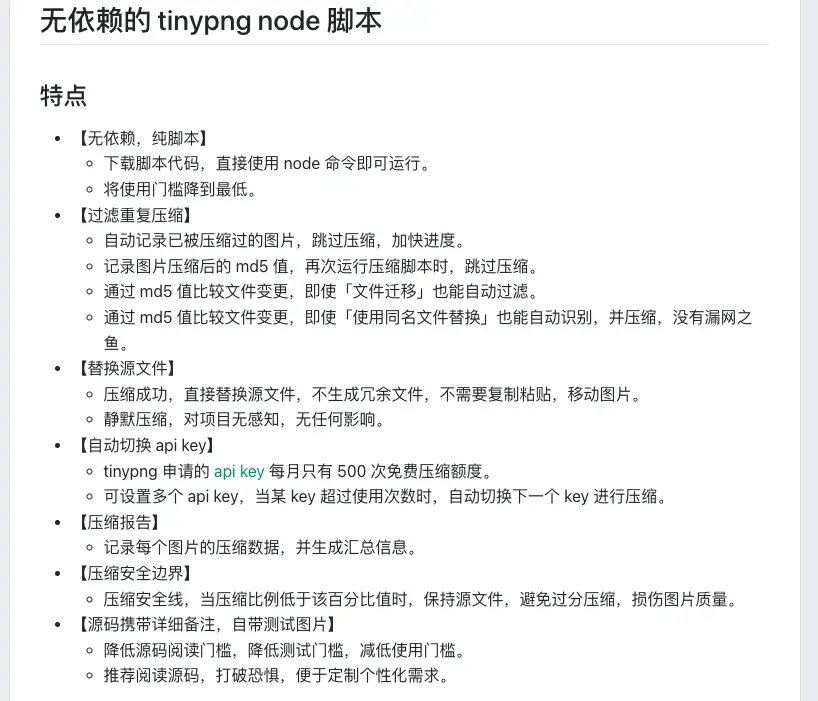
【mtp】一鍵視覺無損、原地、遞歸壓縮、當前目錄所有圖片
【ecs】一鍵登錄服務器
【技巧一】將應用放置到 finder
- 固定:按住 command,拖拽腳本到 finder 頂部工具欄,固定快捷腳本
- 取消固定:按住 command,將腳本拖離 finder 工具欄,取消該固定
- 任意文件夾,應用,腳本都可以固定在 finder 上快捷訪問
【技巧二】自定義 icon
- 先複製想要的 icon 圖片
- 查看文件詳情簡介,左上角 icon 可點擊選中
- 選中後,command + v 即可將圖片設置為該文件的 icon
- 選中後,按下 delete 可將自定義 icon 刪除,恢復默認 icon
- 任意文件夾,應用,文件均可設置自定義 icon
【技巧三】獲取 finder 當前目錄路徑
#!/bin/bash

# 使用AppleScript獲取當前打開的目錄
thePath=$(osascript -e 'tell application "Finder" to set thePath to (quoted form of POSIX path of (target of front window as alias))')

# 去除路徑中的引號
thePath=${thePath//\'/}其中關鍵代碼為osascript -e 'tell application "Finder" to set thePath to (quoted form of POSIX path of (target of front window as alias)
- 這段代碼使用 osascript 命令調用 AppleScript 腳本來獲取 macOS Finder 當前打開窗口所在的文件夾路徑。
- -e 選項用於指定要執行的腳本內容。在腳本內容中,使用tell application "Finder"告訴當前正在運行的應用程序為Finder,並且要在其上下文環境中執行後面的操作。
- set thePath to 來創建一個名為 thePath 的變量,並將其賦值為“(target of front window as alias)”(即當前激活窗口的路徑)。
- 最後,使用(quoted form of POSIX path of ...)將路徑進行引號轉義和POSIX路徑格式化,以確保可以正確處理包含空格等特殊字符的路徑。
示例腳步源碼
【cdto.sh】一鍵打開終端,並切換到當前目錄
-
十行代碼實現 cdto
#!/bin/bash

# 使用AppleScript獲取當前打開的目錄
thePath=$(osascript -e 'tell application "Finder" to set thePath to (quoted form of POSIX path of (target of front window as alias))')

# 去除路徑中的引號
thePath=${thePath//\'/}

# 定義信號處理函數,當 iterm 執行失敗,則使用默認終端
function signal_handler() {
# 切換到當前目錄
cd "$thePath"
bash -i
}

# 註冊信號處理函數
trap signal_handler ERR INT TERM

# 嘗試打開 iTerm 終端
if ! open -a iTerm "$thePath"; then
# 如果打開失敗,則手動觸發錯誤信號
echo "Failed to open iTerm"
kill -s ERR $$
fi
【code.sh】一鍵打開 vscode,並加載當前目錄
#!/bin/bash

# 使用AppleScript獲取當前打開的目錄
thePath=$(osascript -e 'tell application "Finder" to set thePath to (quoted form of POSIX path of (target of front window as alias))')

# 去除路徑中的引號
thePath=${thePath//\'/}

# 輸出獲取到的目錄路徑
echo $thePath

# 啓動 vs,並加載所在目錄
open -a "Visual Studio Code" "$thePath"
【ecs.sh】一鍵登錄服務器
#! /usr/bin/expect
# 依賴 expect 命令,https://www.linuxprobe.com/linux-expect-auto.html

# 啓動 ssh 進程
spawn /usr/bin/ssh root@這裏替換ip

# 匹配標準輸出中的字符串
expect "root@這裏替換ip's password"

# 向標準輸入填充密碼並換行
send "這裏替換密碼\r"

# 匹配標準輸出中的字符串
expect "to Alibaba Cloud"

# 脱離控制,將控制權交還給用户,允許用户交互
interact
【mtp.sh】一鍵視覺無損、原地、遞歸壓縮、當前目錄所有圖片
-
依賴全局 mtp 腳本
npm install -g tinypng-script-with-cache
#!/bin/bash

# 使用AppleScript獲取當前打開的目錄
thePath=$(osascript -e 'tell application "Finder" to set thePath to (quoted form of POSIX path of (target of front window as alias))')

# 去除路徑中的引號
thePath=${thePath//\'/}

# 切換到目錄
cd "$thePath"

# 使用 anywhere 打開當前目錄的 server
mtp

# 避免關閉本腳本
sleep 1000000
【serve.sh】一鍵啓動靜態服務器,並加載當前目錄
- 依賴全局 anywhere
npm install -g anywhere -
不想安裝 anywhere 的話,直接使用 python 功能即可,使用這個腳本
#!/bin/bash

# 使用AppleScript獲取當前打開的目錄
thePath=$(osascript -e 'tell application "Finder" to set thePath to (quoted form of POSIX path of (target of front window as alias))')

# 去除路徑中的引號
thePath=${thePath//\'/}

# 隨機端口
random=$((RANDOM%10000+20000))

# 打印運行的路徑
echo "http://127.0.0.1:$random"
echo $thePath

# 使用 anywhere 打開當前目錄的 server
anywhere -p $random -d "$thePath"