上一期我整理介紹了grid佈局方式,如果想看的同學,可以直接點擊此文章:
Grid佈局
這期我把flex佈局方式筆記也整理出來了,內容是我自己在根據別人視頻學習過程中整理的資料。
目前很多css的框架都使用Flexbox作為基礎。瀏覽器大部分也都兼容。
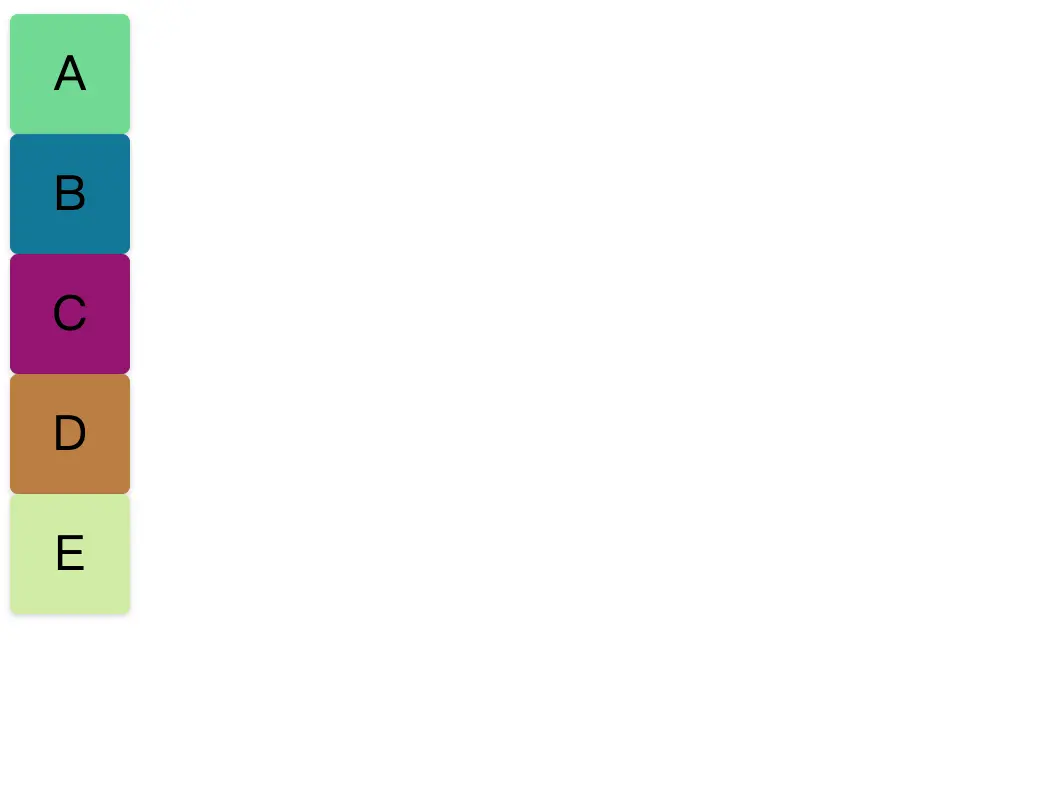
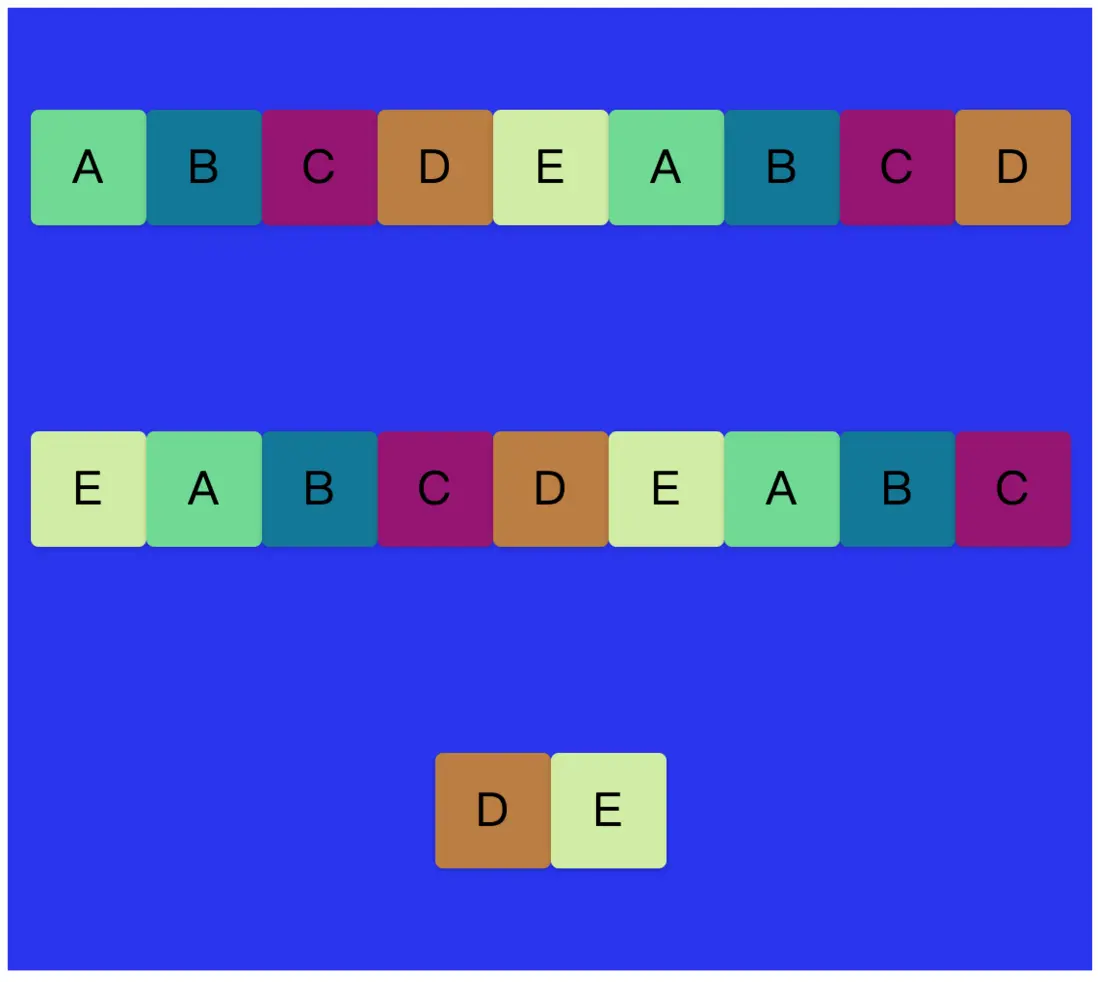
接下來直接看代碼演示,我們先準備一個素材,準備5個div元素,定義為 ABCDE。因為div默認情況下display是block塊級元素,所以默認情況下會獨佔一行。所以我們得到如下圖的排版。這就是我們準備的素材。
<div class="box A">A</div>
<div class="box B">B</div>
<div class="box C">C</div>
<div class="box D">D</div>
<div class="box E">E</div>
html {
font-size: 12px;
}
.box {
width: 60px;
height: 60px;
background-color: #eee;
text-align: center;
line-height: 60px;
border-radius: 4px;
box-shadow: 0 1px 3px rgba(0, 0, 0, .18);
font-size: 2rem;
}
.A {
background-color: #6dd98f;
}
.B {
background-color: #0c7899;
}
.C {
background-color: #961375;
}
.D {
background-color: #bb7e38;
}
.E {
background-color: #cfec9f;
}Flex Container和Flex Items
Flex佈局方式主要就分為2個角色,Flex Container和Flex Items,也就是父容器和子項目。我們先來改寫素材。
<div class="flex-container">
  <div class="box A">A</div>
  <div class="box B">B</div>
  <div class="box C">C</div>
  <div class="box D">D</div>
  <div class="box E">E</div>
</div>
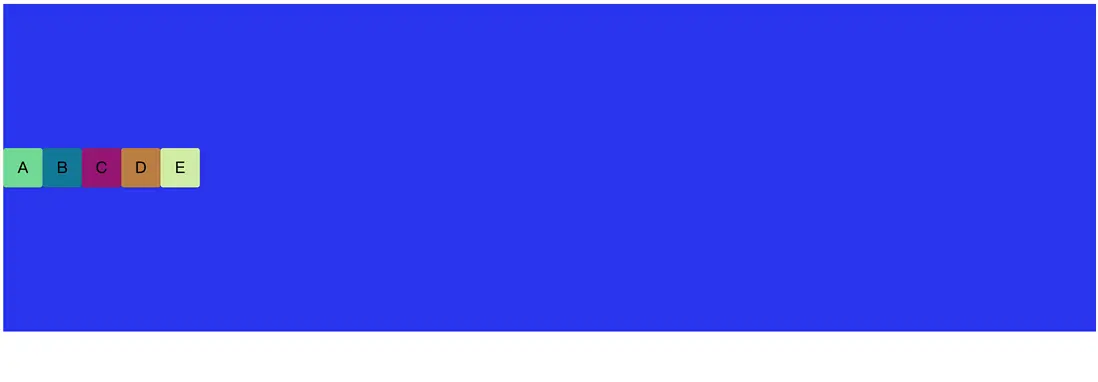
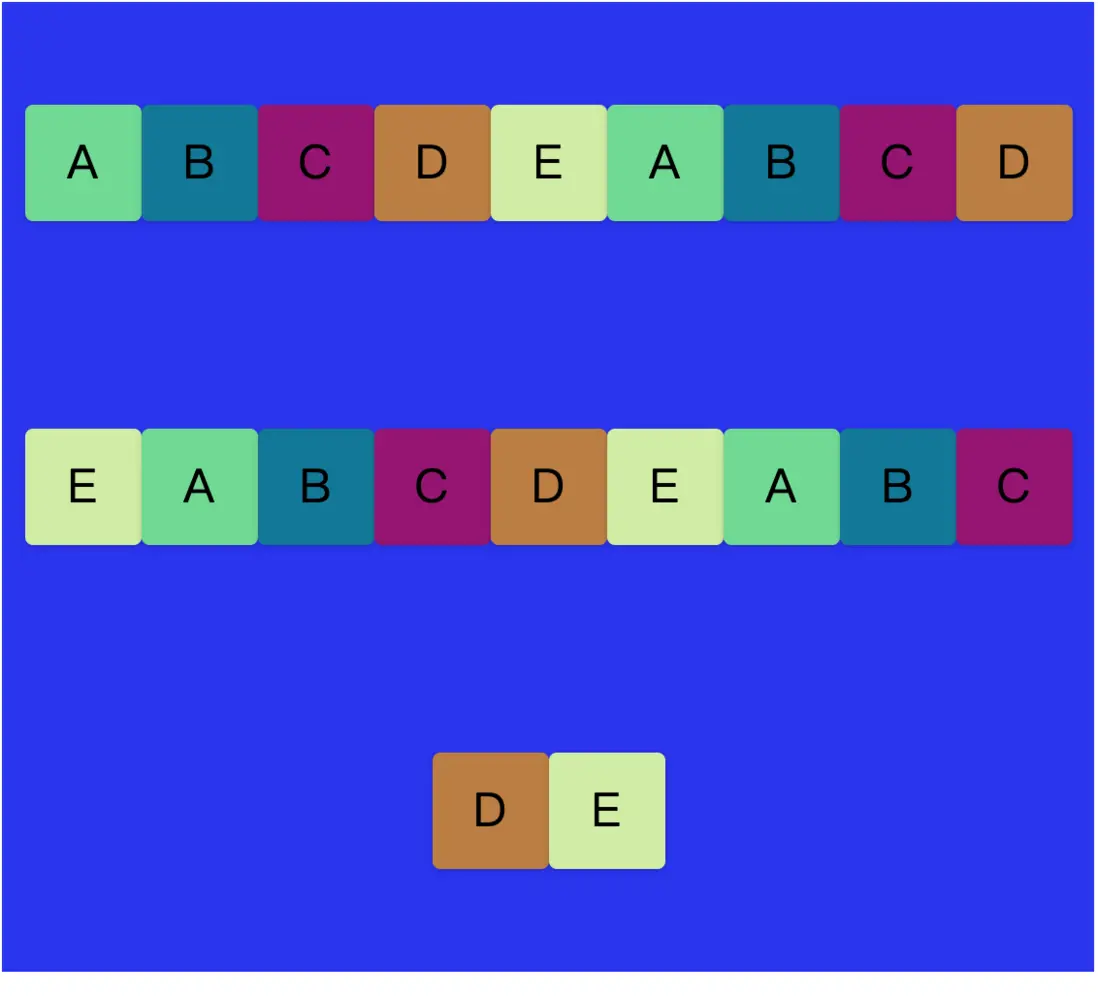
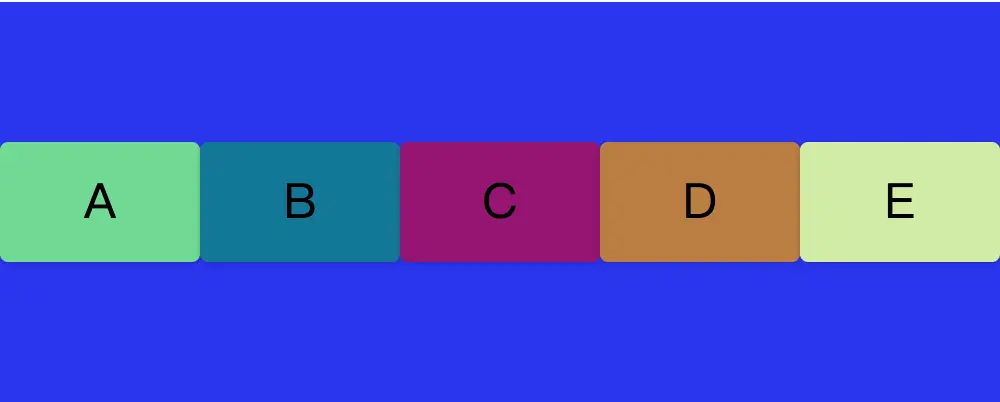
將四個div元素外部包括一個flex-container父容器,並且設置flex-container的display為flex。那麼我們便得到了如下圖的佈局。
.flex-container {
    display: flex;
      background-color: #2B34F5;
}
這裏父容器就是flex-container元素,而裏面五個div則便是flex items子項目。
flex container中屬性
flex-direction
flex-direction這個屬性是定義父容器中子項目,即flex items的排序方向。
flex-direction的默認值一般為 row,即是橫向排序。
如果你改成:
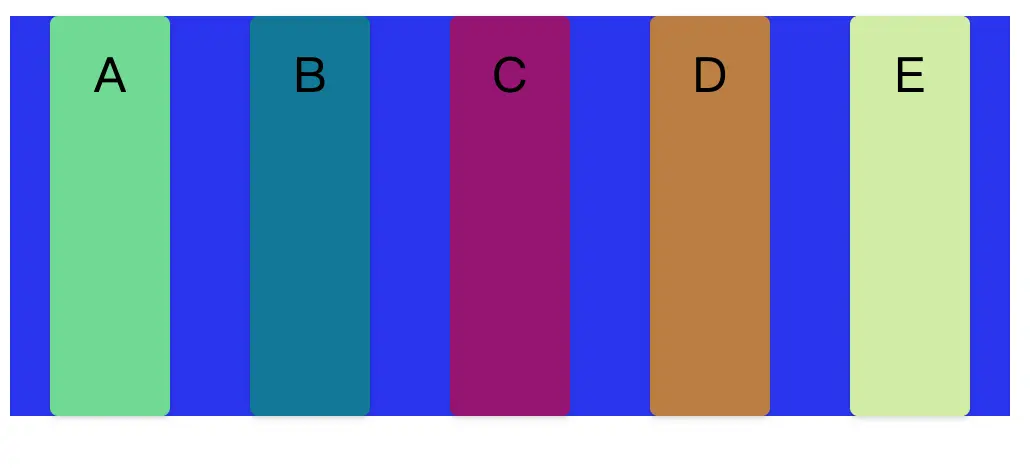
flex-direction: column;這時候便是縱向排序。
另外還有以下排序方式:
flex-direction: row-reverse; //橫向倒轉排序。如下圖:
flex-direction: column-reverse; //縱向倒轉排序。如下圖:
這裏有一個比較重要的知識點:主軸(main-axis)和交叉軸(cross-axis)。當flex屬性不同時候,主軸和交叉軸不同。這個知識點需要和justify-content和align-items結合起來使用,下面我們先來介紹justify-content和align-items這2個知識點。
| flex-direction屬性 | 主軸(main-axis) | 交叉軸(cross-axis) |
|---|---|---|
| row | row | column |
| column | column | row |
justify-content和align-items
justify-content是設置主軸的排序方向的。而align-items則是設置交叉軸的排序方向的。
我們還是看代碼:
.flex-container {
    display: flex;
    background-color: #2B34F5;
    flex-direction: row;
    justify-content: center;
}
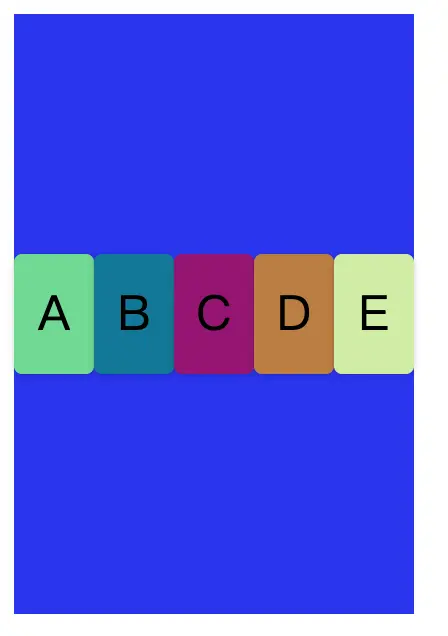
我們把flex-direction設置為row橫向排序,這時候設置justify-content,即主軸方向居中,此時的主軸便是row,那麼我們可以得到如下圖的效果:
但是當我們把代碼改為flex-direction: column時候,此時主軸便成了colunm,設置justify-content: center屬性則不會得到水平方向的居中,如下圖。
.flex-container {
    display: flex;
    background-color: #2B34F5;
    flex-direction: column;
    justify-content: center;
}
此時,如果我們要得到水平方向居中,則應該設置align-items:center,而不是justify-content: center。因為此時row水平方向是屬於交叉軸。
.flex-container {
    display: flex;
    background-color: #2B34F5;
    flex-direction: column;
    justify-content: center;
    align-items: center;
    height: 500px;
}
那我們便把flex-container父容器高度設置大點,這時候主軸便是column,那麼justify-content: center熟悉會讓子元素垂直居中於父容器內,則align-items: center則會讓子元素水平居中於父容器內。
從這個舉例來看,是不是很好理解主軸和交叉軸概念。
另外,justify-content除了center外,還有其他各種屬性
.flex-container {
    display: flex;
    background-color: #2B34F5;
    flex-direction: row;
      height: 500px;
      align-items: center;
}
我們把父容器恢復為flex-direction: row水平佈局。
justify-content: flex-start; //沿着主軸起始方向排版佈局如下圖:
justify-content: flex-end;//沿着主軸結束方向排版佈局如下圖:
這裏要記住一點:
設置flex-direction: row屬性時候,justify-content屬性設置為flex-start或flex-end,子元素都是由左至右排序。設置flex-direction: colunm屬性時候,justify-content屬性設置為flex-start或flex-end,子元素都是由上至下排序。即順序都是ABCDE,不會是EDCBA。
flex-wrap
flex-wrap即是會不會分行的意思。
<div class="flex-container">
  <div class="box A">A</div>
  <div class="box B">B</div>
  <div class="box C">C</div>
  <div class="box D">D</div>
  <div class="box E">E</div>
  <div class="box A">A</div>
  <div class="box B">B</div>
  <div class="box C">C</div>
  <div class="box D">D</div>
  <div class="box E">E</div>
  <div class="box A">A</div>
  <div class="box B">B</div>
  <div class="box C">C</div>
  <div class="box D">D</div>
  <div class="box E">E</div>
  <div class="box A">A</div>
  <div class="box B">B</div>
  <div class="box C">C</div>
  <div class="box D">D</div>
  <div class="box E">E</div>
</div>
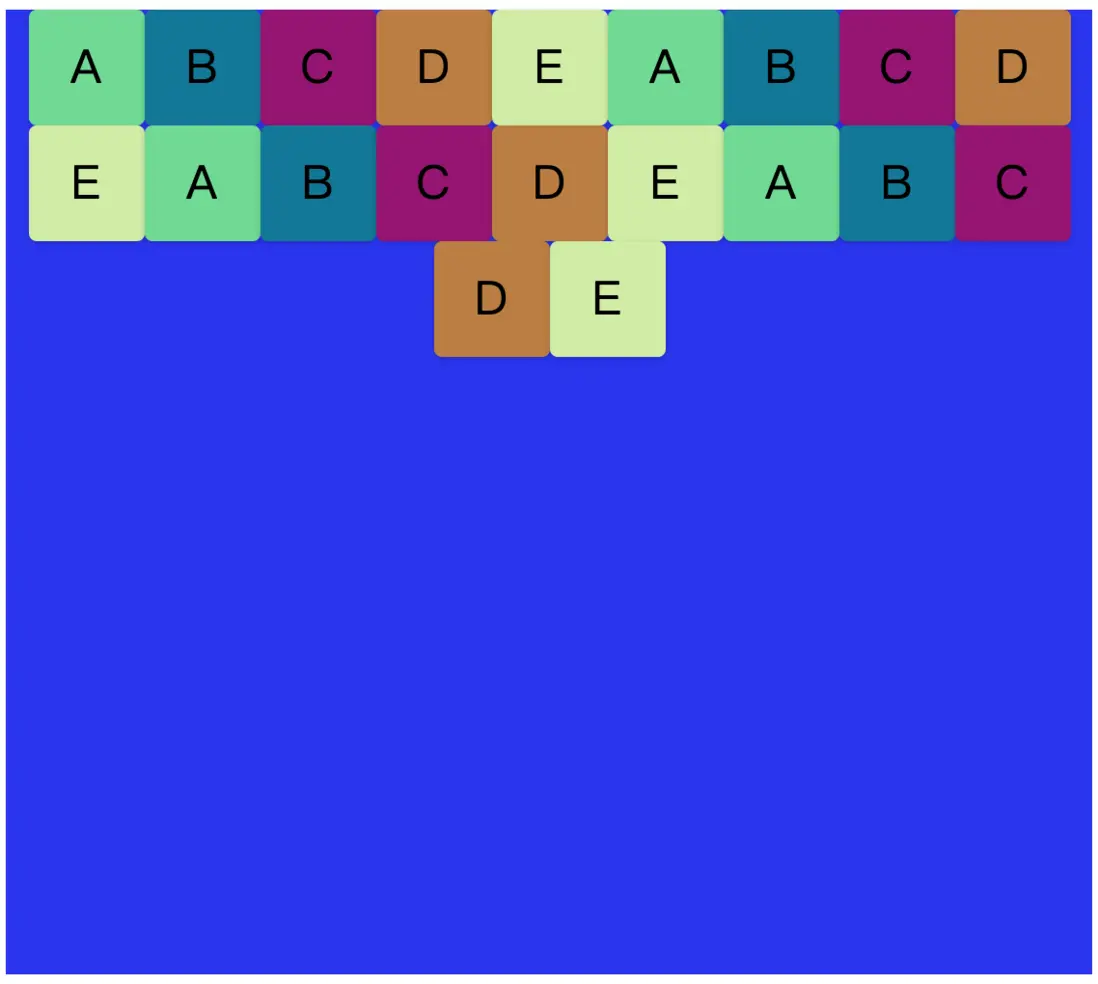
我們在父容器中加入多個子div,這時候我們縮小瀏覽器的寬度。
.flex-container {
    display: flex;
    background-color: #2B34F5;
    flex-direction: row;
    justify-content: flex-start;
    align-items: center;
    height: 500px;
}
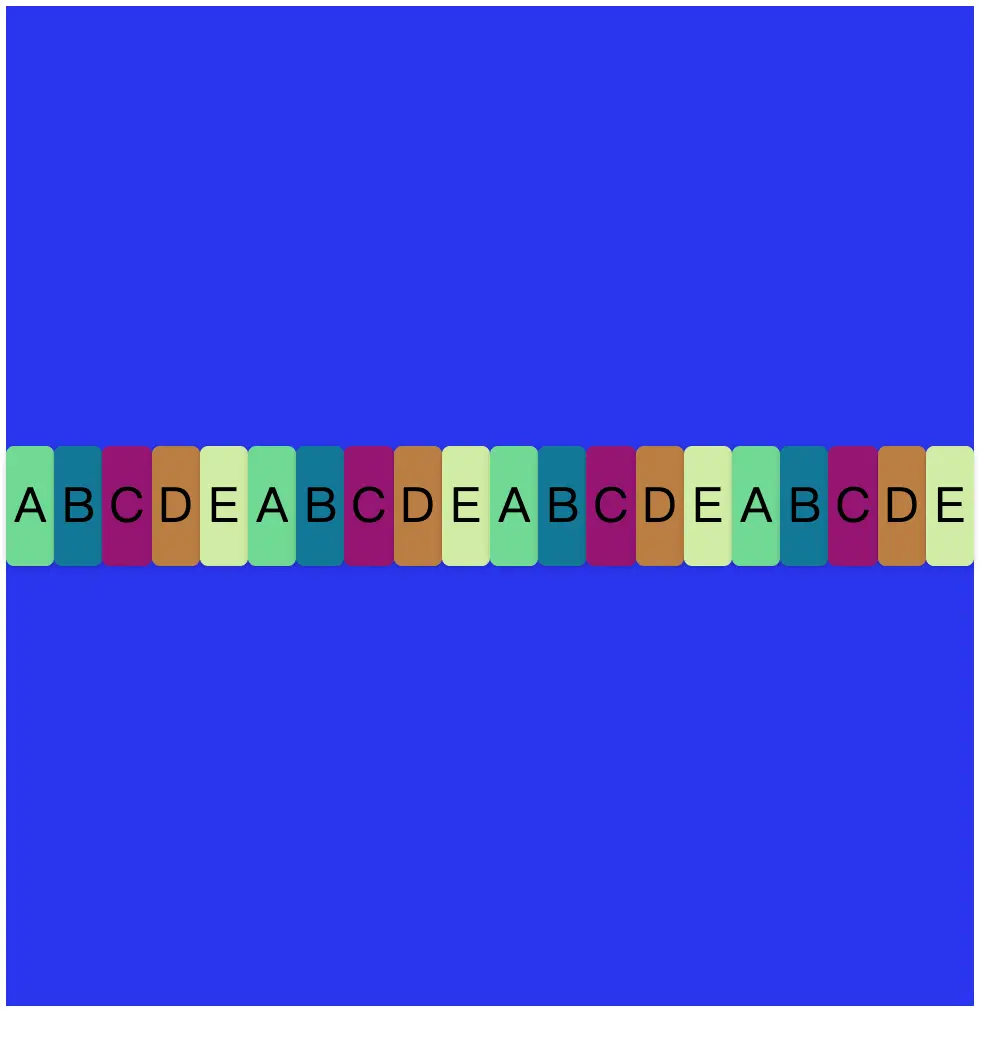
這時候會發現,子div還是會被壓縮在水平方向一行,每個子div寬度會被擠壓。這是因為flex-wrap默認的屬性值是nowrap,即不換行的意思,所以不管怎麼添加子div,都只會在同一行。
如果我們修改屬性flex-wrap: wrap:
.flex-container {
    display: flex;
    background-color: #2B34F5;
    flex-direction: row;
    justify-content: flex-start;
    align-items: center;
    height: 500px;
    flex-wrap: wrap;
}
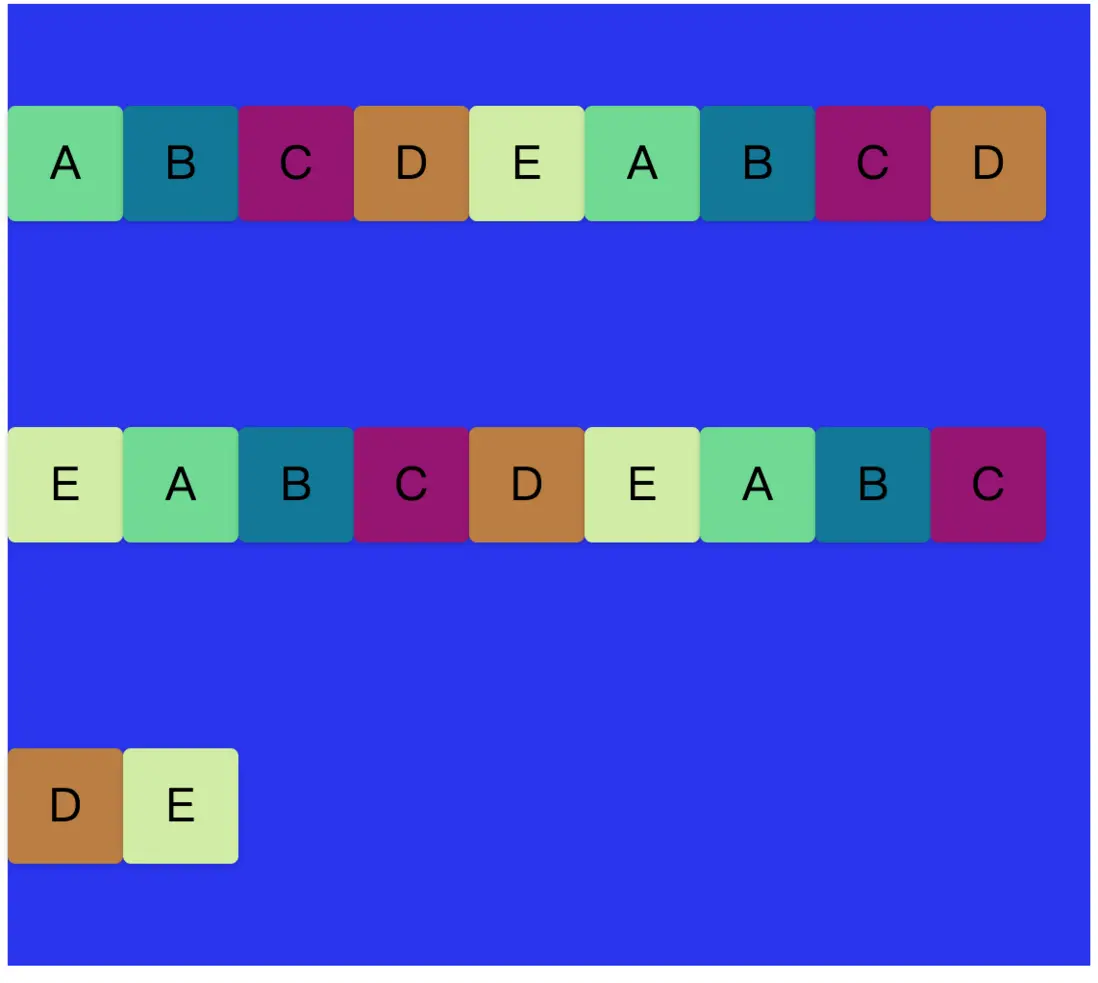
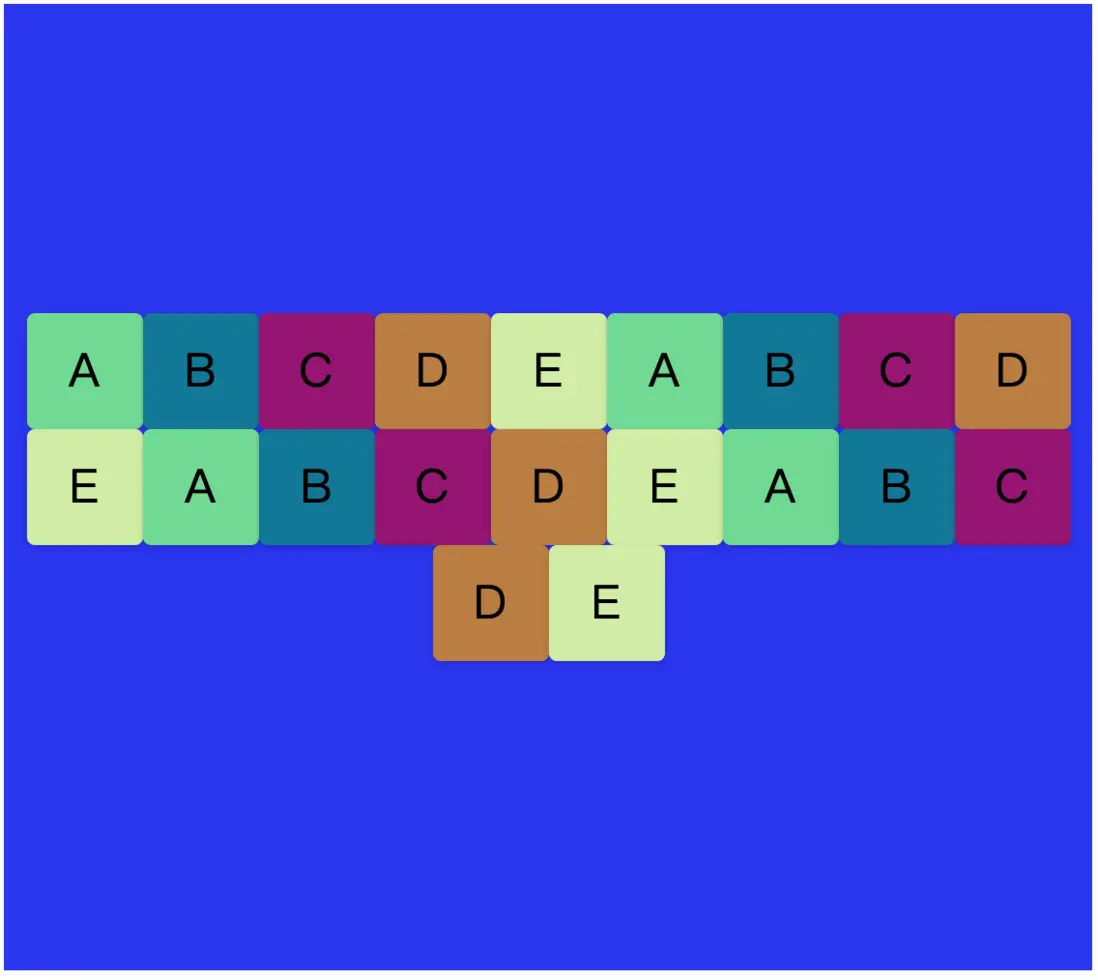
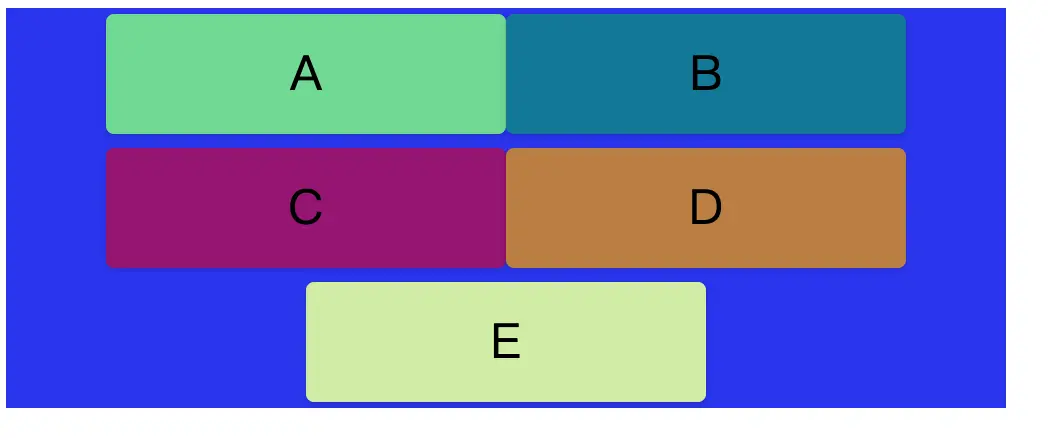
這時候,超出寬度的子div便會被移到下一行中。這時候我們再配合justify-content和align-items兩個屬性,就能得到不一樣效果,比如下面排版:
.flex-container {
    display: flex;
    background-color: #2B34F5;
    flex-direction: row;
    justify-content: center;
    align-items: center;
    height: 500px;
    flex-wrap: wrap;
}
flex-flow
flex-flow是flex-direction和flex-wrap的組合起來的縮寫。
.flex-container {
    display: flex;
    background-color: #2B34F5;
    flex-flow: row wrap;
    justify-content: center;
    align-items: center;
    height: 500px;
}
flex-flow: row wrap; 在這裏便是flex-direction:row,flex-wrap:wrap的縮寫。這個可以根據個人習慣用此屬性或者分2個屬性編寫。
align-content
align-content這個屬性,是當flex-wrap設定為wrap的時候,即是有二行以及二行以上時候才會生效。直接看下圖:
.flex-container {
    display: flex;
    background-color: #2B34F5;
    flex-flow: row wrap;
    justify-content: center;
    align-items: center;
    height: 500px;
}
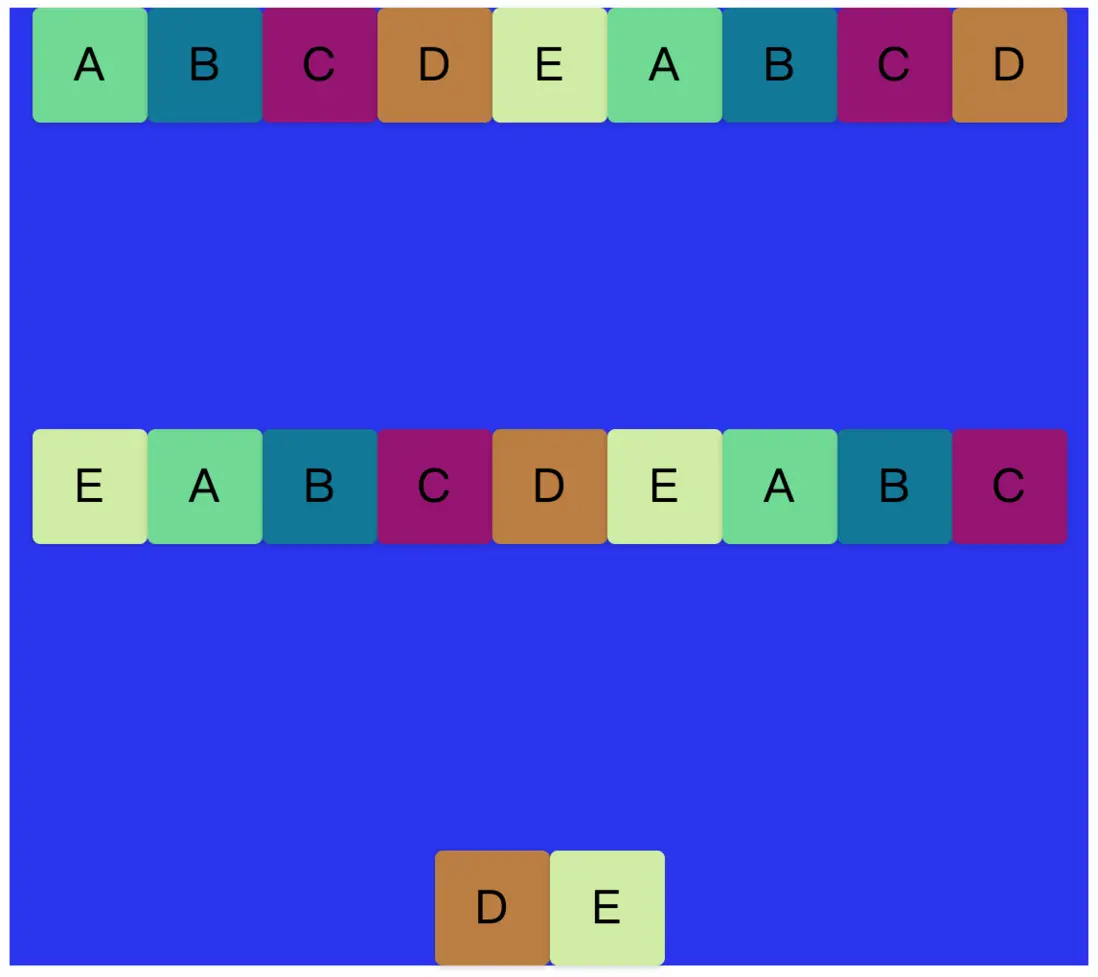
不設置align-content時候的如下圖:
align-content: center;align-content: center時候如下圖:
align-content: space-between;align-content: space-between時候如下圖:
align-content: flex-start;align-content: flex-start時候如下圖:
由上面舉例可知道,align-content是設定二行以二行以上時候,行與行之間的對齊方式。
Flex Items中屬性
order
order屬性用於調整flex item的排序位置。我們看以下參考案例:
.flex-container {
    display: flex;
    background-color: #2B34F5;
    flex-flow: row wrap;
    justify-content: center;
    align-items: center;
    height: 200px;
    width: 500px;
}
<div class="flex-container">
<div class="box A">A</div>
<div class="box B">B</div>
<div class="box C">C</div>
<div class="box D">D</div>
<div class="box E">E</div>
</div>我們還是先設定父容器下5個子div,以flex佈局方式,自動換行。
.B {
    background-color: #0c7899;
    order: 1;
}
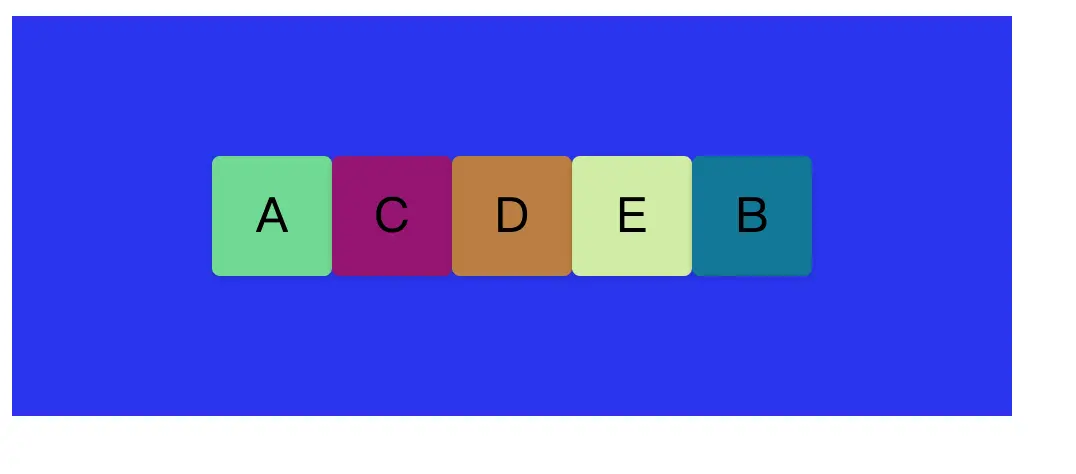
這時候我們在B子DIV中加入屬性值order:1,那麼我們會得到如下佈局排版方式。
發現div B已經到了末尾,這是因為flex item的order默認值都是0,當B設定為1時候,因為flex佈局容器會根據order數字以小到大排序,B便會移動至末尾排序。
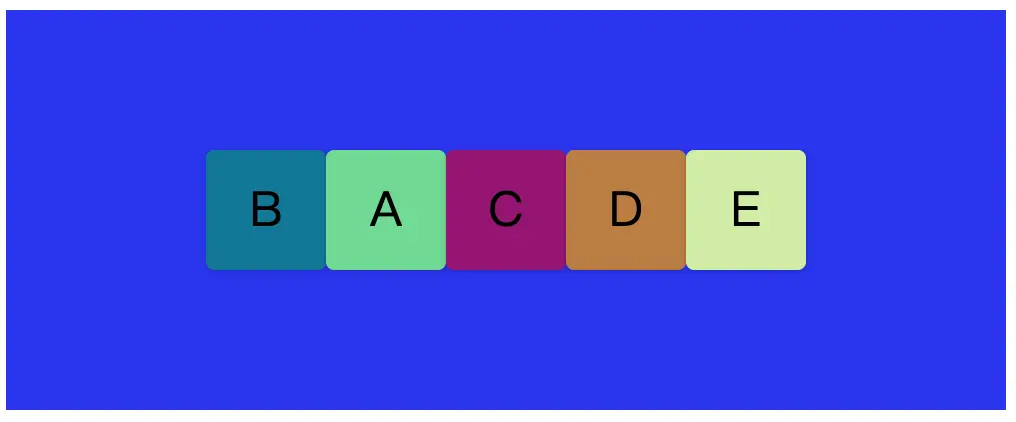
.B {
    background-color: #0c7899;
    order: -1;
}
如果我們把B DIV的order設置為-1,則會排序到第一個。
order可以隨意將個別flex item的位置進行改變。
align-self
align-self是用於覆蓋flex container(父容器)的align-item的設置的
.flex-container {
    display: flex;
    background-color: #2B34F5;
    flex-flow: row wrap;
    justify-content: center;
    align-items: center;
    height: 200px;
    width: 500px;

}
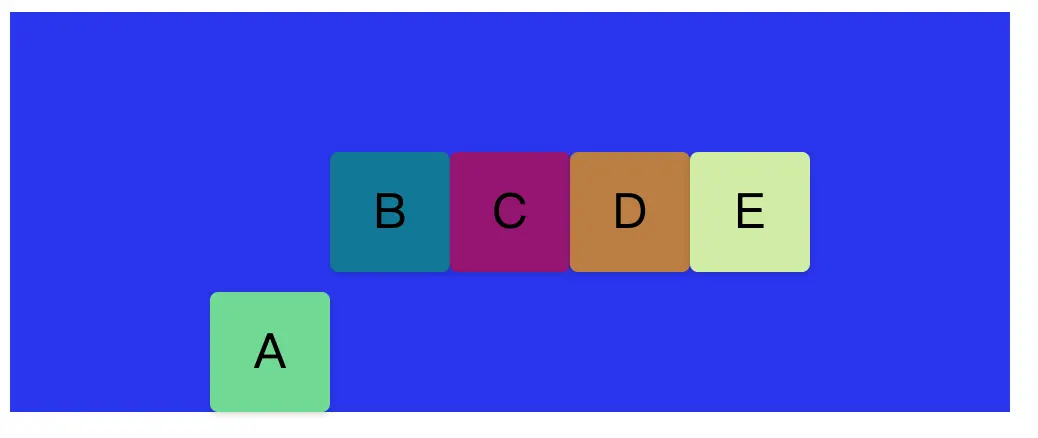
比如父容器中,我們align-items的值設置了center居中。
.A {
    background-color: #6dd98f;
    align-self: flex-end;
}
如以上代碼,我們修改DIV A的align-self屬性為flex-end。那麼我們會得到如下圖排版:
flex-basis
flex-basis是設置flex-item的主軸方向的大小的。
.flex-container {
    display: flex;
    background-color: #2B34F5;
    flex-flow: row wrap;
    justify-content: center;
    align-items: center;
    height: 200px;
    width: 500px;
}
比如父容器中,我們設置主軸為row,並可以換行。
.box {
    width: 60px;
    height: 60px;
    background-color: #eee;
    text-align: center;
    line-height: 60px;
    border-radius: 4px;
    box-shadow: 0 1px 3px rgba(0, 0, 0, .18);
    font-size: 2rem;
    flex-basis: 200px;
}
在父容器的子div中添加flex-basis: 200px屬性,此時此屬性即代表子div的寬度為200px;如下圖:
而如果我們將主軸改為column。
.flex-container {
    display: flex;
    background-color: #2B34F5;
    flex-flow: column wrap;
    justify-content: center;
    align-items: center;
    height: 200px;
    width: 500px;
}
此時flex-basis代表的是子div的高度,如下圖:
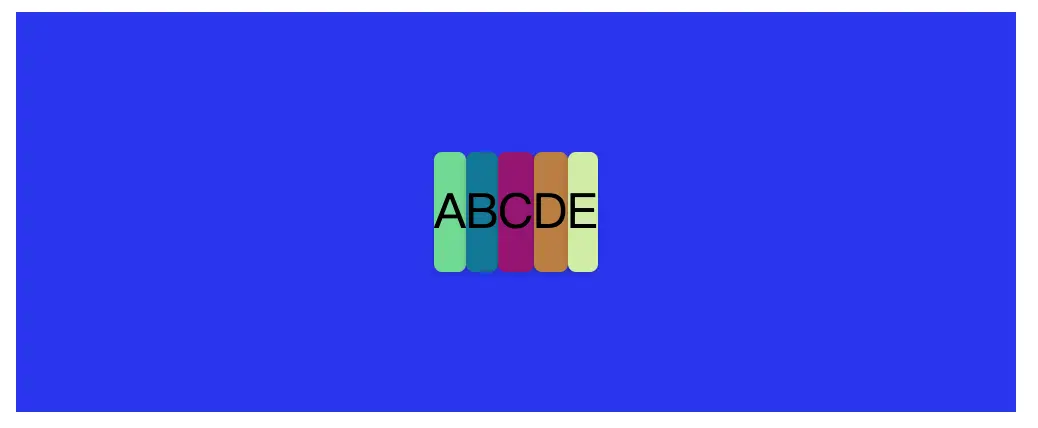
要記住一點,在設置flex-basis後,原有的高度或者寬度都會失效,都會改為flex-basis的設定值去計算寬度或高度。如果flex-basis設置為0,如果沒有overflow的設定,此時容器寬度或高度則取決於子div容器內內容的大小。如下圖:
.flex-container {
    display: flex;
    background-color: #2B34F5;
    flex-flow: row wrap;
    justify-content: center;
    align-items: center;
    height: 200px;
    width: 500px;
}
.box {
    background-color: #eee;
    text-align: center;
    line-height: 60px;
    border-radius: 4px;
    box-shadow: 0 1px 3px rgba(0, 0, 0, .18);
    font-size: 2rem;
    flex-basis: 0;
}
如果子容器再添加overflow屬性,則如下面情況:
.box {
    overflow: hidden;
    background-color: #eee;
    text-align: center;
    line-height: 60px;
    border-radius: 4px;
    box-shadow: 0 1px 3px rgba(0, 0, 0, .18);
    font-size: 2rem;
    flex-basis: 0;
}
overflow: hidden情況下,不會顯示子div。
flex-grow
flex-grow是指當flex container的主軸方向有剩餘空間的時候,flex item(容器子元素)沿主軸方向擴大的設置。
.flex-container {
    display: flex;
    background-color: #2B34F5;
    flex-flow: row wrap;
    justify-content: flex-start;
    align-items: center;
    height: 200px;
    width: 500px;
}
.box {
    width: 60px;
    height: 60px;
    background-color: #eee;
    text-align: center;
    line-height: 60px;
    border-radius: 4px;
    box-shadow: 0 1px 3px rgba(0, 0, 0, .18);
    font-size: 2rem;
}
<div class="flex-container">
<div class="box A">A</div>
<div class="box B">B</div>
<div class="box C">C</div>
<div class="box D">D</div>
<div class="box E">E</div>
</div>.box {
width: 60px;
height: 60px;
background-color: #eee;
text-align: center;
line-height: 60px;
border-radius: 4px;
box-shadow: 0 1px 3px rgba(0, 0, 0, .18);
font-size: 2rem;
flex-grow: 1;
}box屬性中,我們加入了 flex-grow: 1,這時候原先的排版便會變成以下結果:
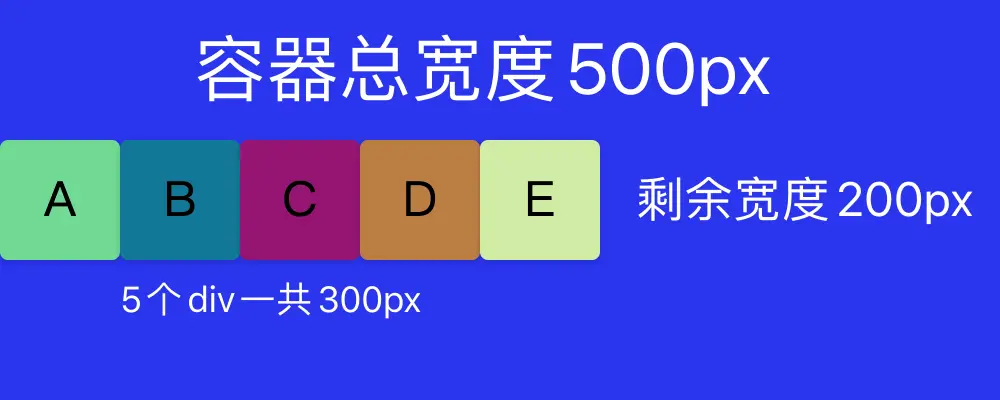
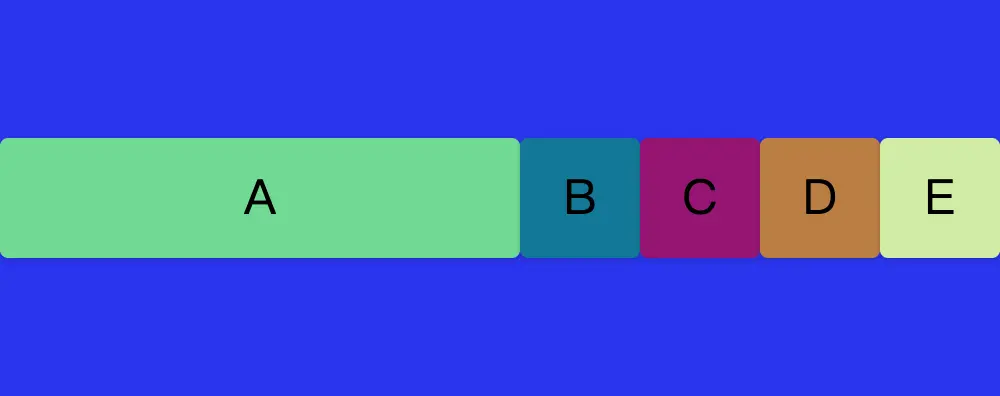
子容器直接平均撐滿整個父容器。這是因為五個div屬性都是flex-grow: 1,那五個div便都是獨佔一份,會各自佔剩餘空間200px中的一份,即40px。
如果我們不給每個子div設定flex-grow,只設定其中A DIV元素
.box {
    width: 60px;
    height: 60px;
    background-color: #eee;
    text-align: center;
    line-height: 60px;
    border-radius: 4px;
    box-shadow: 0 1px 3px rgba(0, 0, 0, .18);
    font-size: 2rem;
}
.A {
    background-color: #6dd98f;
    flex-grow: 1;
}

.B {
    background-color: #0c7899;
}

.C {
    background-color: #961375;
}

.D {
    background-color: #bb7e38;
}

.E {
    background-color: #cfec9f;
}
那麼從上圖排版,我們會發現A DIV會獨佔剩餘200px的所有空間。也就是A DIV寬度變成了60+200=260px;
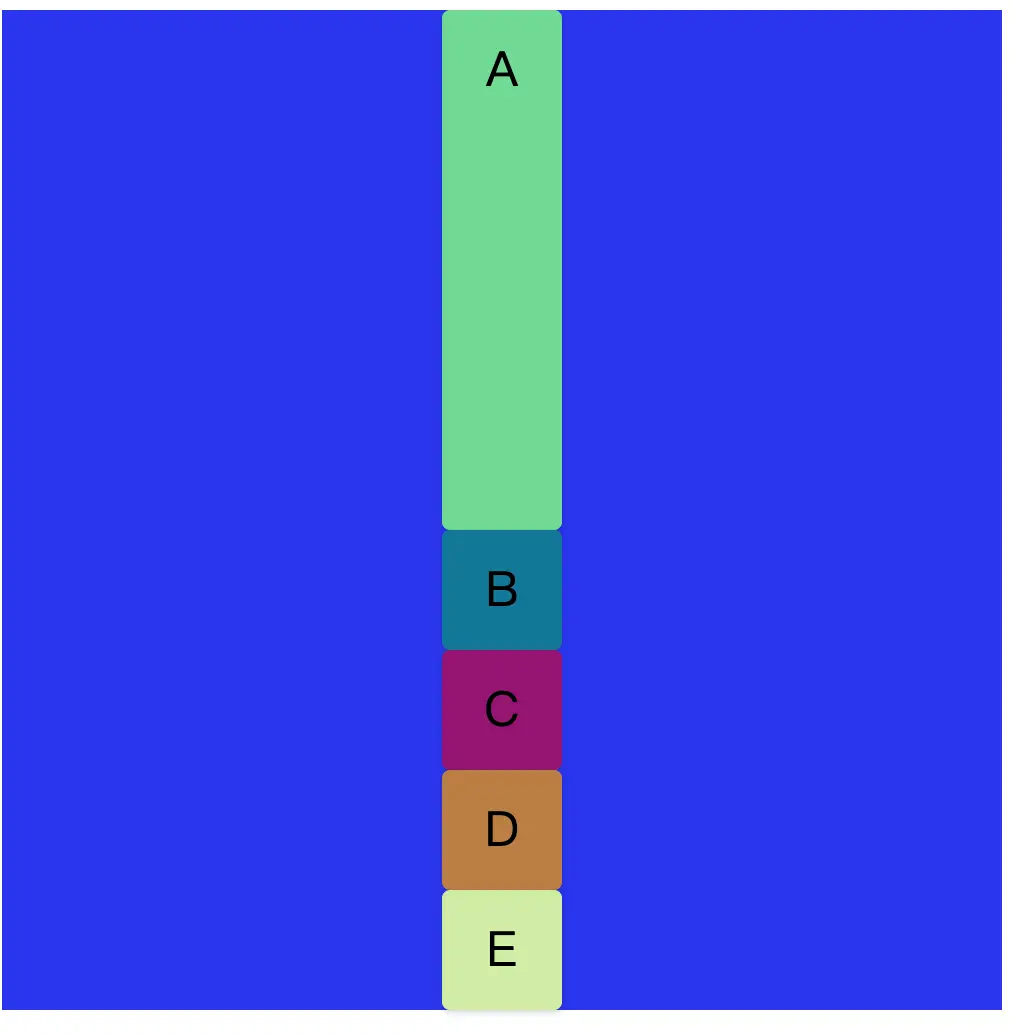
而當主軸改為column時候,則是垂直方向A獨佔剩餘空間。
.flex-container {
    display: flex;
    background-color: #2B34F5;
    flex-flow: column wrap;
    justify-content: flex-start;
    align-items: center;
    height: 500px;
    width: 500px;
}

.box {
    width: 60px;
    height: 60px;
    background-color: #eee;
    text-align: center;
    line-height: 60px;
    border-radius: 4px;
    box-shadow: 0 1px 3px rgba(0, 0, 0, .18);
    font-size: 2rem;

}

.A {
    background-color: #6dd98f;
    flex-grow: 1;
}

.B {
    background-color: #0c7899;
}

.C {
    background-color: #961375;
}

.D {
    background-color: #bb7e38;
}

.E {
    background-color: #cfec9f;
}
flex-shrink
flex-shrink則與flex-grow相反。是指當flex item子容器主軸方向的大小總和,超出父容器flex container的時候,flex item沿主軸方向如何縮小的設定。
.flex-container {
    display: flex;
    background-color: #2B34F5;
    flex-flow: row nowrap;
    justify-content: flex-start;
    align-items: center;
    height: 300px;
    width: 240px;
}

.box {
    width: 60px;
    height: 60px;
    background-color: #eee;
    text-align: center;
    line-height: 60px;
    border-radius: 4px;
    box-shadow: 0 1px 3px rgba(0, 0, 0, .18);
    font-size: 2rem;
}
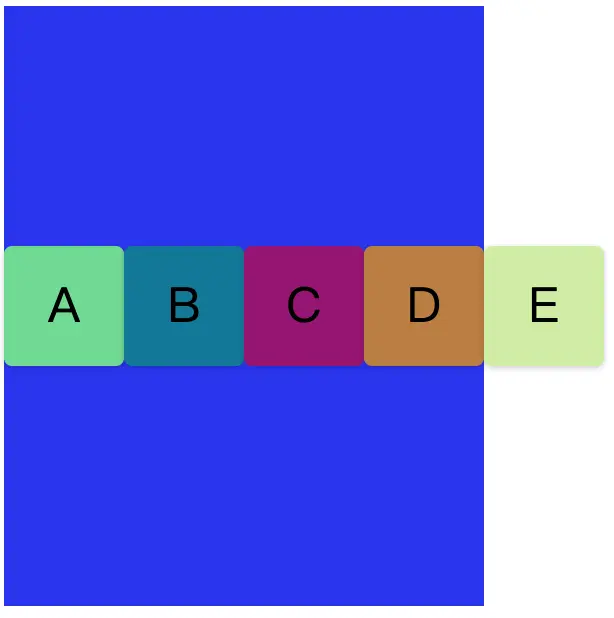
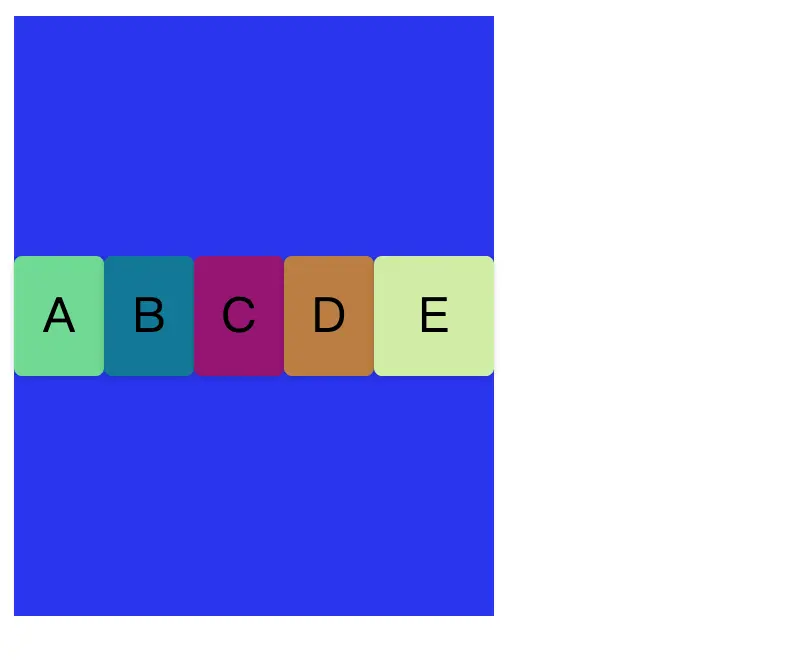
我們將父容器寬度改為240px,主軸為row方向,不換行。每個div設定為60px,那麼理論上5個div應該有300px總和。但是現在父容器只有240px,少了60px。
我們發現五個div還在同一行,但是寬度被縮減了。這是因為flex-shrink默認值都是1。
.box {
    width: 60px;
    height: 60px;
    background-color: #eee;
    text-align: center;
    line-height: 60px;
    border-radius: 4px;
    box-shadow: 0 1px 3px rgba(0, 0, 0, .18);
    font-size: 2rem;
    flex-shrink: 0;
}
我們現在每個div設置flex-shrink: 0。這時候代表當主軸方向空間不足時候,不會去壓縮子容器的寬度。那麼我們可以得到下圖排版:
.A {
    background-color: #6dd98f;
    flex-shrink: 1;
}

.B {
    background-color: #0c7899;
    flex-shrink: 1;
}

.C {
    background-color: #961375;
    flex-shrink: 1;
}

.D {
    background-color: #bb7e38;
    flex-shrink: 1;
}

.E {
    background-color: #cfec9f;
}
我們在子DIV A、B、C、D中都加入屬性值flex-shrink: 1,這代表ABCD四個DIV都各自分擔一份被縮小的空間,也就是60/4=15px,那麼ABCD四個div都會縮小為60-15=45px的寬度,而E因為flex-shrink:0,所以仍然會是60px的寬度。如下圖排版:
flex
flex的屬性是flex-grow,flex-shrink和flex-basis組合起來的縮寫。類似於父容器屬性flex-flow,根據每個人寫法習慣不同,可以拆分成三個屬性分別寫,也可以組合編寫。這裏不多做介紹。
前端學習過程要感謝B站的CodingStartup的Steven,不過他的講解基本是粵語和視頻,很多筆記我只能在看的過程自己整理,雖然直接我也從事程序開發,但是很多時候只知道要這麼做,卻不知道為什麼要這麼做,所以工作幾年後重新回頭鞏固知識,以上是我在學習過程中自己整理的學習筆記,希望可以幫到大家。


