

本文介紹一下使用Node.js的fs模塊創建zip文件,需要藉助 archiver 包。
後端創建歸檔文件
這個操作一般由前端發起,如下圖所示:
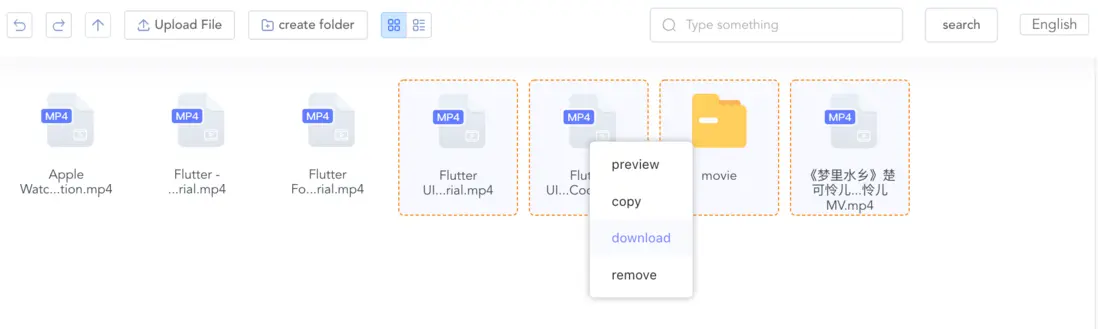
把選中的文件地址發送給後端,後端根據文件地址創建歸檔文件,最後把歸檔文件的地址返回給前端,完成下載。
// zip文件臨時目錄
const ZIP_TEMPORARY = path.resolve(__dirname, '../../static/zip');

/**
 * 文件歸檔
 * @param opts 其中opts.targets就是所選文件的地址 type:Array
 */
m.zip = (opts) => {
  return new Promise((resolve, reject) => {
    if (!opts.targets || opts.targets?.length === 0) {
      reject({ success: false, msg: '參數錯誤' });
    }
    const file_name = `/${new Date().getTime()}.zip`;
    const output = fs.createWriteStream(ZIP_TEMPORARY + file_name);
    const archive = archiver('zip', {
      zlib: { level: 9 }, // Sets the compression level.
    });

    // 當所有文件都被打包完成會觸發這個事件
    output.on('close', () => {
      console.log(`${archive.pointer()} total bytes`);
      console.log('archiver has been finalized and the output file descriptor has closed.');
      resolve({
        success: true,
        hash: m.encode(ZIP_TEMPORARY + file_name),
      });
    });
    output.on('end', () => {
      console.log('Data has been drained');
    });
    // good practice to catch this error explicitly
    archive.on('error', (err) => {
      throw err;
    });
    // 以管道的形式把文件輸出到zip
    archive.pipe(output);
    // archive.directory 這個方法比較重要,它的作用是把子文件夾的文件也全部打包
    opts.targets.forEach(async (item) => {
      const info = fs.lstatSync(item);
      if (info.isDirectory()) {
        archive.directory(item, item.split('/').pop(), null);
      } else {
        archive.file(item, { name: item.split('/').pop() });
      }
    });
    archive.finalize().then();
  });
};
這樣,程序執行後就可以在指定目錄 生成一個按時間戳命名的.zip文件。
前端下載
上面的程序完成文件打包後,我們把.zip的地址返回給了前端:
resolve({
    success: true,
    hash: m.encode(ZIP_TEMPORARY + file_name),
  });
當然,你也可以直接在這裏把文件輸送給前端下載,不過這會讓打包程序看起來不夠純粹。
我的做法是再寫一個單獨用於下載的接口,供前端調用。
下一篇文章説一下 前端下載時可能遇到的問題。
Content-Disposition:attachment沒有觸發瀏覽器下載彈框