
前言
最近有很多同學問,小程序裏面如何進行跨頁面通信。看了下之前的老代碼,基本都是基於onShow或者localStorage。雖然可以實現,但是並不怎麼優雅。
今天就來聊一聊,小程序的跨頁面通信的幾種實現方案。或許會有你想要的方案(優雅...)
方式一:onShow + localStorage
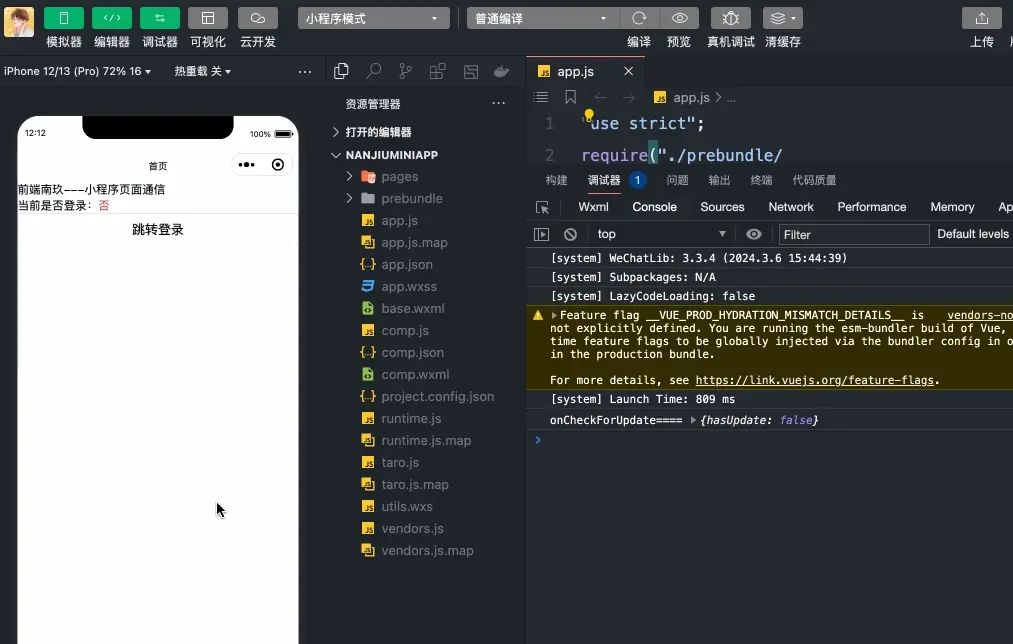
業務場景:頁面一未登錄跳轉至登錄頁面,登錄成功後返回頁面一,頁面一需要更新當前登錄態
<!-- 頁面一 -->
<template>
  <view>
    <text>{{ name }}</text>
    <view class="login_text">當前是否登錄:<text>{{ isLogin ? '是' : '否' }}</text></view>
    <button @tap="gotoLogin">跳轉登錄</button>
  </view>
</template>

<script setup lang="ts">
import { ref } from 'vue'
import taro, { useDidShow } from '@tarojs/taro'
const name = ref('前端南玖---小程序頁面通信')
const loginStatus = taro.getStorageSync('isLogin') || false
const isLogin = ref<boolean>(loginStatus)

const gotoLogin = () => {
  taro.navigateTo({
    url: '/pages/login/index'
  })
}
// 小程序onshow生命週期,從localStorage獲取是否登錄,更新頁面
useDidShow(() => {
  const loginStatus = taro.getStorageSync('isLogin') || false
  isLogin.value = loginStatus
})
</script>
<!--登錄頁-->
<template>
<view>
登錄頁面
<button @tap="login">登錄</button>
</view>
</template>
<script setup lang="ts">
import taro from '@tarojs/taro'
const login = () => {
taro.login({
success: function (res) {
console.log('登錄成功', res)
taro.setStorageSync('isLogin', true)
taro.navigateBack()
},
fail: function (res) {
console.log('登錄失敗', res)
}
})
}
</script>
優點: 這種方案可能是最簡單的通信方案,比較容易理解
缺點: 如果完成通信後,沒有即時清除通信數據,可能會出現問題。另外因為依賴localStorage,而localStorage可能出現讀寫失敗,從面造成通信失敗
方式二:onShow + globalData
業務場景同上
這個方案與第一個方案差不多,只不過是將localStorage換成了globalData
Taro框架想要使用小程序的globalData需要使用Taro提供的插件 setGlobalDataPlugin
// app.ts
import { setGlobalDataPlugin } from '@tarojs/taro'

const App = createApp({
})

// 註冊全局數據
App.use(setGlobalDataPlugin, {
  isLogin: false, // 是否登錄
})
// 頁面一
// ...
import { ref } from 'vue'
import taro, { useDidShow } from '@tarojs/taro'
const app = taro.getApp()
const name = ref('前端南玖---小程序頁面通信')
const loginStatus = taro.getStorageSync('isLogin') || false
const isLogin = ref<boolean>(loginStatus)
const gotoLogin = () => {
taro.navigateTo({
url: '/pages/login/index'
})
}
// 使用globalData
useDidShow(() => {
// const loginStatus = taro.getStorageSync('isLogin') || false
console.log('app.globalData', app.isLogin)
const loginStatus = app.isLogin || false
isLogin.value = loginStatus
})// 登錄頁
import taro from '@tarojs/taro'
const app = taro.getApp()
const login = () => {
taro.login({
success: function (res) {
console.log('登錄成功', res)
app.isLogin = true
taro.navigateBack()
},
fail: function (res) {
console.log('登錄失敗', res)
}
})
}
優點: 實現簡單,容易理解。因為不用讀寫localStorage,直接操作內存,所以相比方式1,速度更快,更可靠
缺點: 同方式1一樣,要注意globalData污染
方式三:eventBus發佈訂閲
我們還可以通過實現一箇中央事件總線,通過發佈訂閲實現跨頁面通信。
// eventBus
export default class EventBus {
  private static instance: EventBus
  private listeners: Record<string, Function[]>

  private constructor() {
    this.listeners = {}
  }

  public static getInstance() {
    if (!EventBus.instance) {
      EventBus.instance = new EventBus()
    }
    return EventBus.instance
  }

  public on(event: string, callback: Function) {
    if (!this.listeners[event]) {
      this.listeners[event] = []
    }
    this.listeners[event].push(callback)
  }

  public off(event: string, callback: Function) {
    if (!this.listeners[event]) {
      return
    }
    const index = this.listeners[event].findIndex((listener) => listener === callback)
    if (index !== -1) {
      this.listeners[event].splice(index, 1)
    }
  }

  public emit(event: string, ...args: any[]) {
    if (!this.listeners[event]) {
      return
    }
    this.listeners[event].forEach((listener) => listener(...args))
  }
}
// app.ts
import EventBus from './utils/eventBus'
// 註冊全局事件總線
App.config.globalProperties.$bus = EventBus.getInstance()// 頁面一
import { onMounted, ref, getCurrentInstance } from 'vue'
import taro, { useDidShow } from '@tarojs/taro'
const $bus = getCurrentInstance()?.appContext.config.globalProperties.$bus
onMounted(() => {
// 訂閲登錄狀態
isLogin.value = $bus.on('loginStatus', (status: boolean) => {
console.log('$bus', status)
isLogin.value = status
})
})// 登錄頁
import taro from '@tarojs/taro'
import { getCurrentInstance } from 'vue'
const $bus = getCurrentInstance()?.appContext.config.globalProperties.$bus
const login = () => {
taro.login({
success: function (res) {
console.log('登錄成功', res)
// 發佈登錄狀態
$bus.emit('loginStatus', true)
taro.navigateBack()
},
fail: function (res) {
console.log('登錄失敗', res)
}
})
}
這種方式看着是比前兩種優雅了不少,但缺點是需要維護髮布的事件,避免重複綁定。
方式四:Taro.eventCenter(taro提供的發佈訂閲)
Taro 提供了 Taro.Events 來實現消息機制,同時 Taro 還提供了一個全局消息中心 Taro.eventCenter 以供使用,它是 Taro.Events 的實例
import Taro, { Events } from '@tarojs/taro'

const events = new Events()

// 監聽一個事件,接受參數
events.on('eventName', (arg) => {
  // doSth
})

// 監聽同個事件,同時綁定多個 handler
events.on('eventName', handler1)
events.on('eventName', handler2)
events.on('eventName', handler3)

// 觸發一個事件,傳參
events.trigger('eventName', arg)

// 觸發事件,傳入多個參數
events.trigger('eventName', arg1, arg2, ...)

// 取消監聽一個事件
events.off('eventName')

// 取消監聽一個事件某個 handler
events.off('eventName', handler1)

// 取消監聽所有事件
events.off()
// 頁面一
onMounted(() => {
// 訂閲登錄狀態
taro.eventCenter.on('loginStatusTaro', (status: boolean) => {
console.log('eventCenter', status)
isLogin.value = status
})
})// 登錄頁
const login = () => {
taro.login({
success: function (res) {
console.log('登錄成功', res)
// 向首頁發送數據
// eventChannel.emit('acceptDataFromLoginPage', { data: res.code, loginStatus: true })
// 觸發事件,傳遞參數
taro.eventCenter.trigger('loginStatusTaro', true)
// 發佈登錄狀態
// $bus.emit('loginStatus', true)
taro.navigateBack()
},
fail: function (res) {
console.log('登錄失敗', res)
}
})
}方式五:小程序的EventChannel
頁面間事件通信通道
- EventChannel.emit(string eventName, any args):觸發一個事件
- EventChannel.on(string eventName, function fn):持續監聽一個事件
- EventChannel.once(string eventName, function fn):監聽一個事件一次,觸發後失效
- EventChannel.off(string eventName, function fn):取消監聽一個事件。給出第二個參數時,只取消給出的監聽函數,否則取消所有監聽函數
EventChannel藉助wx.navigateTo方法,在兩個頁面之間構建起了數據通道,互相可以通過“派發事件”及“註冊這些事件的監聽器”來實現基於事件的頁面通信。
// 頁面一

const gotoLogin = () => {
  taro.navigateTo({
    url: '/pages/login/index',
    events: {
    // 為指定事件添加一個監聽器,獲取被打開頁面傳送到當前頁面的數據
    acceptDataFromLoginPage: function(data) {
      console.log('來自登錄頁的數據', data)
      isLogin.value = data.loginStatus
      },
    },
    success: function(res) {
      // 通過eventChannel向被打開頁面傳送數據
      res.eventChannel.emit('acceptDataFromIndexPage', { data: 'nanjiu from index' })
    }
  })
}
// 登錄頁
import taro, { getCurrentPages } from '@tarojs/taro'
const current = getCurrentPages().pop()
const eventChannel = current?.getOpenerEventChannel()
eventChannel.on('acceptDataFromIndexPage', function(data) {
console.log('來自首頁的數據', data)
})
const login = () => {
taro.login({
success: function (res) {
console.log('登錄成功', res)
eventChannel.emit('acceptDataFromLoginPage', { data: res.code, loginStatus: true })
taro.navigateBack()
},
fail: function (res) {
console.log('登錄失敗', res)
}
})
}