1. 概述
Spring Security 是一種功能強大、高度可定製的 Java 應用程序身份驗證和訪問控制框架。我們將概述 Spring Security 的目的,以及在哪些常見場景下禁用它可能必要,例如在開發、測試或使用自定義安全機制時。
本文將指導我們如何在 Spring Boot 應用程序中禁用 Spring Security,同時確保配置易於管理和回滾。我們還將提供代碼示例供我們參考,這些示例包含單元測試,以演示它們的行為。在本教程中,我們將討論理解如何在 Spring Boot 應用程序中禁用 Spring Security 所需的基本概念。
2. 禁用 Spring Security
根據我們的應用程序的具體要求,我們可以通過多種方式禁用 Spring Security。 我們將探討四種常見方法:
- 使用自定義安全配置
- 利用 Spring 配置文件
- 移除 Spring Security 依賴
- 排除 Spring Security 自動配置
在討論禁用 Spring Security 的不同策略之前,讓我們通過 Spring Initializr 創建一個簡單的 Spring Boot 應用程序,該應用程序將在整個指南中使用。 我們將創建一個 基於 Maven 的最小 Spring Boot 項目,其中包含一個控制器,該控制器將用作我們的測試端點:
@RestController
@RequestMapping("/api")
public class PublicController {
    @GetMapping("/endpoint")
    public ResponseEntity<String> publicEndpoint() {
        return ResponseEntity.ok("This is a public endpoint.");
    }
}
3. 使用自定義安全配置
最直接的方法之一是創建自定義安全配置類來禁用 Spring Security。 這種方法涉及定義和配置一個 SecurityFilterChain bean ,以允許所有請求在不進行身份驗證的情況下通過:
@Bean
public SecurityFilterChain filterChain(HttpSecurity http) throws Exception {
    http.authorizeHttpRequests(auth -> auth.anyRequest().permitAll())
      .csrf(AbstractHttpConfigurer::disable);
    return http.build();
}
4. 利用 Spring 配置文件
Spring 配置文件允許我們為應用程序配置不同的環境。 我們可以使用配置文件來在某些環境中禁用安全功能,例如開發或測試環境。 創建一個新的配置文件特定的屬性文件,例如 application-dev.properties,並添加以下行:
server.port= 8080
spring.profiles.active=dev
spring.application.name=spring-security-noauth-profile
現在,創建一個名為 DevSecurityConfiguration 的新 Java 類。該類專門配置用於 Spring Boot 應用程序的 “dev” 模式。 它允許所有端點不受限制地訪問,通過允許所有請求來實現。這在開發階段非常有用,可以簡化測試和調試,而無需安全限制:
@Profile("dev")
public class DevSecurityConfiguration {
    @Bean
    public SecurityFilterChain filterChain(HttpSecurity http) throws Exception {
        http.authorizeHttpRequests(auth -> auth.anyRequest().permitAll());
        return http.build();
    }
}
<div>
<div>
<p>除了上述配置之外,我們還將定義另一個 <strong data-start="897" data-end="929">安全配置類</strong>,該類在 <em data-start="930" data-end="939">dev</em> 配置文件未激活時生效。 此配置 <strong data-start="1005" data-end="1032">啓用身份驗證</strong>並 <strong data-start="1033" data-end="1044">允許對所有端點進行受限訪問</strong>:</p>
</div>
</div>
@Profile("!dev")
public class SecurityConfiguration {
    @Bean
    SecurityFilterChain httpSecurity(HttpSecurity http) throws Exception {
        http.authorizeHttpRequests(auth -> auth.anyRequest().authenticated())
          .formLogin(withDefaults())
          .httpBasic(withDefaults());

        return http.build();
    }
}
當我們在使用 dev 配置文件時,通過開發環境運行應用程序時,所有請求將允許,無需身份驗證。但是,當應用程序使用任何非 dev 配置文件時,我們的應用程序需要對任何類型的請求進行身份驗證。
5. 移除 Spring Security 依賴
最簡單的方法是移除 Spring Security 依賴項。通過這樣做,我們將移除所有與 Spring Security 相關的配置和默認設置:
<dependency>
    <groupId>org.springframework.boot</groupId>
    <artifactId>spring-boot-starter-security</artifactId>
    <version>...</version>
</dependency>
刪除此依賴項將消除應用程序中的所有 Spring Security 功能。
6. 排除 Spring Security 自定義配置
Spring Boot 在我們 classpath 中包含 spring-boot-starter-security 時,會自動配置安全性。要禁用此功能,請通過將以下屬性添加到 application.properties 中來排除自定義配置:
spring.autoconfigure.exclude=org.springframework.boot.autoconfigure.security.servlet.SecurityAutoConfiguration如果想要完全禁用 Spring Security,應該使用spring.autoconfigure.exclude,而無需創建SecurityConfiguration類。手動配置 Spring Security 類會覆蓋 application.properties 配置,因此在兩者同時使用時,spring.autoconfigure.exclude配置無效。
7. 不進行安全測試
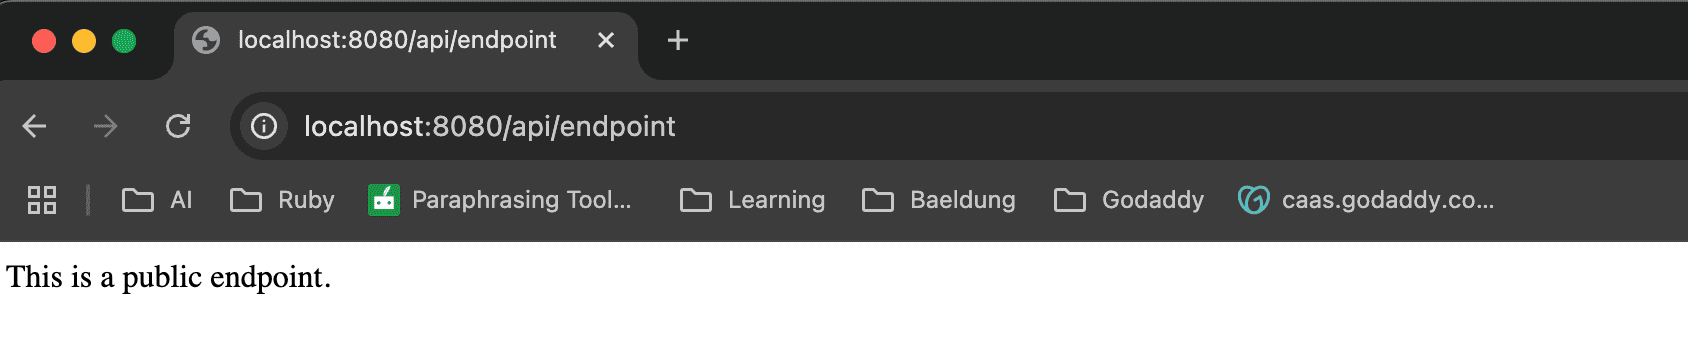
我們可以通過啓動應用程序並本地訪問端點來驗證我們已禁用安全功能。啓動並運行 Spring Boot 應用程序,當我們嘗試訪問 REST 端點時,會看到下面的響應:
我們可以通過使用 MockMvc 庫編寫 JUnit 測試來程序化驗證安全功能已禁用。
7.1. 自定義安全配置單元測試
以下是一個示例單元測試,用於驗證安全配置是否允許無限制訪問:
public class CommonSecurityConfigTest {
    @Autowired
    private MockMvc mockMvc;

    @Test
    public void whenSecurityIsDisabled_thenAllEndpointsAreAccessible() throws Exception {
        mockMvc.perform(get("/api/endpoint"))
          .andExpect(status().isOk());
    }
}
7.2. 應用配置文件單元測試
我們編寫了兩個單獨的測試用例來驗證我們的安全行為是否基於活動配置文件而有所不同。以下是針對 dev 配置文件,當安全功能已禁用時,的一個單元測試:
@ActiveProfiles("dev")
public class DevProfileSecurityConfigTest {
    @Autowired
    private MockMvc mockMvc;

    @Test
    public void whenDevProfileIsActive_thenAccessIsAllowed() throws Exception {
        mockMvc.perform(get("/api/endpoint"))
          .andExpect(status().isOk());
    }
}
以下是翻譯後的內容:
以下是一個在啓用安全模式時,針對非開發 配置文件(開發 配置文件)的單元測試:
public class NonDevProfileSecurityConfigTest {
    @Autowired
    private MockMvc mockMvc;

    @Test
    public void whenNonDevProfileIsActive_thenAccessIsDenied() throws Exception {
        mockMvc.perform(get("/api/endpoint"))
          .andExpect(status().isUnauthorized());
    }
}
<div>
<h1>Introduction</h1>
<p>This document provides an overview of the new API. It covers key concepts, usage examples, and troubleshooting tips.</p>
<h2>Key Concepts</h2>
<ul>
<li><strong>Authentication:</strong> The process of verifying the identity of a user or application.</li>
<li><strong>Authorization:</strong> Determining what resources a user or application is allowed to access.</li>
<li><strong>API Endpoints:</strong> Specific URLs that represent resources within the API.</li>
</ul>
<h2>Usage Examples</h2>
<pre><code>
// Example JavaScript code
function fetchData(url) {
// Make an HTTP request to the specified URL
fetch(url)
.then(response => response.json())
.then(data => {
console.log(data);
})
.catch(error => {
console.error('Error fetching data:', error);
});
}
fetchData('https://api.example.com/users');
</code></pre>
<p>This example demonstrates how to use the API to retrieve user data.</p>
<h2>Troubleshooting</h2>
<p>If you encounter any issues, please refer to the <a href="https://example.com/support">support documentation</a>.</p>
</div>
8. 結論
在本文中,我們探討了在 Spring Boot 應用程序中禁用 Spring Security 的各種方法,每種方法都適用於不同的場景。無論我們使用自定義安全配置還是利用 Spring 配置文件,應確保我們的方法與開發和部署需求保持一致。通過遵循本文中概述的步驟,我們可以確保我們的應用程序在開發和測試階段保持靈活性和易於管理。
