1. 簡介
在本文中,我們將學習如何將 Spring Session 與 Spring WebFlux 結合使用。具體來説,我們將學習如何使用 Spring WebSession,它將 Spring Session 與 Spring Boot 2 的 WebFlux 整合。
一個 Spring Session 被定義為“一個包含鍵值對的簡化 Map”。 Sessions 用於跟蹤 HTTP 會話中重要的值,例如 Users 和 Principals。Session 管理功能以及新的響應式 WebFlux Mono 和 Flux 對象。
有關 Spring Session 的更多信息,請查看 Baeldung 上的另一篇文章。
2. Maven 設置
現在,讓我們配置並設置我們的應用程序。 幸運的是,配置我們的 pom.xml 非常容易。 首先,我們需要使用 Spring Boot 3.x.x 及其相關 Spring Session 依賴項。 通過 Maven 倉庫添加最新版本:
然後,我們將它們添加到 pom.xml 中:
<dependency>
    <groupId>org.springframework.boot</groupId>
    <artifactId>spring-boot-starter-webflux</artifactId>
    <version>3.1.5</version>
</dependency>
<dependency>
    <groupId>org.springframework.session</groupId>
    <artifactId>spring-session-core</artifactId>
    <version>3.1.5</version>
</dependency>
這兩個依賴項是內存中 Session 管理的最低要求。對於 Redis,請使用:
然後,將以下內容添加到 pom.xml:
<dependency>
    <groupId>org.springframework.boot</groupId>
    <artifactId>spring-boot-starter-data-redis</artifactId>
    <version>3.1.5</version>
</dependency>
<dependency>
    <groupId>org.springframework.session</groupId>
    <artifactId>spring-session-data-redis</artifactId>
    <version>3.1.5</version>
 </dependency>
現在,讓我們配置我們的類。
3. 內存配置
要使用內存配置,請添加 config 類:
@Configuration
@EnableSpringWebSession
public class SessionConfig {

    @Bean
    public ReactiveSessionRepository reactiveSessionRepository() {
        return new ReactiveMapSessionRepository(new ConcurrentHashMap<>());
    }
}
它會將一個(反應式)倉庫與你的會話管理器關聯起來。它會將這些值存儲在 HashMap 中。
重要的是,配置類必須包含 @EnableSpringWebSession 註解。
4. Redis 配置
現在,讓我們連接 Redis。為了使用 Redis 來管理 WebSession,請添加配置類:
@Configuration
@EnableRedisWebSession
public class RedisConfig {

    @Bean
    public LettuceConnectionFactory redisConnectionFactory() {
        return new LettuceConnectionFactory();
    }
}
請注意,配置類必須包含 @EnableRedisWebSession 註解。請記住,我們不能同時使用 @EnableRedisWebSession 和 EnableSpringWebSession 註解,否則會引發異常。
Docker 是與 Redis 交互最簡單的方式之一。安裝 Docker 後,我們只需要輸入三個命令即可完成操作。運行以下命令來啓動 Redis 實例:
$ docker stop redis
$ docker rm redis
$ docker run -d --name redis -p 6379:6379 redis:4.0.5-alpine
接下來,讓我們測試我們的應用程序。
5. 實踐應用
現在,讓我們為我們的應用程序添加一個反應式 REST 控制器:
@GetMapping("/websession")
public Mono getSession(WebSession session) {

    session.getAttributes().putIfAbsent("id", 0);
    session.getAttributes().putIfAbsent("note", "Howdy Cosmic Spheroid!");

    CustomResponse r = new CustomResponse();
    r.setId((int) session.getAttributes().get("id"));
    r.setNote((String) session.getAttributes().get("note"));

    return Mono.just(r);
}
然後,我們可以通過向我們的 REST 處理程序添加參數來使用 WebSession:
@GetMapping("/websession/test")
public Mono<CustomResponse> testWebSessionByParam(@RequestParam(value = "id") int id,
  @RequestParam(value = "note") String note, WebSession session) {

    session.getAttributes().put("id", id);
    session.getAttributes().put("note", note);

    CustomResponse r = new CustomResponse();
    r.setId((int) session.getAttributes().get("id"));
    r.setNote((String) session.getAttributes().get("note"));

    return Mono.just(r);
}
我們可以使用 .getAttributes() 方法獲取或設置值,該方法返回一個 Map。
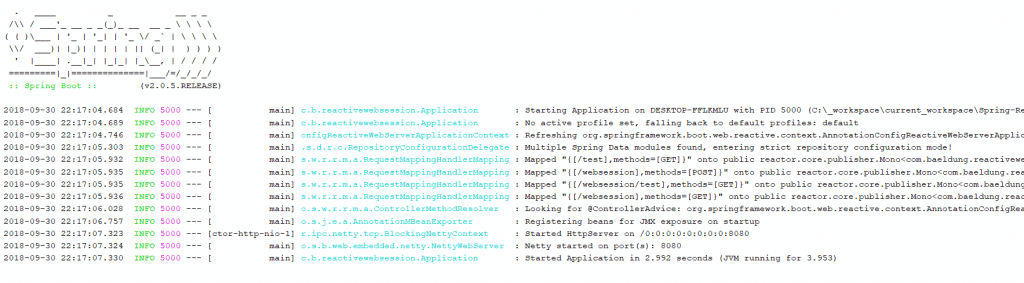
讓我們啓動我們的 Spring 應用:
服務器啓動後,我們可以更改默認的 WebSession 值(0 和 “Howdy Cosmic Spheroid!”)。 運行 cURL 命令:
$ curl -i -H "Accept: application/json" -H "Content-Type:application/json" -X GET http://localhost:8080/websession/test?id=222¬e=helloworld或訪問 URL:http://localhost:8080/websession/test?id=222¬e=helloworld。 隨後,從 localhost:8080/websession 返回的 JSON 將顯示更新後的 Session 值。

該端點,localhost:8080/websession,返回當前 WebSession 屬性 id 和 note。
6. 結論
我們已經學習瞭如何將 Spring WebSession 添加到我們的 WebFlux 應用程序中。 欲瞭解更多信息,請查看官方文檔。
